

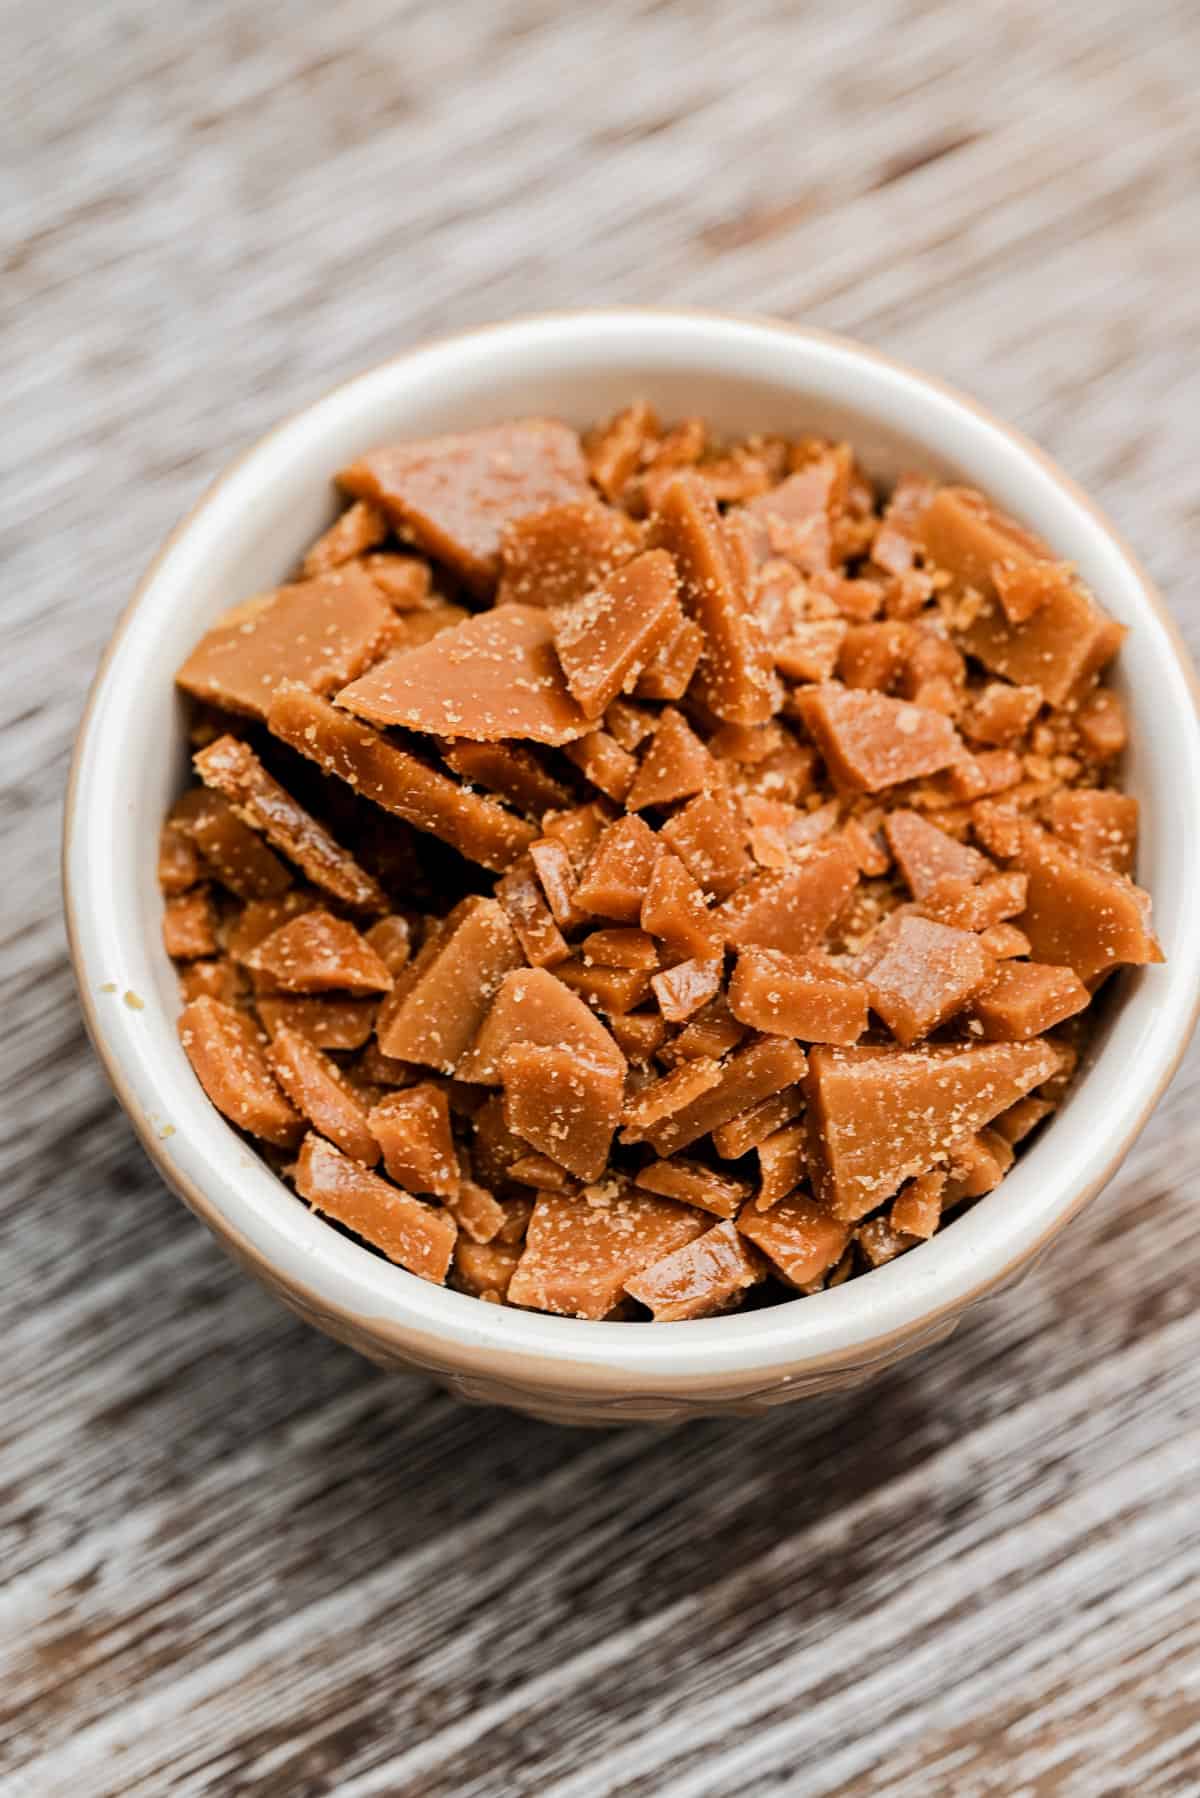

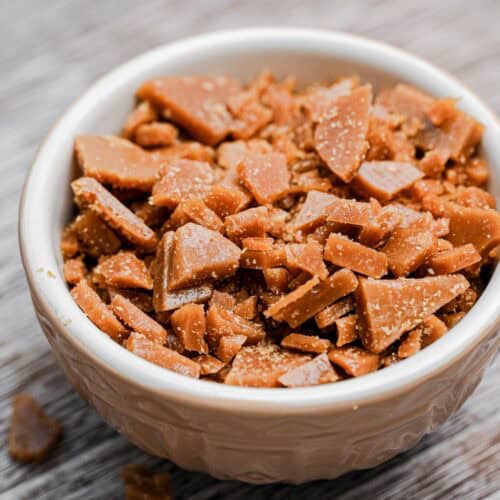
Homemade toffee bits are buttery, sweet nuggets of crunch perfect for baking or snacking. They’re quick to make with just a few ingredients and add the perfect addition to cookies.
About these homemade toffee bits
These crunchy, buttery shards add a delicious snap and rich caramel flavor to cookies, ice cream, brownies or whatever you fancy. Made with just butter and sugar they stay crisp once cooled and add both texture and flavor without any fuss.
I’m using a 1:1.5 ratio of butter to sugar for these toffee bits. This is the perfect ratio for toffee that breaks into crisp shards without feeling greasy or falling apart. Once the toffee reaches the right stage, I pour it onto a silicone mat to cool and harden, then snap it into bits that add delicious crunch and flavor to everything. Because it’s cooked to a hard crack stage, it means it doesn’t just melt and disappear when it’s added to baking. It gets soft and liquidy when it’s just been baked but once cooled it sets back up again into a lovely crunch.
I use them in these cinnamon toffee cookies!
Ingredients you’ll need
You can find the full ingredient amounts in the printable recipe card at the bottom of this post.
How to make toffee bits
- Line a baking sheet with a silicone baking mat.
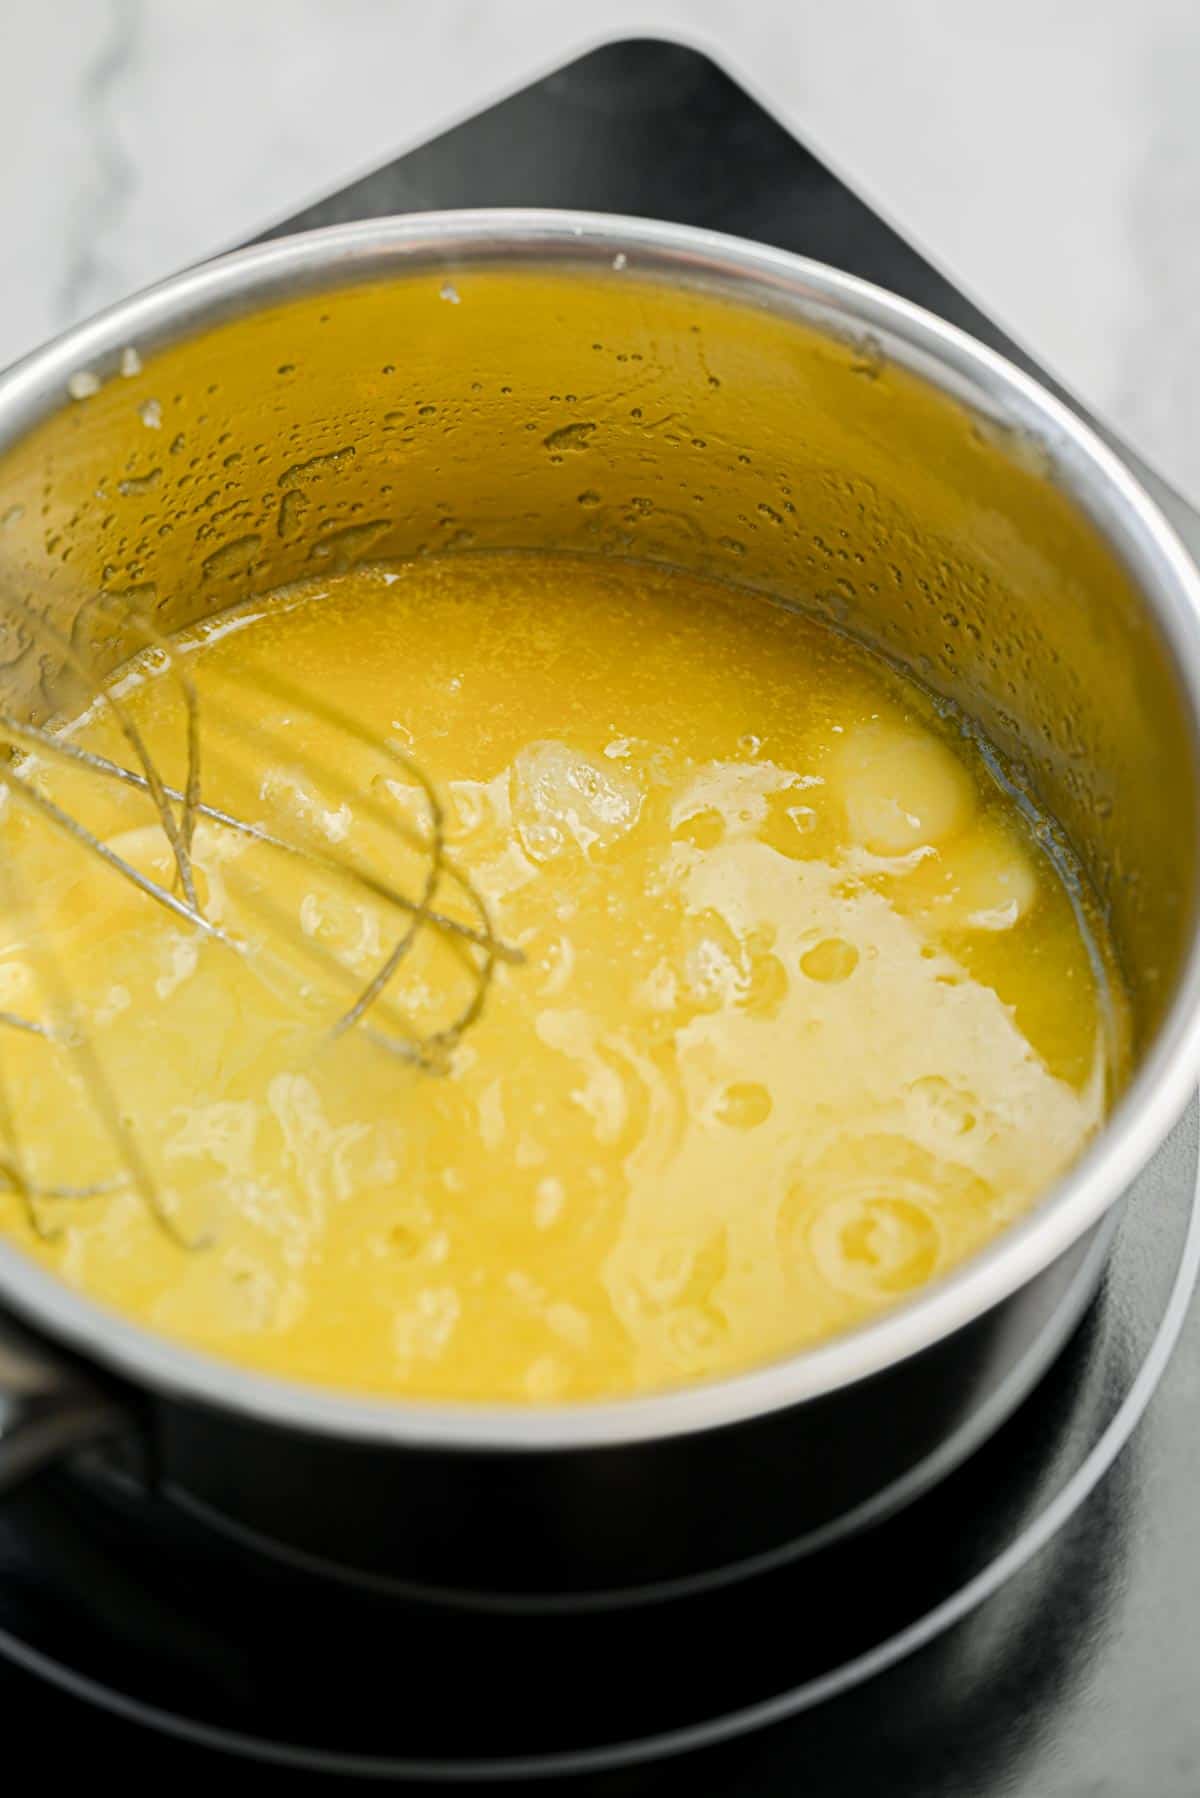
- Melt the butter and sugar together with the water in a heavy-bottomed saucepan over medium heat, whisking as it comes together.
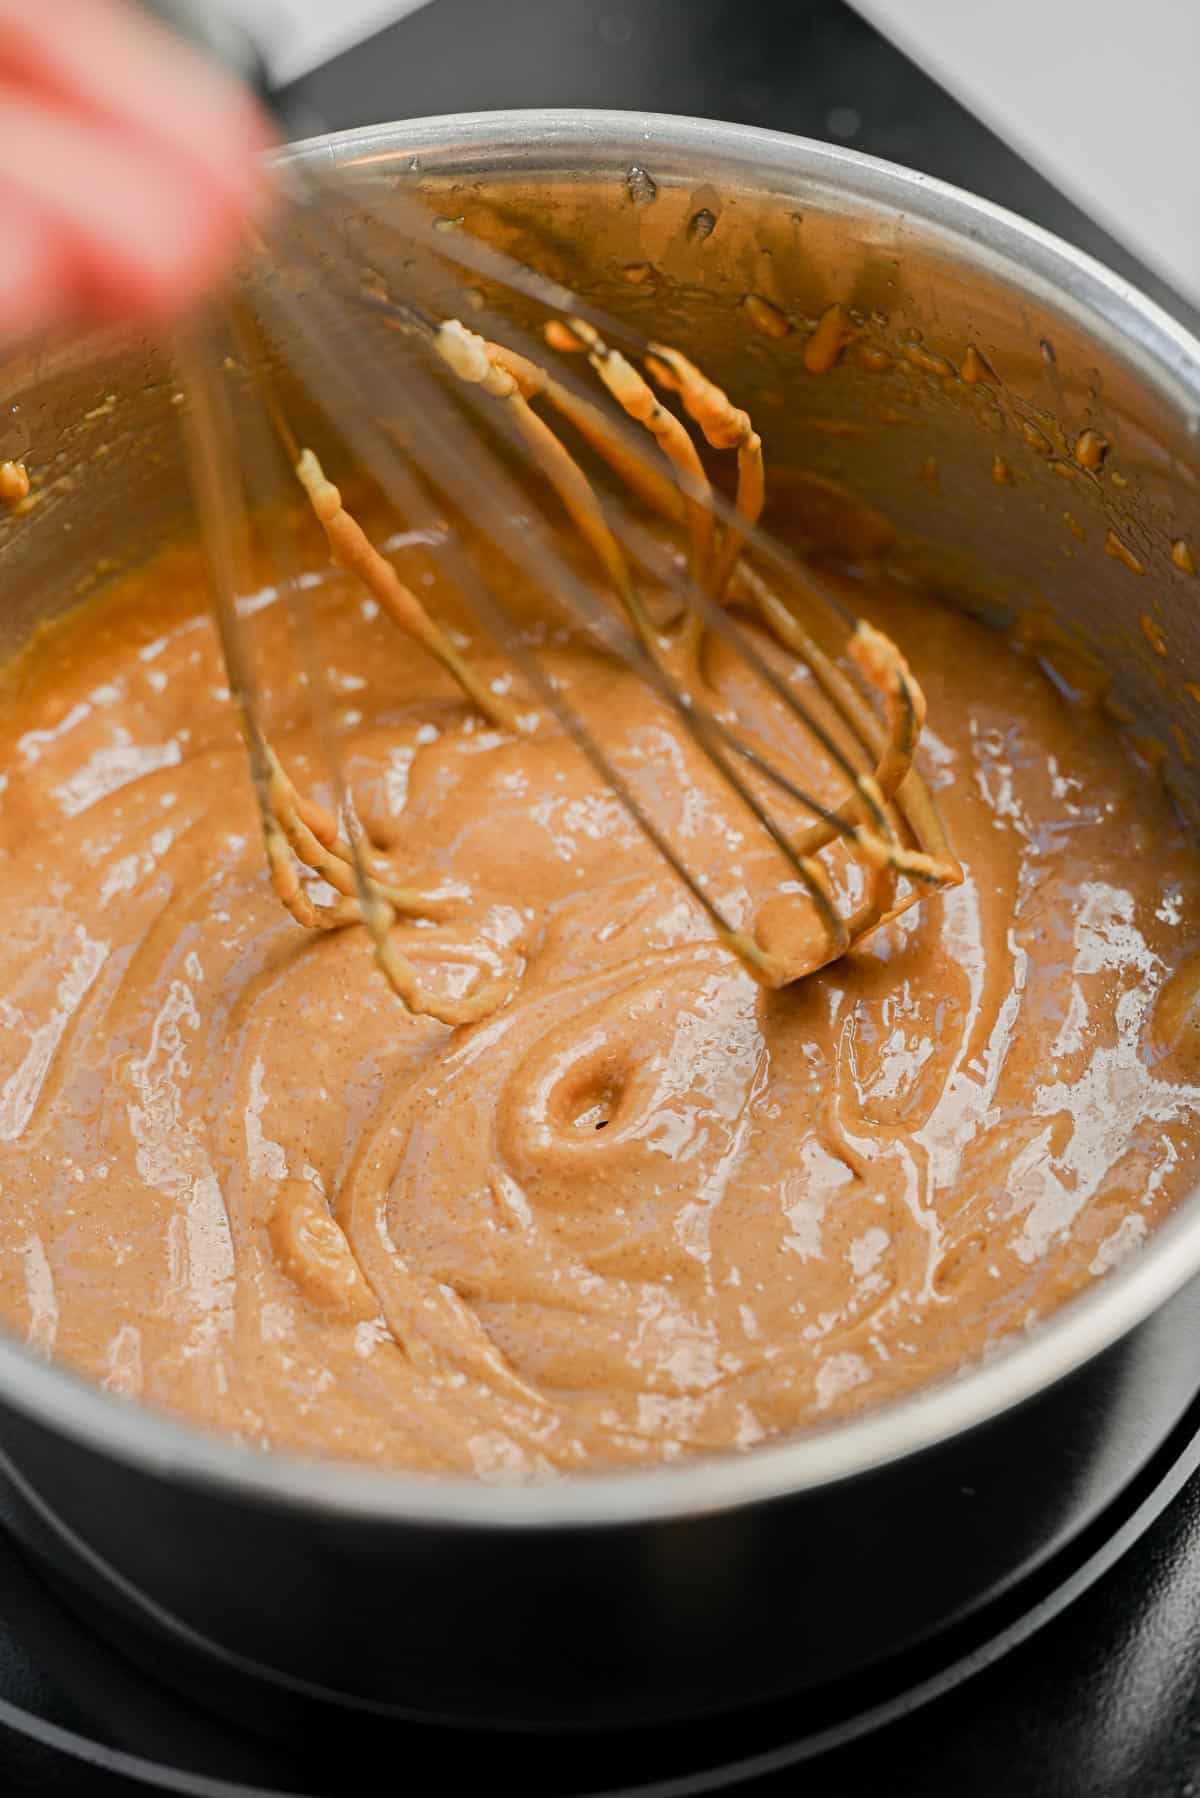
- Keep whisking through the pale, thick stage.
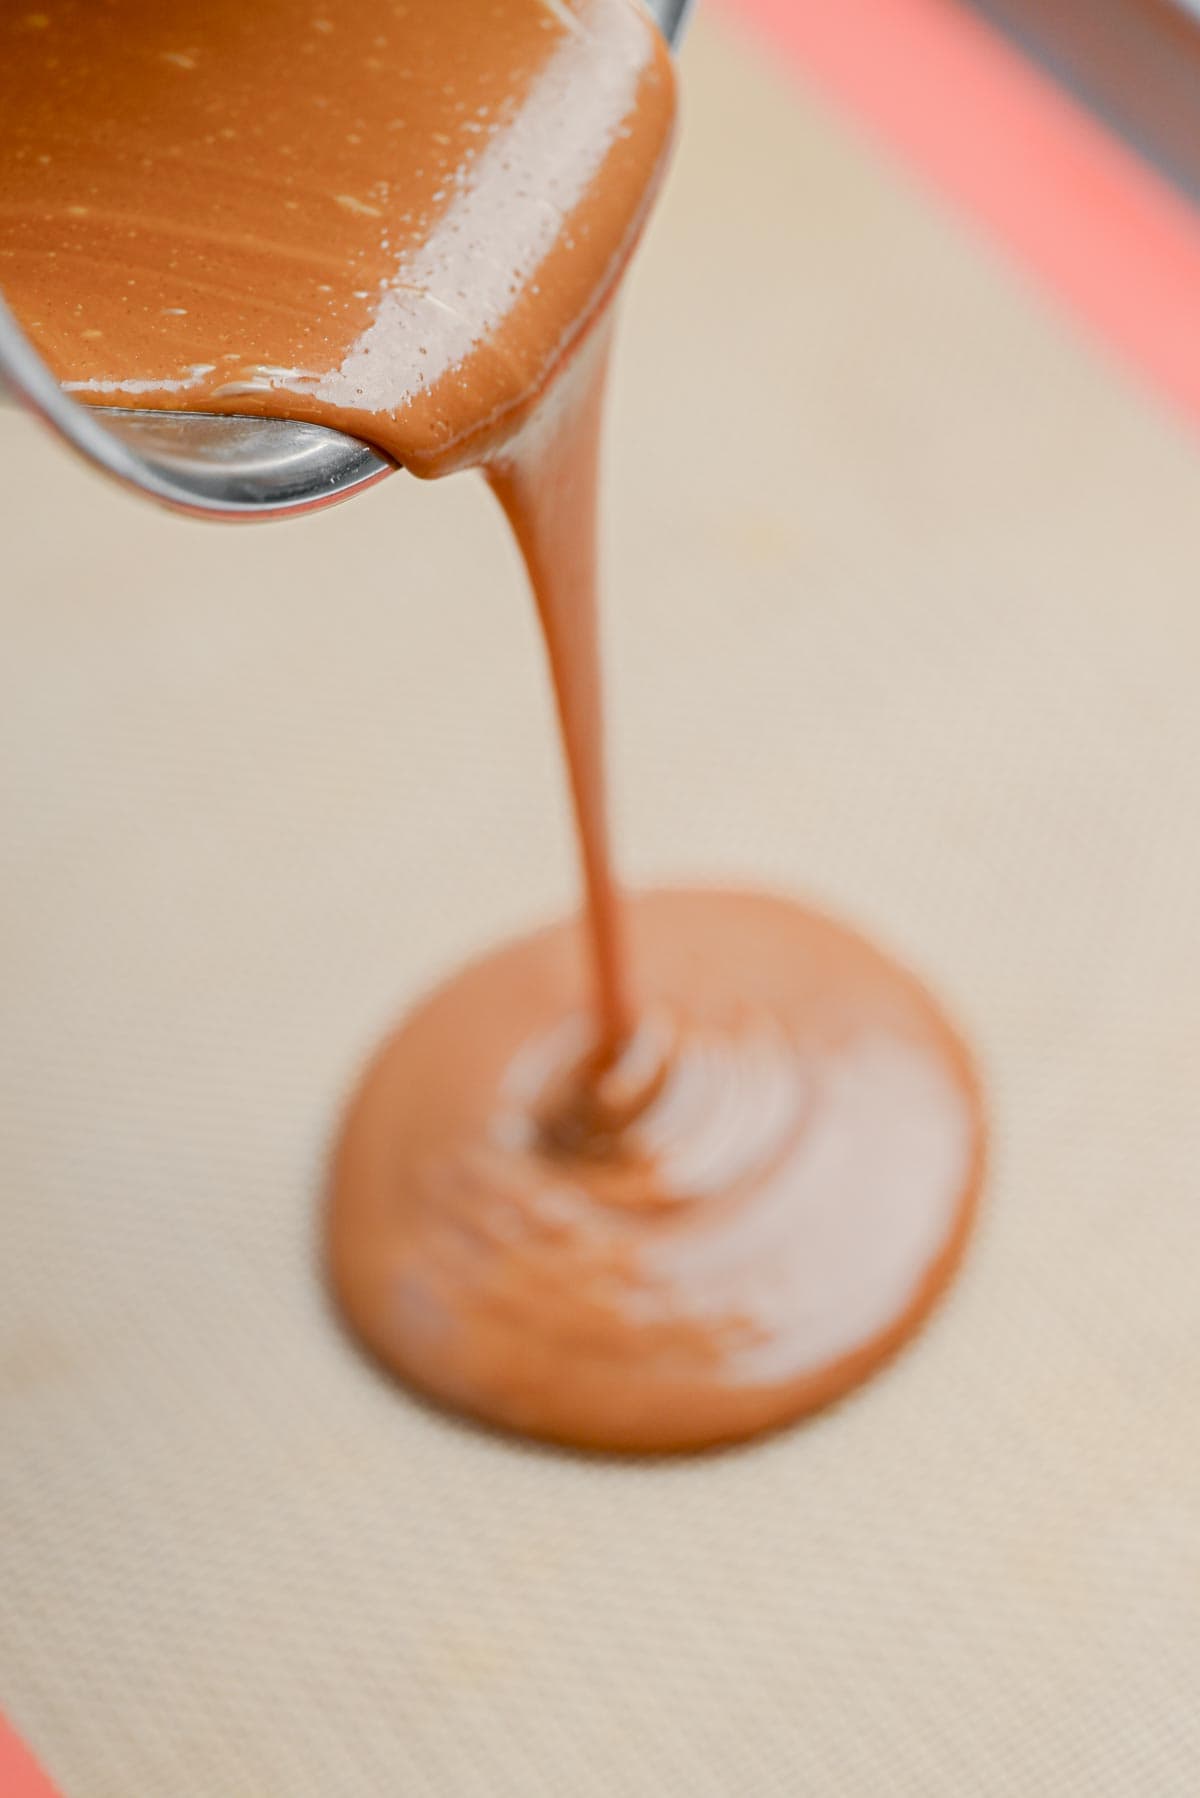
- Once the mixture smooths out and starts to thin, swap to a heat-proof spatula and keep it moving, scraping the base and corners of the pan. It’s ready when it’s deep amber and running off the spatula in a thin stream. Then quickly pour onto the silicone mat.
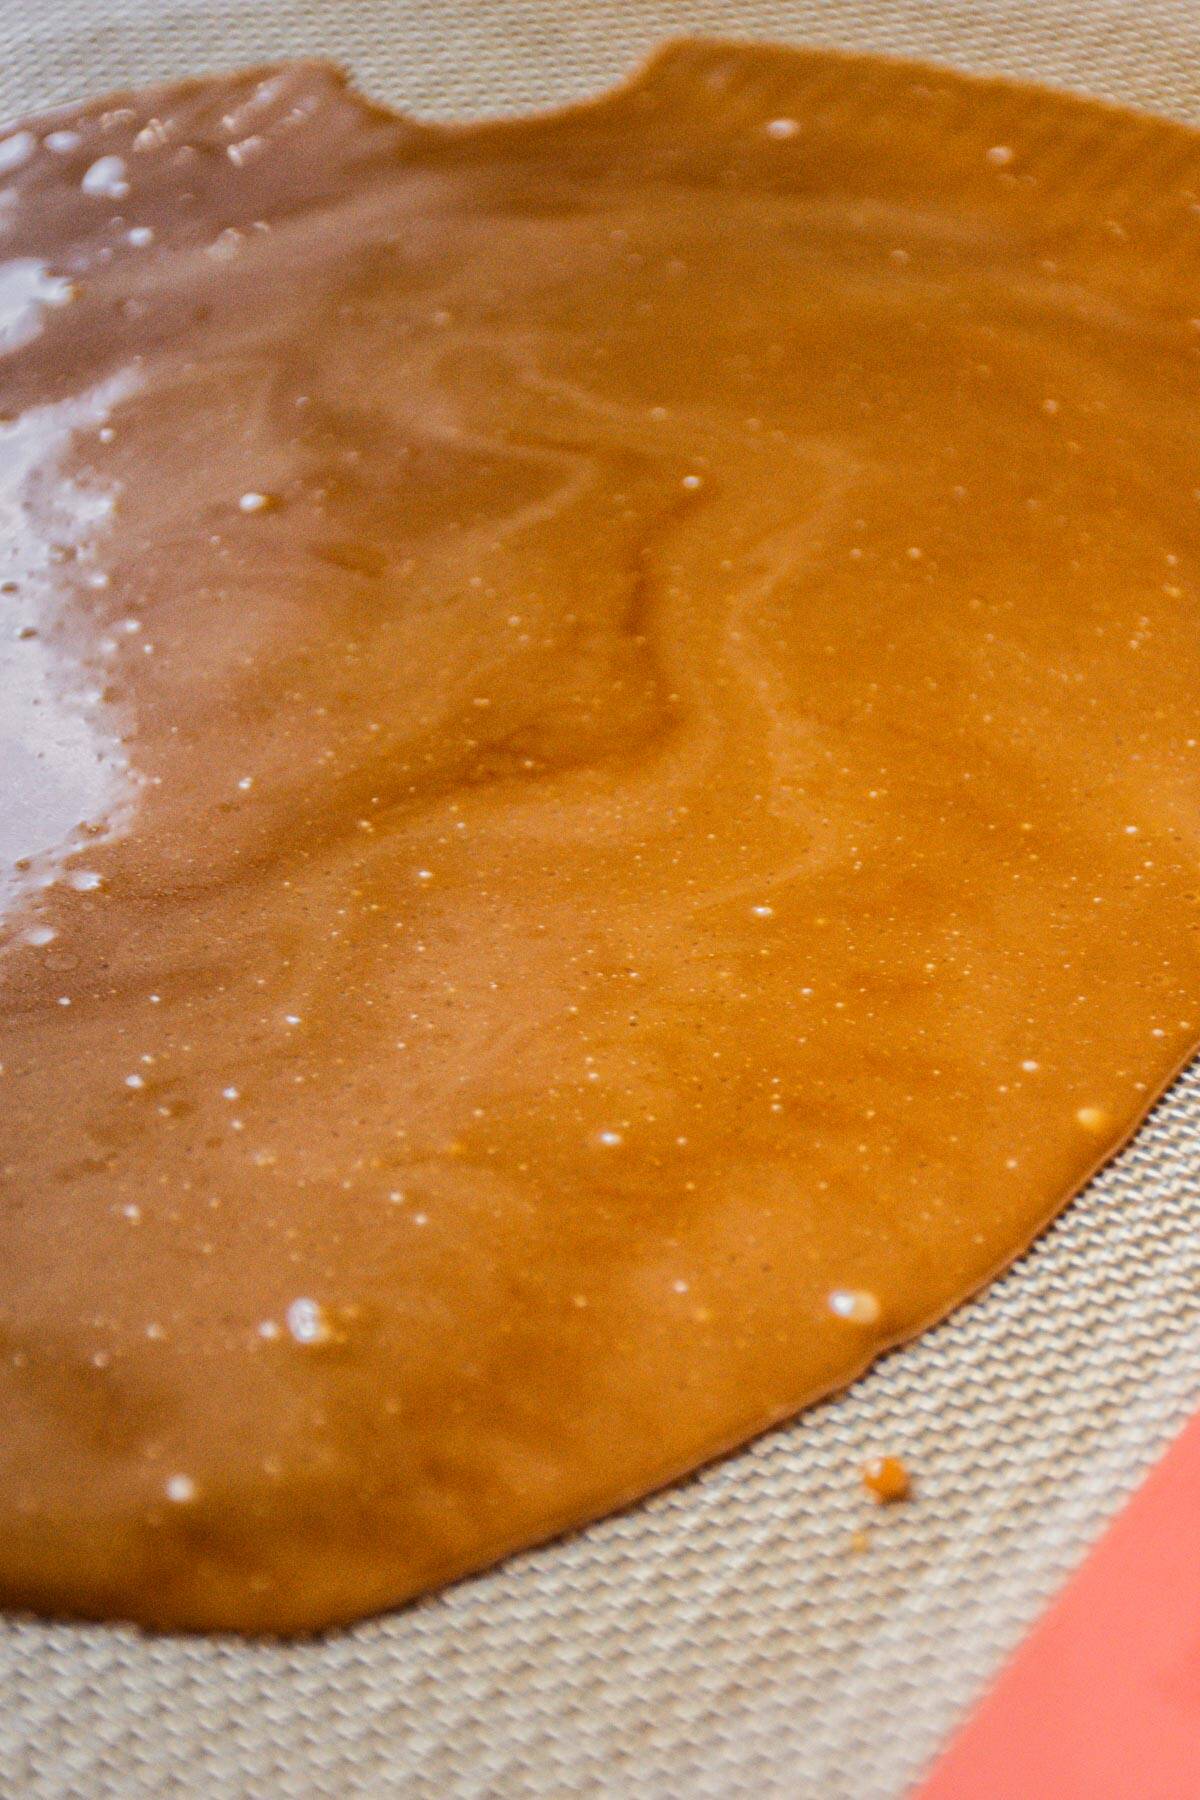
- Carefully tilt the tray a bit to spread out the toffee.
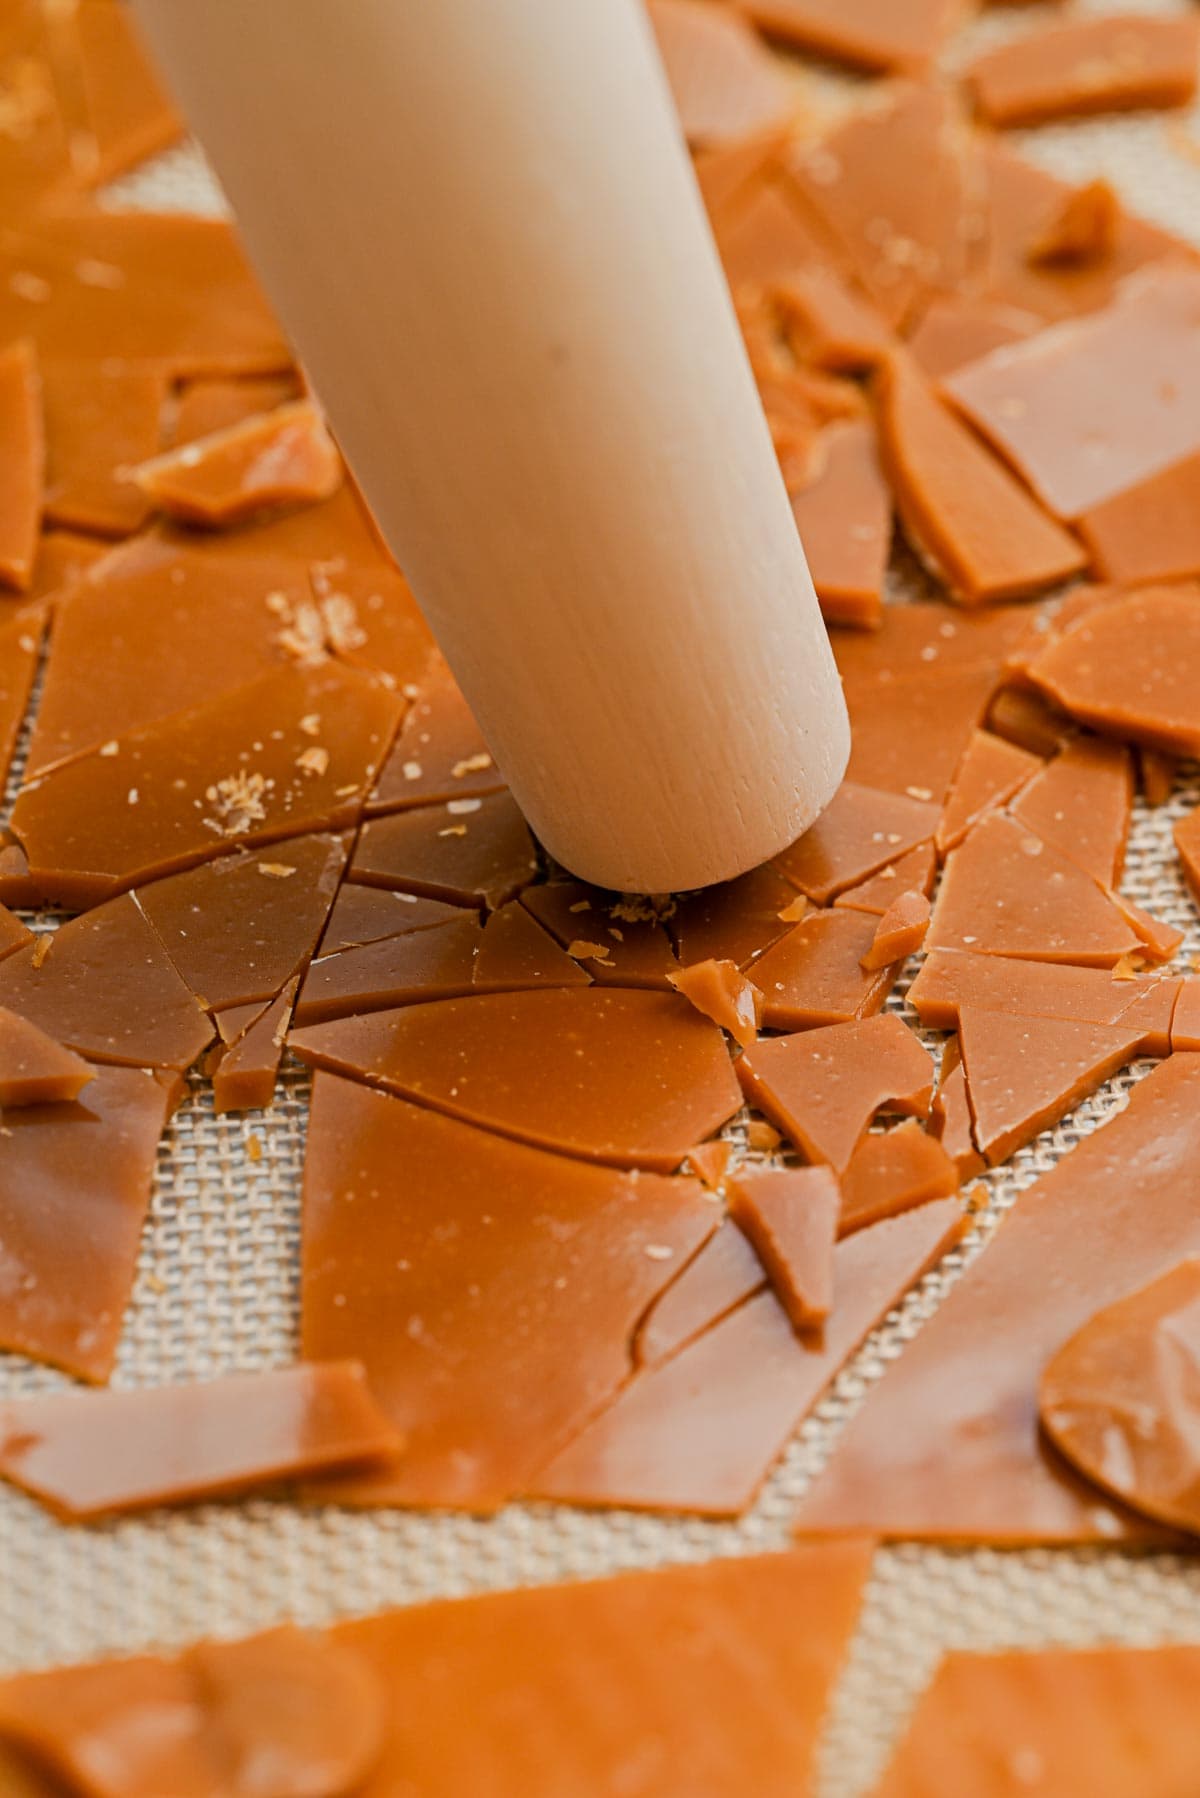
- Once hardened, break up the toffee into shards.
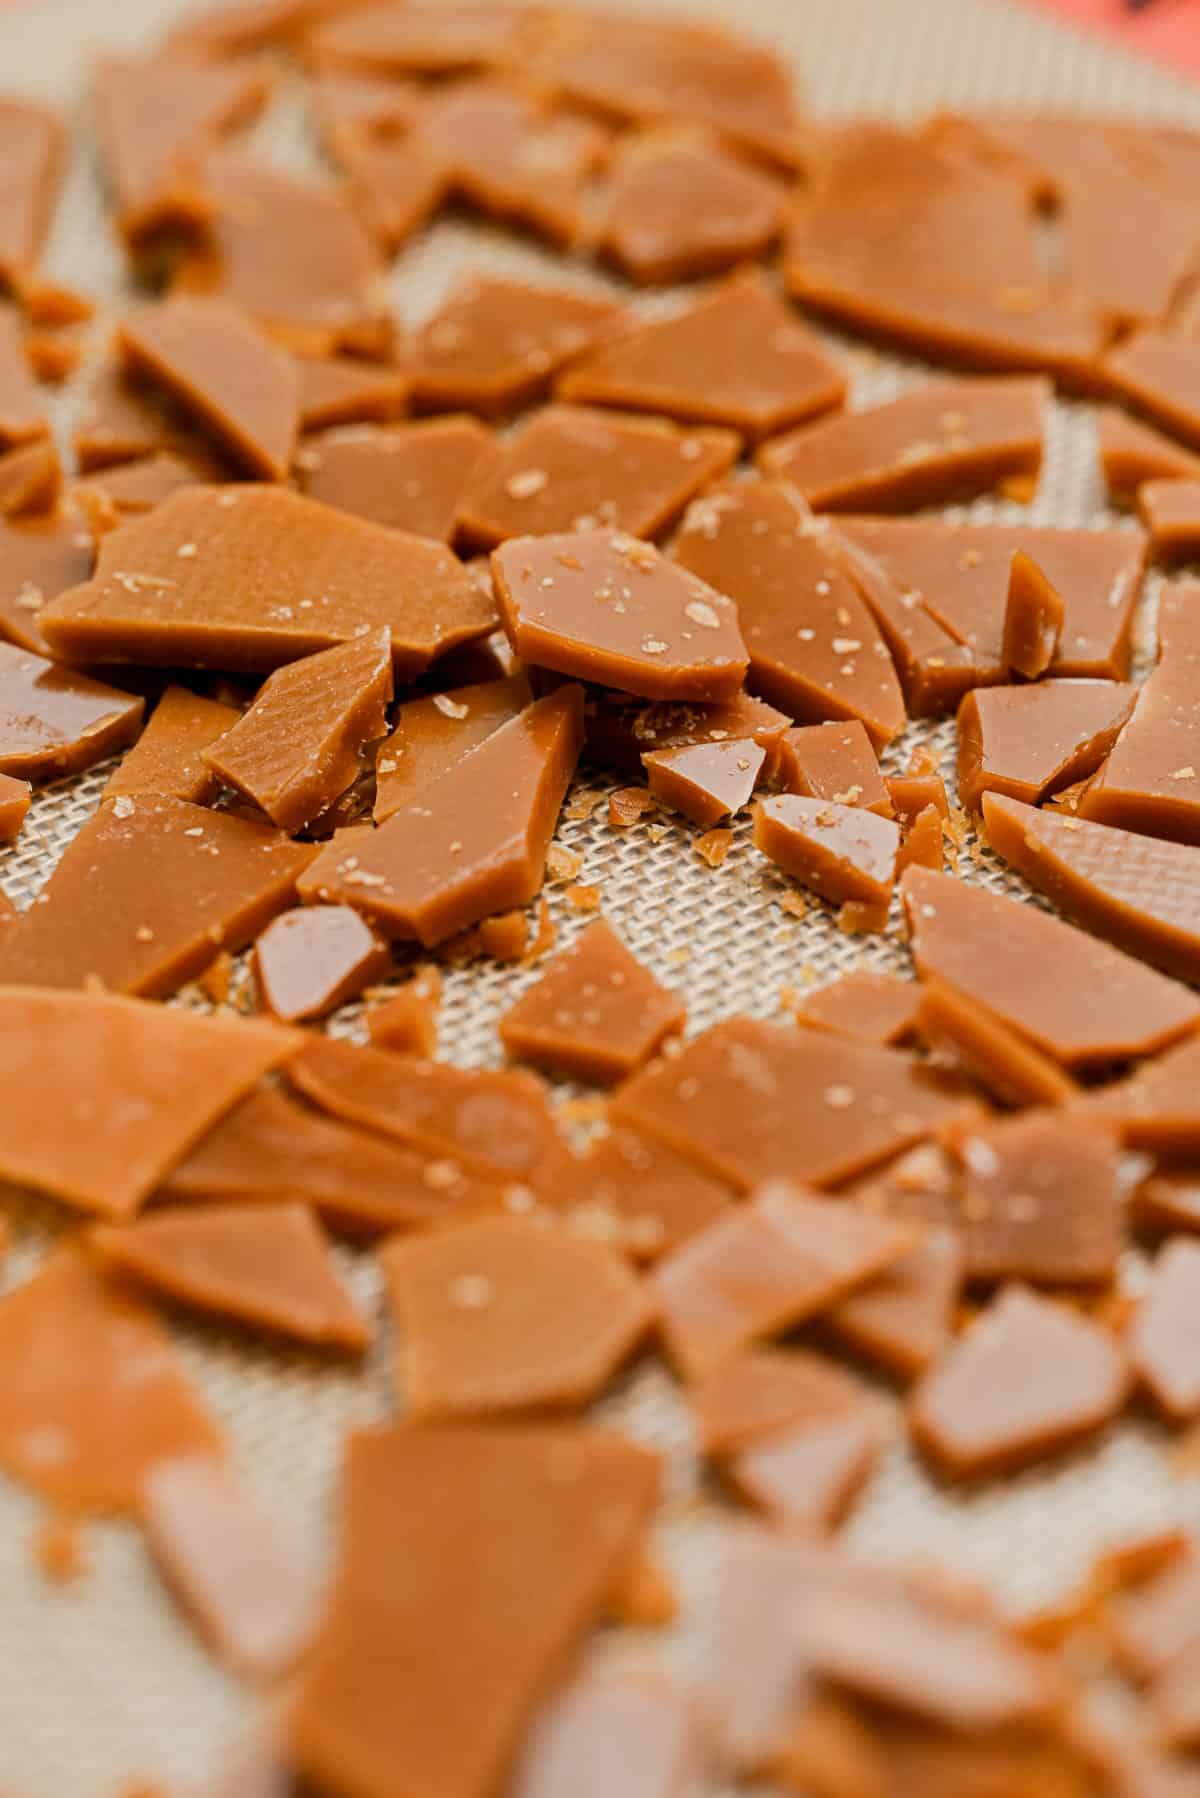
- Store leftover toffee bits in an airtight container to keep their crisp.
The stages of toffee
You don’t need a thermometer for this. Toffee tells you exactly where it is if you know what you’re watching. Here’s the sequence, start to finish:
- Melting and bubbling. The butter melts and the sugar sits in it looking grainy. You’ll get big bubbles as the water boils away. The mixture looks pale yellow and loose.
- Thickening. Once the water has gone, the mixture gets thicker and paste-like. It can look slightly grainy or on the verge of splitting here. This is normal. Keep whisking and keep the heat steady.
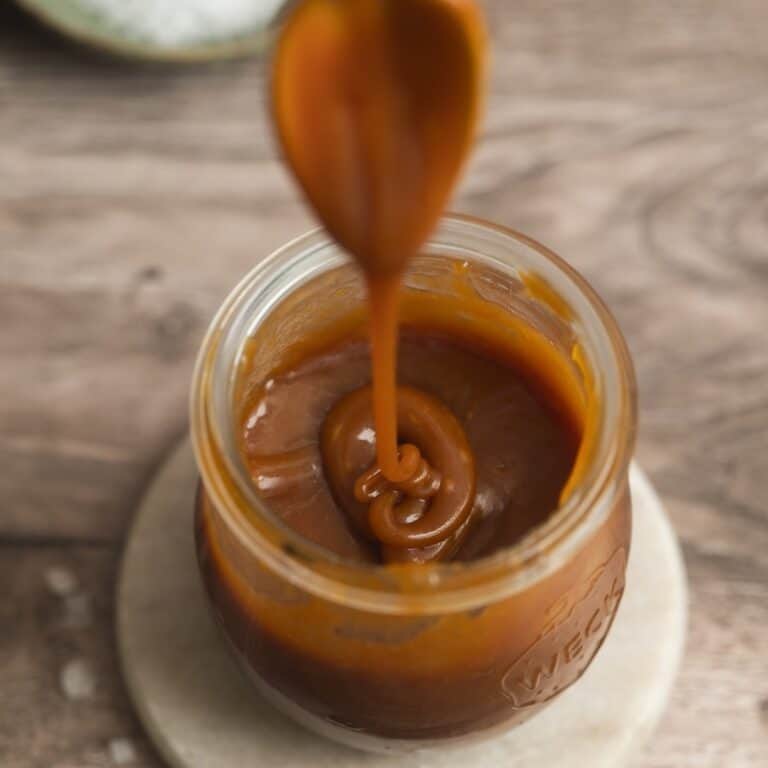
- Smoothing and thinning. The sugar starts to melt properly and the whole thing goes smooth and pourable again. At the same time the color deepens from pale gold to amber. This is where I swap the whisk for a heat-proof spatula. When you lift it, the toffee should run off in a thin, glossy stream rather than dropping in clumps.
That third stage is the one that matters, and it’s specifically the combination of thin and dark that tells you you’re there. Color alone isn’t enough. When the mixture is both deep amber and running freely off the spatula the sugar has melted and you’re done.
Things to watch for:
- Color. Deep amber. Pale gold is too early. Very dark brown with any acrid smell has gone too far and will taste bitter.
- Texture. Thin and glossy, pouring off the spatula in a stream. If it’s still thick and clumpy, it needs longer no matter what color it is.
- Smell. Rich, nutty, caramel. Sharp or burnt means pull it off.
- Smoke. Faint wisps mean you’re right at the edge. Pour it immediately.
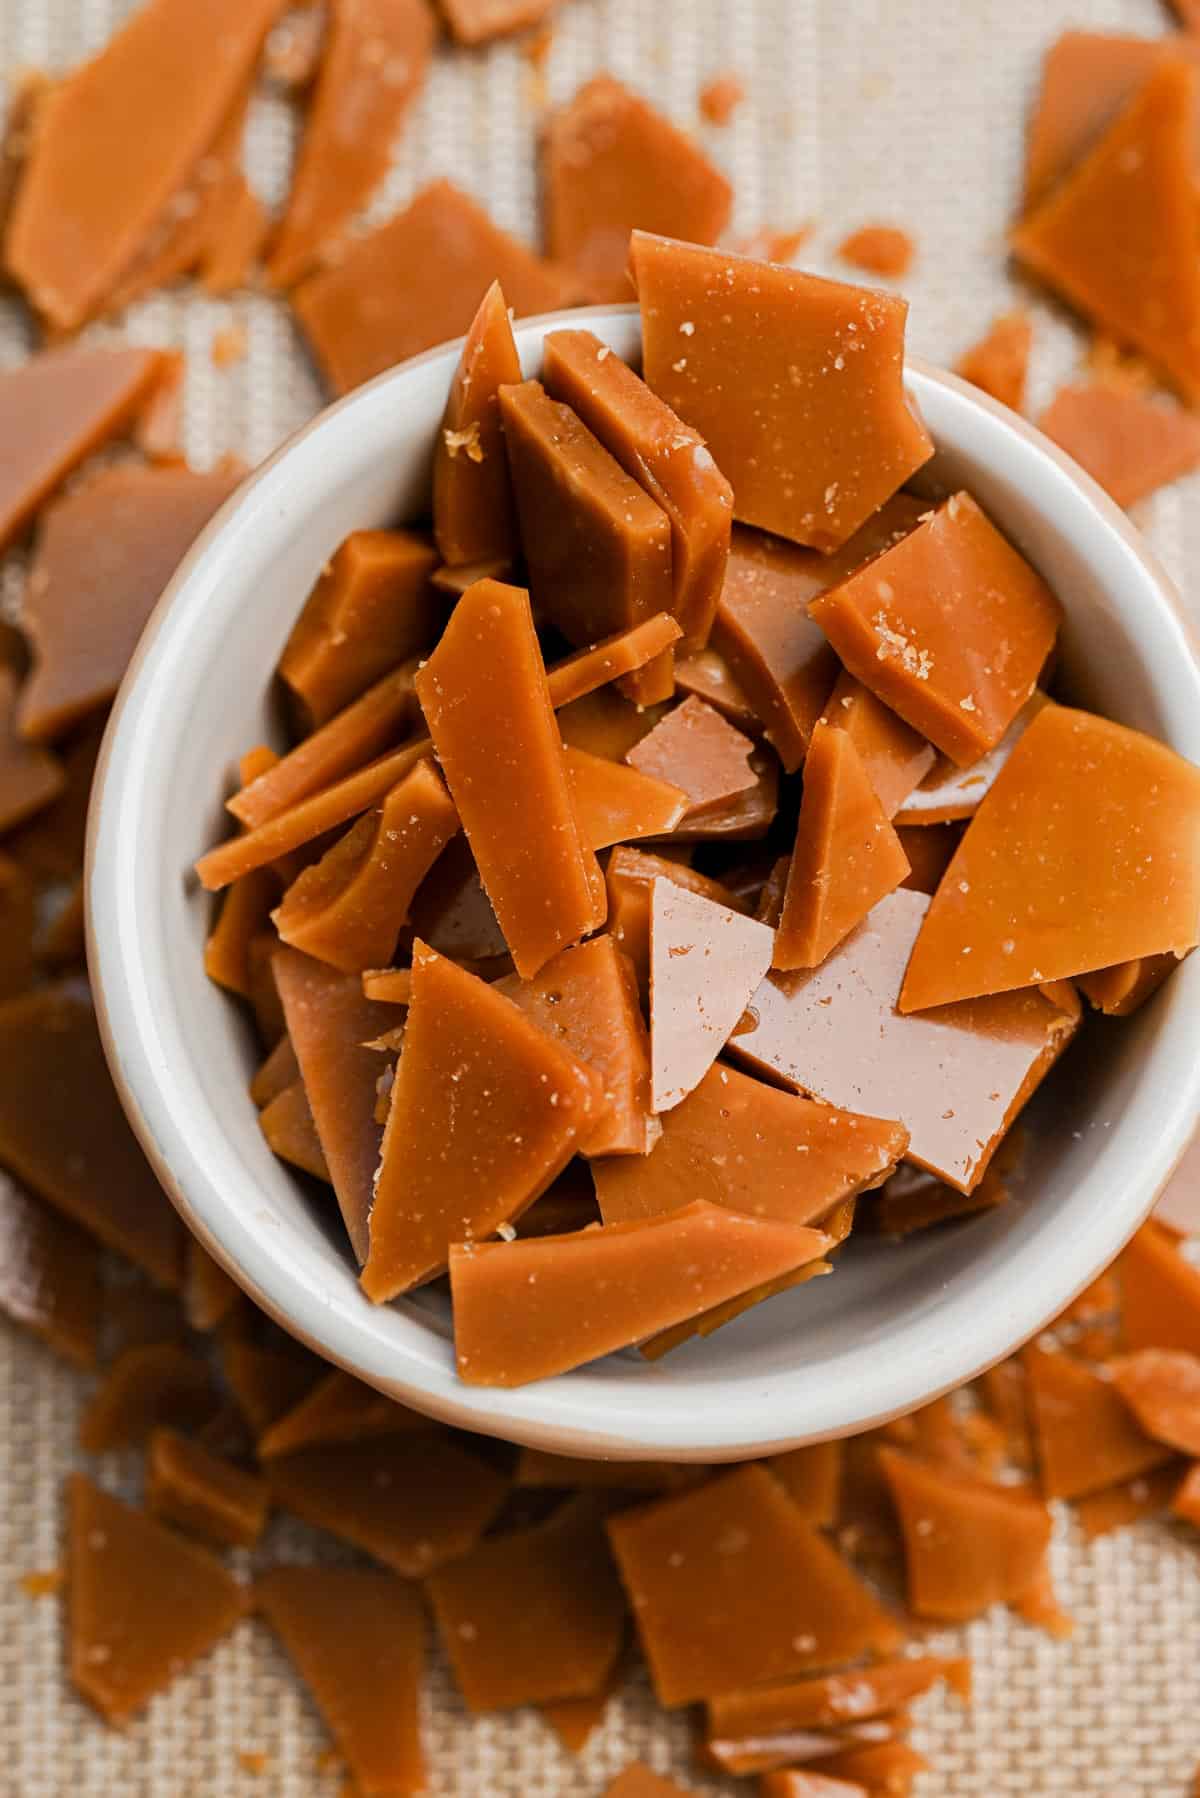
Ways to use homemade toffee bits:
- Fold them into cookies or brownies.
- Sprinkle over ice cream for a crunchy topping.
- Use as a garnish for cakes and cupcakes.
Homemade toffee bits
Ingredients
- 150 g granulated sugar
- 100 g butter
- 15 g water
- Pinch of salt
Instructions
- Line a baking tray with a silicone baking mat or parchment paper. Set it next to the stove before you start, because the toffee sets quickly once it's ready.
- In a small to medium, heavy-bottomed saucepan, melt the butter, sugar and water with the salt over medium heat. 150 g granulated sugar, 100 g butter, 15 g water, Pinch of salt
- Whisk constantly as it cooks. The mixture goes through three stages. First it bubbles rapidly and looks pale and loose. Then it thickens into a pale, paste-like mixture that can look almost grainy. Finally it smooths out, becomes really runny and deepens to amber. This takes 7 to 10 minutes.
- Once the mixture smooths out and starts to thin, swap the whisk for a heat-proof spatula and keep it moving, scraping the base and corners of the pan.
- It's ready when it's both deep amber and running off the spatula in a thin, glossy stream. Both cues need to be there. Don't let it get very dark or smell sharp or it will taste bitter.
- Remove from the heat and pour onto the prepared tray straight away, scraping the pan out with the spatula. Tilt the tray to spread the toffee into a thin, even layer, around 3 mm thick.
- Let it cool and harden completely.
- Once set, break into small shards.
Notes
- For big shards, use your hands. Snap the edges gently with your fingers to get irregular, rustic shards.
- Tap with a tool. I like to use the back of a tool like the handle of a knife or a rolling pin. Tap lightly or press down to break the toffee along its natural lines.
- For smaller bits. Put the toffee in a zip-top bag and gently tap it with a rolling pin or meat mallet.



Home made toffee bits, well that’s actually better than market one. Thanks for the above recipe. Such great work you people are doing by sharing such recipe.
Hope you love this recipe! 🙂