
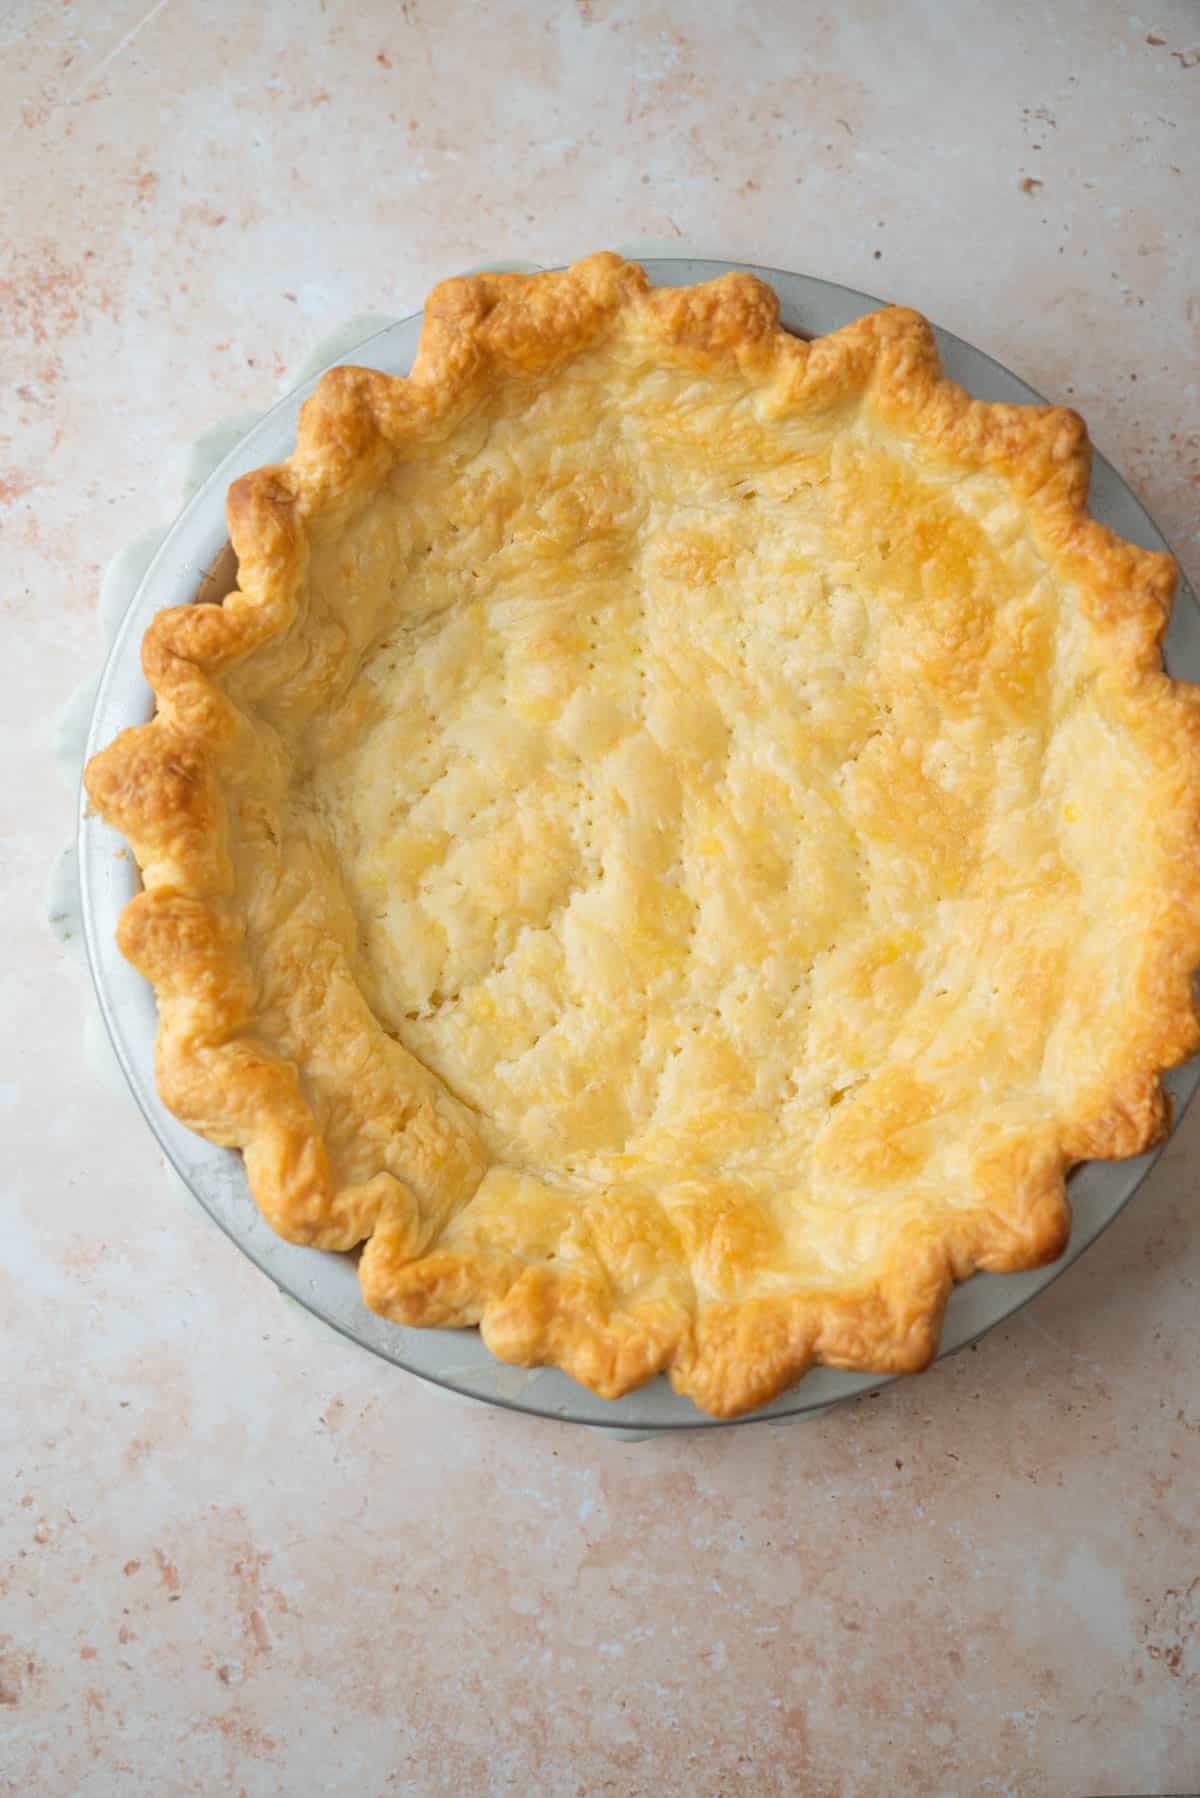

Blind baking means baking a pie crust before adding its filling. You can partially bake it so it finishes cooking with the filling, or fully bake it until golden and crisp.
Here’s how I blind bake my flaky butter pie crust, with tips for keeping the pastry from shrinking and photos showing what to look for at each stage.
Par-bake or full bake
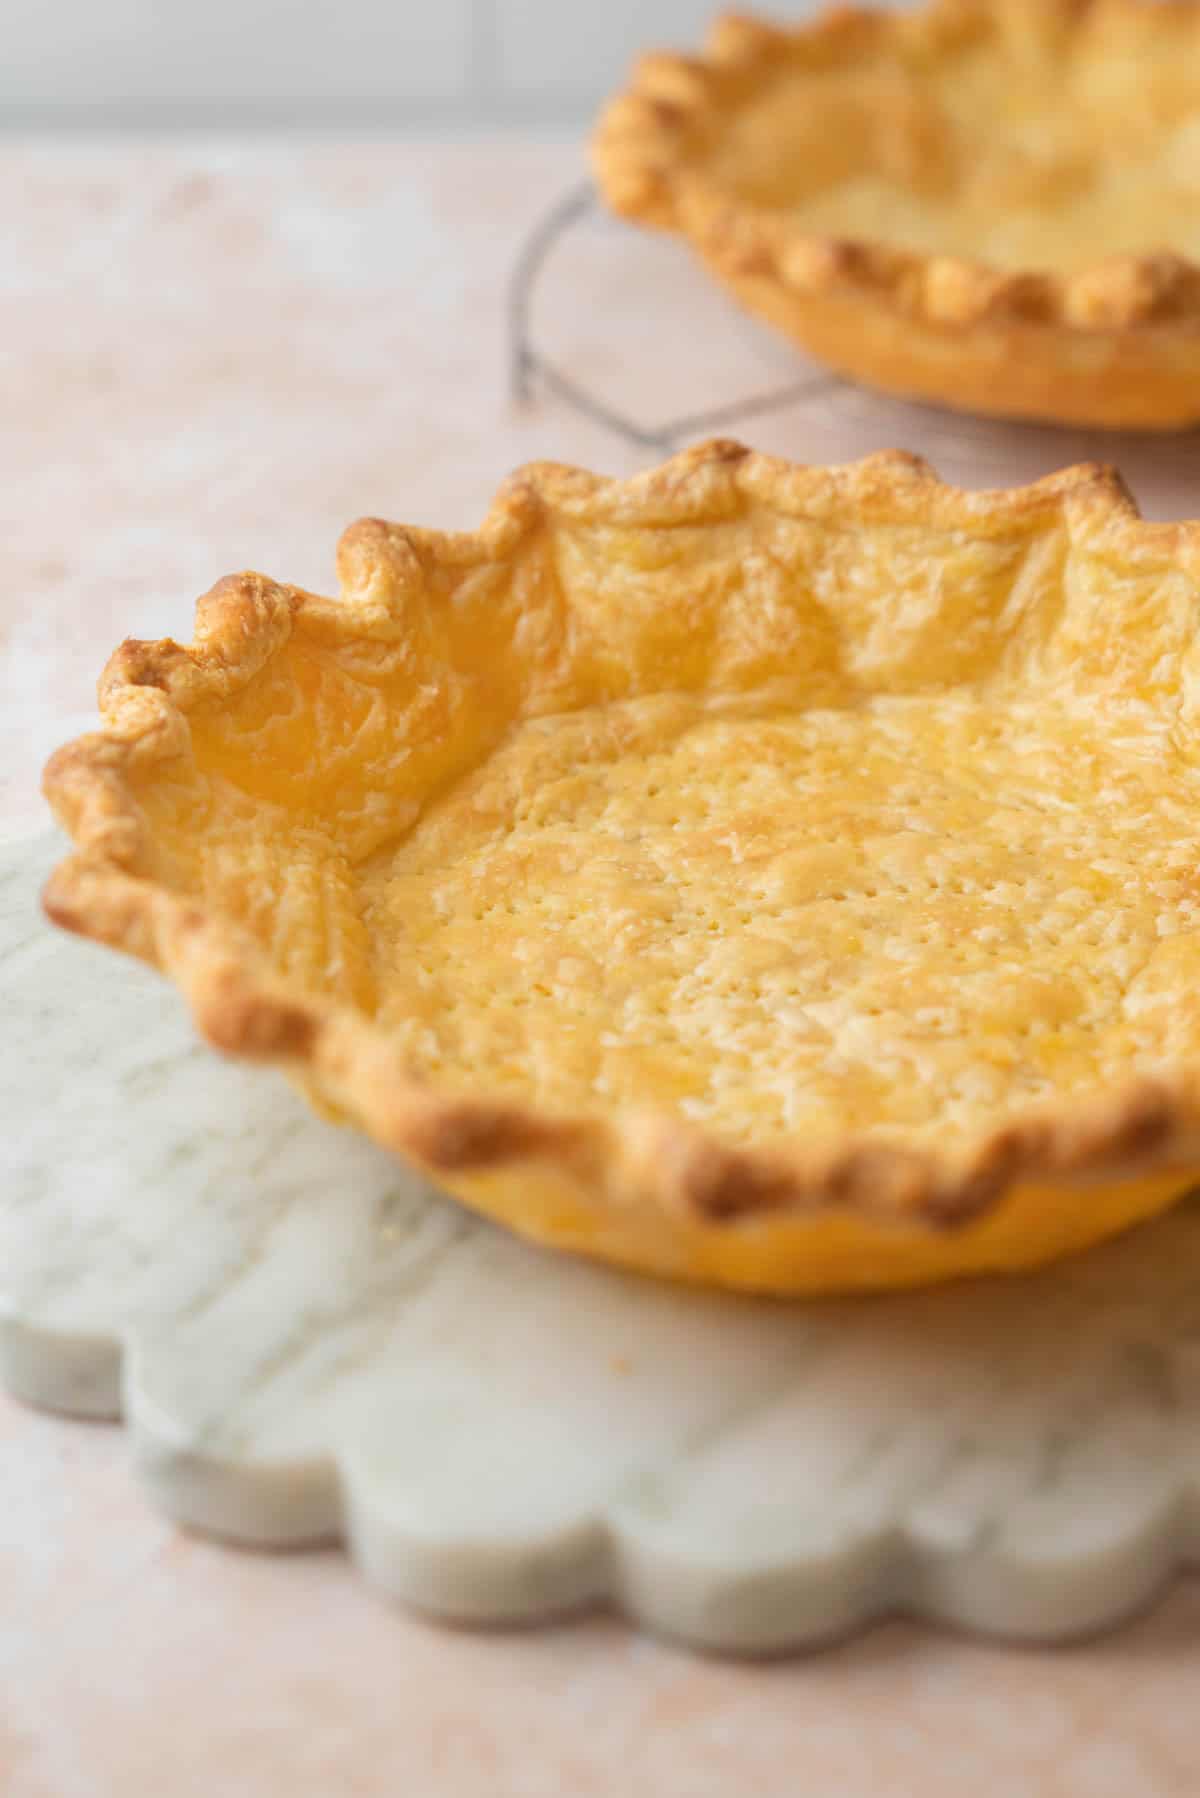
You can partially bake it or bake it completely, depending on the pie you’re making.
- Par-baking: The pastry is partially baked, then finishes cooking with the filling. The base should look dry but will still be pale.
- Fully baking: The pastry is baked until golden and cooked through, ready for a filling that doesn’t need further baking.
Blind baking gives the pastry a head start when the filling cooks faster than the crust. It also lets you fully cook an empty shell for cream pies and other chilled fillings. Not every pie needs a blind-baked crust. Most double-crust fruit pies use raw pastry and bake the crust and filling together.
What you’ll need
- Pie dough. My flaky butter pie crust recipe makes two portions. Use one for a single 9-inch crust.
- A rolling pin and flour for rolling.
- A pie dish.
- Parchment paper or aluminum foil to separate the pastry from the weights.
- Pie weights, dried beans, uncooked rice, or granulated sugar.
- A fork for docking the base.
- A pie shield or foil strips to protect the edges if they brown before the bottom is ready.
What if you’ve got no pie weights?
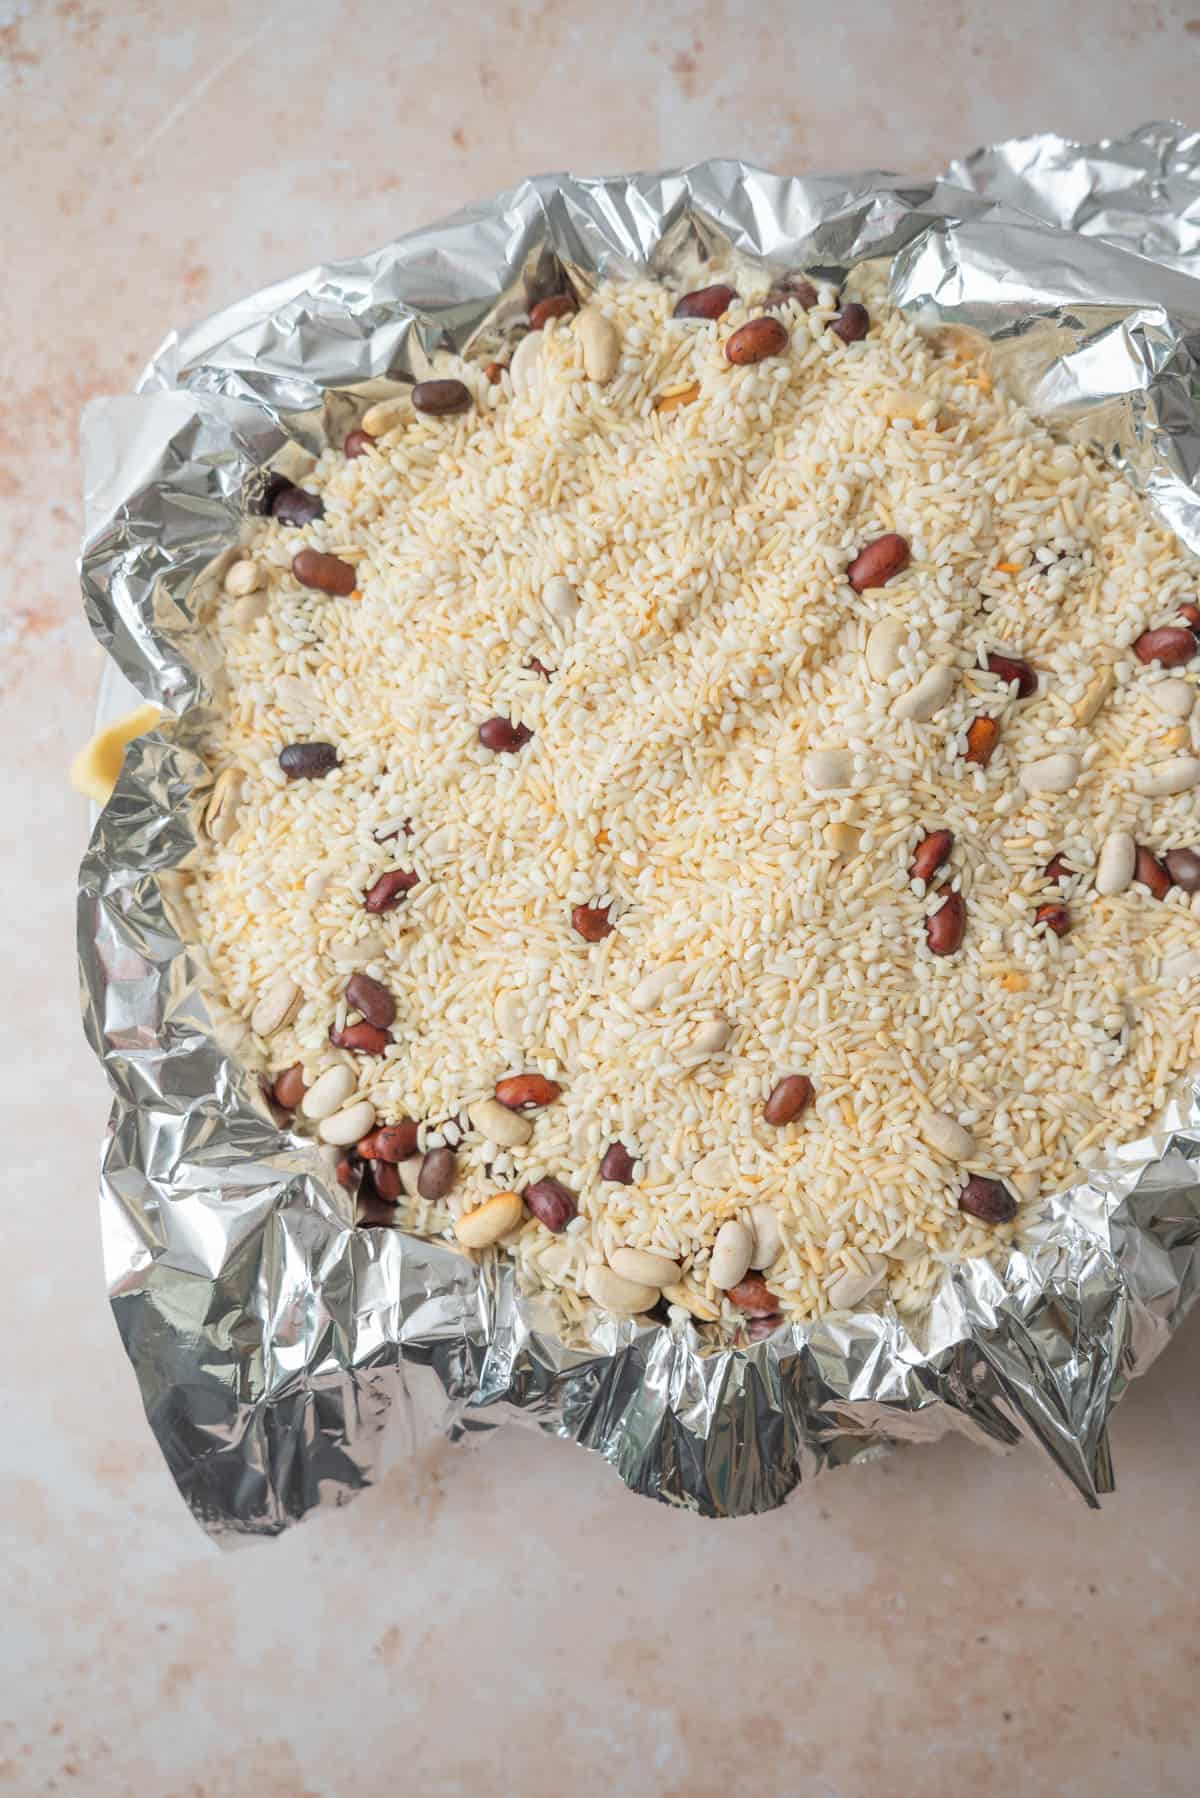
Dried beans and uncooked rice work well. I use a mixture of both, around 1 kg for my dish. The amount you need will depend on the size and depth of yours.
The important thing is to fill the lined crust right up the sides. A thin layer across the bottom won’t support the walls of the pastry. Let the rice or beans cool completely afterward, then store them in a labeled container to use again for blind baking.
How to keep pie crust from shrinking
- Rest the dough before rolling. This gives the flour time to hydrate and the gluten time to relax, making the dough easier to roll without springing back.
- Roll it evenly. Work from the center outward and turn the dough regularly. Aim for an even thickness rather than a thick middle with thin edges.
- Don’t try and force very cold dough. If it cracks immediately under the rolling pin, let it soften for a few minutes. It should be cool and pliable, not soft or greasy.
- Make the circle large enough. You need enough pastry to cover the bottom, fit up the sides, and leave an overhang. Trying to stretch a small circle into the dish encourages shrinking.
- Fit the pastry snugly without stretching. Lift the edges and ease the dough into the crease where the bottom meets the sides. Gently press it against the dish so there aren’t gaps underneath.
- Leave enough overhang. Keep about ½ inch beyond the rim, then fold it underneath itself to form a thicker border. Crimp it so it rests on the rim rather than sitting entirely inside the dish.
- Chill really well after shaping. Refrigerate the lined dish for at least 30 minutes, or until the pastry feels firm and cold. This firms the butter and lets the dough relax after rolling and shaping.
- Use enough weights. Fill the lined crust right up the sides to support them as the pastry bakes.
- Leave the weights in until the sides have set. Lightly browned edges alone aren’t enough. The sides need to hold their shape when the support is removed.
How to blind bake pie crust
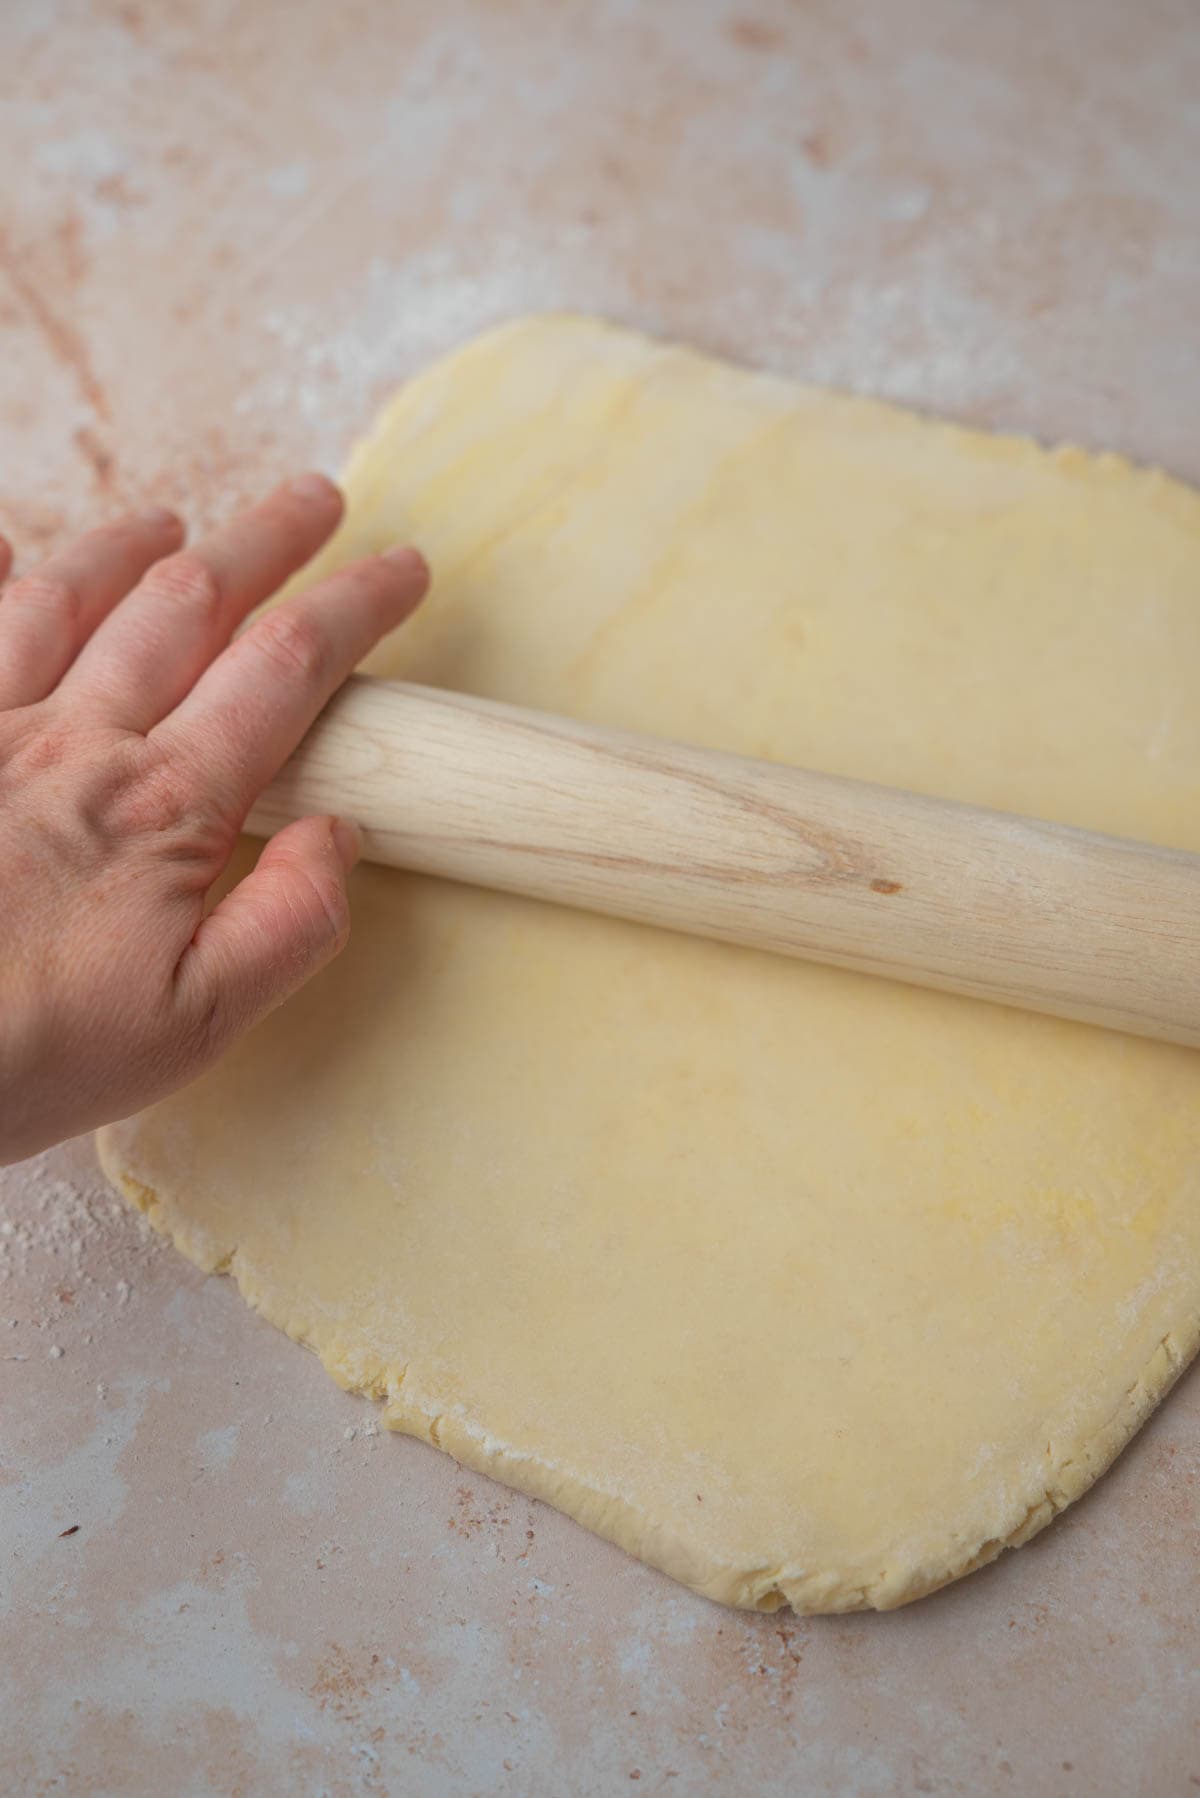
- On a lightly floured surface, roll one chilled dough disc into a circle about ⅙ inch (4 mm) thick. For a standard 9-inch pie dish, aim for a circle about 12 inches (30 cm) across. Deeper dishes may need a larger circle.
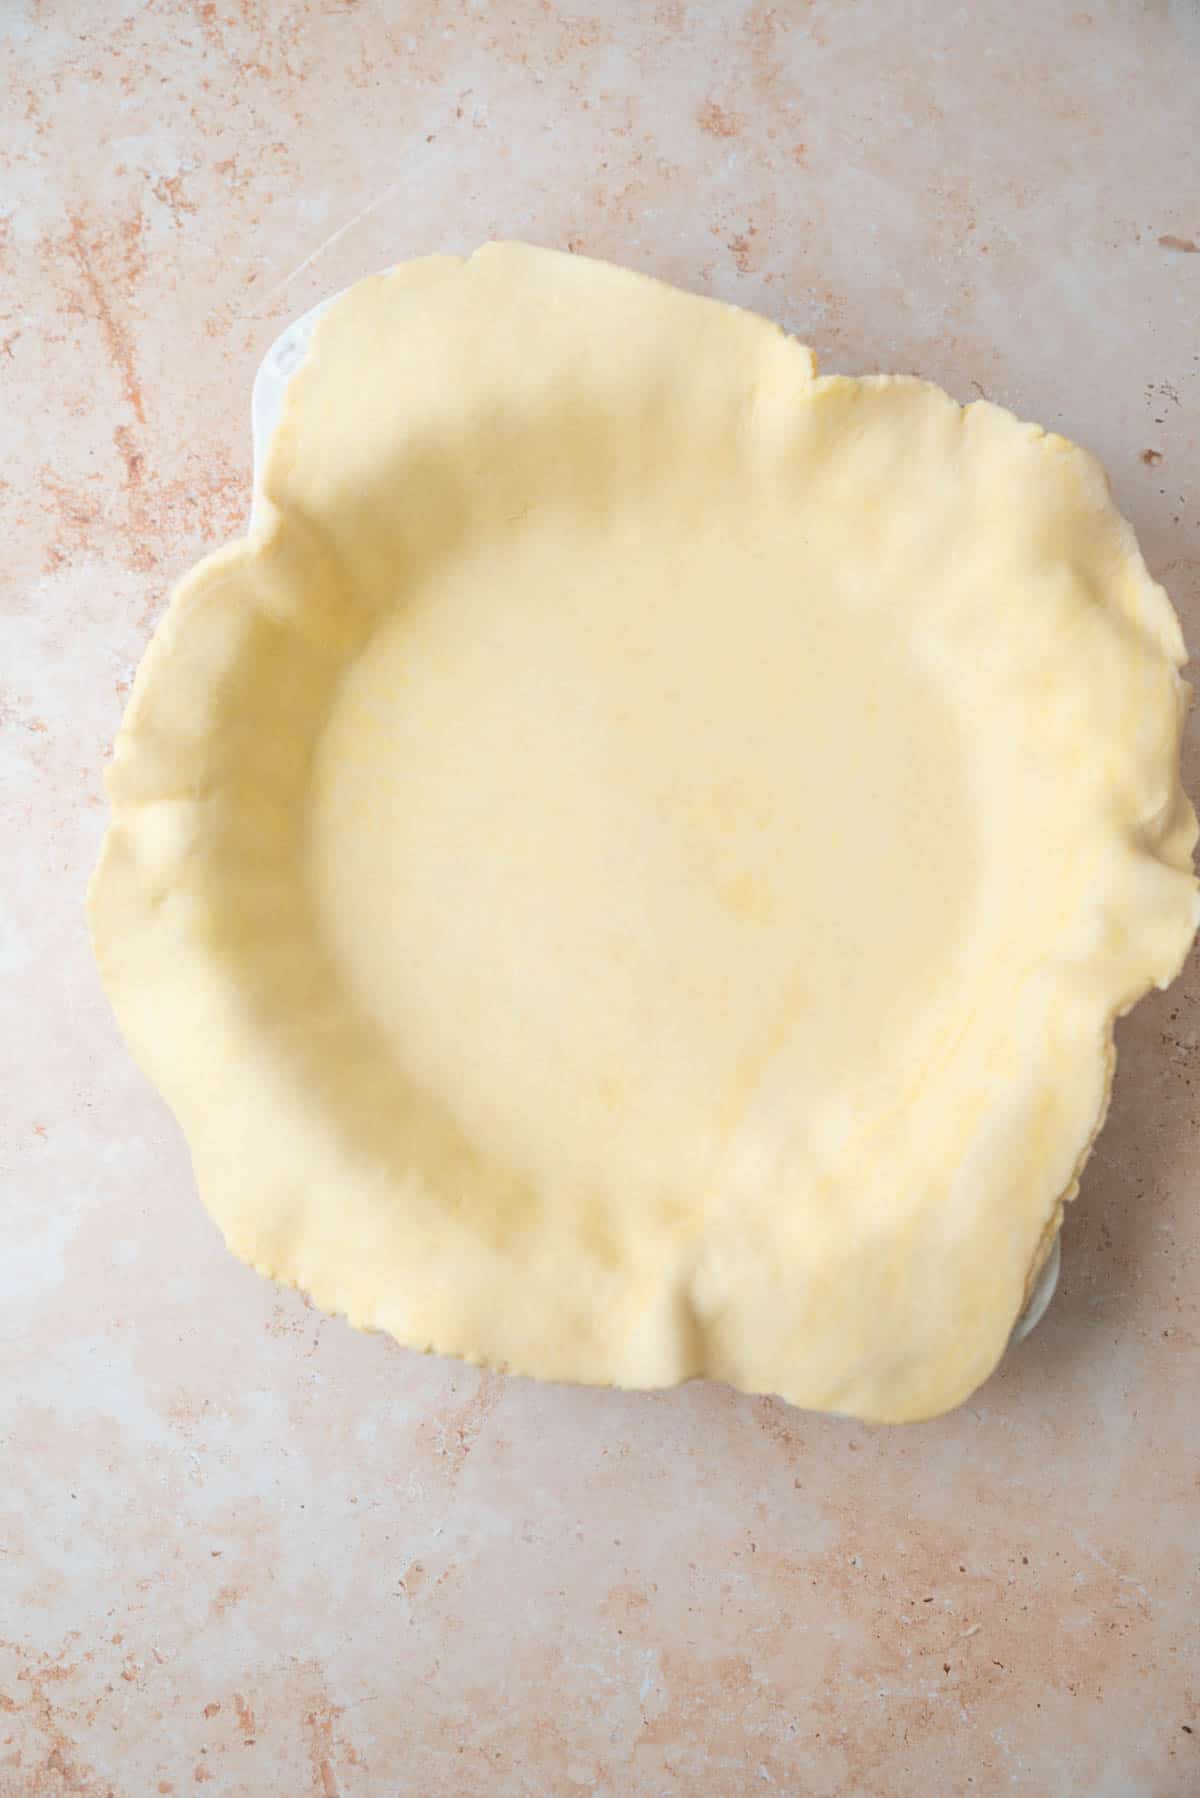
- Gently lower the pastry into the dish. Gently press around that bottom crease, then against the sides. You want good contact with the dish, without gaps underneath, but don’t press so hard that you squash the pastry thin.
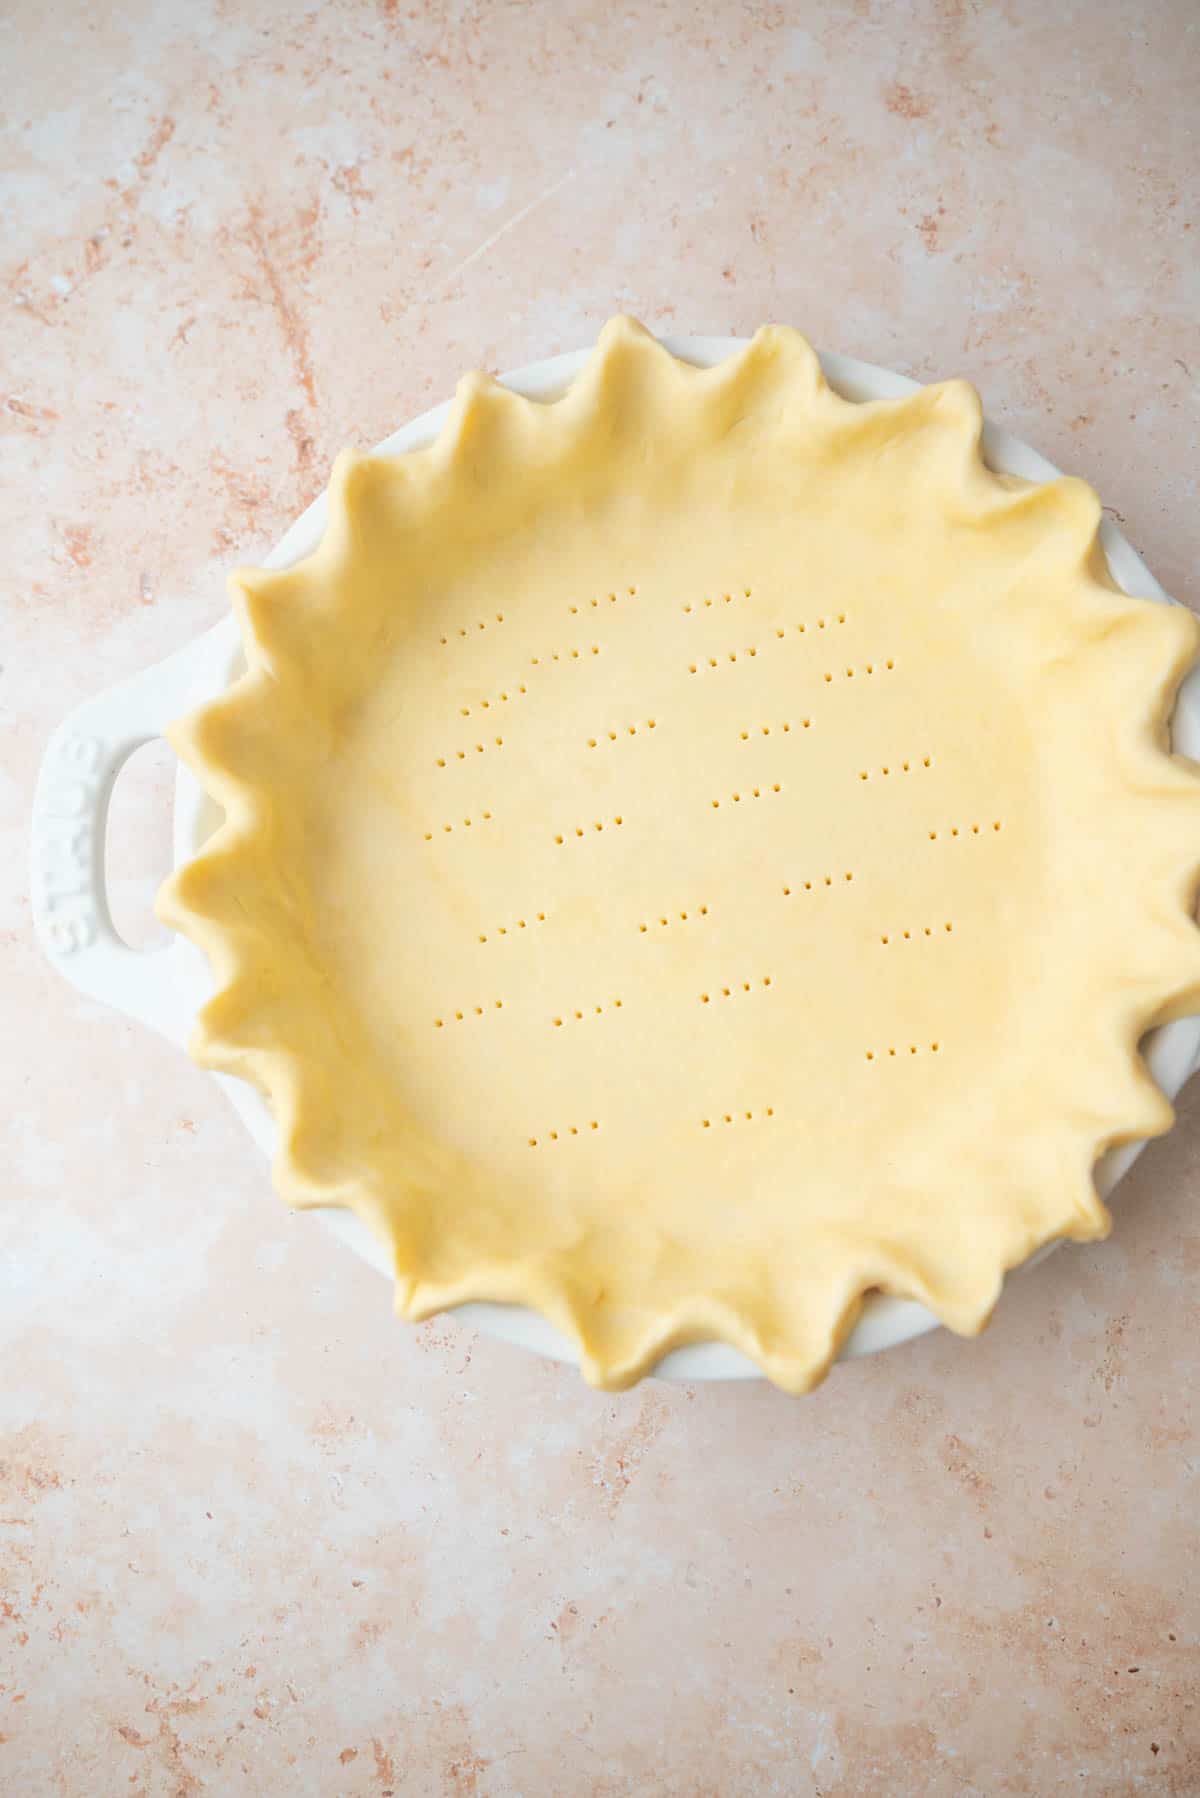
- Trim the excess, leaving about ½ inch (1.2 cm) beyond the rim. Fold this underneath itself to make a thicker border, then crimp or flute the edge. Dock the pie dough with a fork and chill in the fridge.
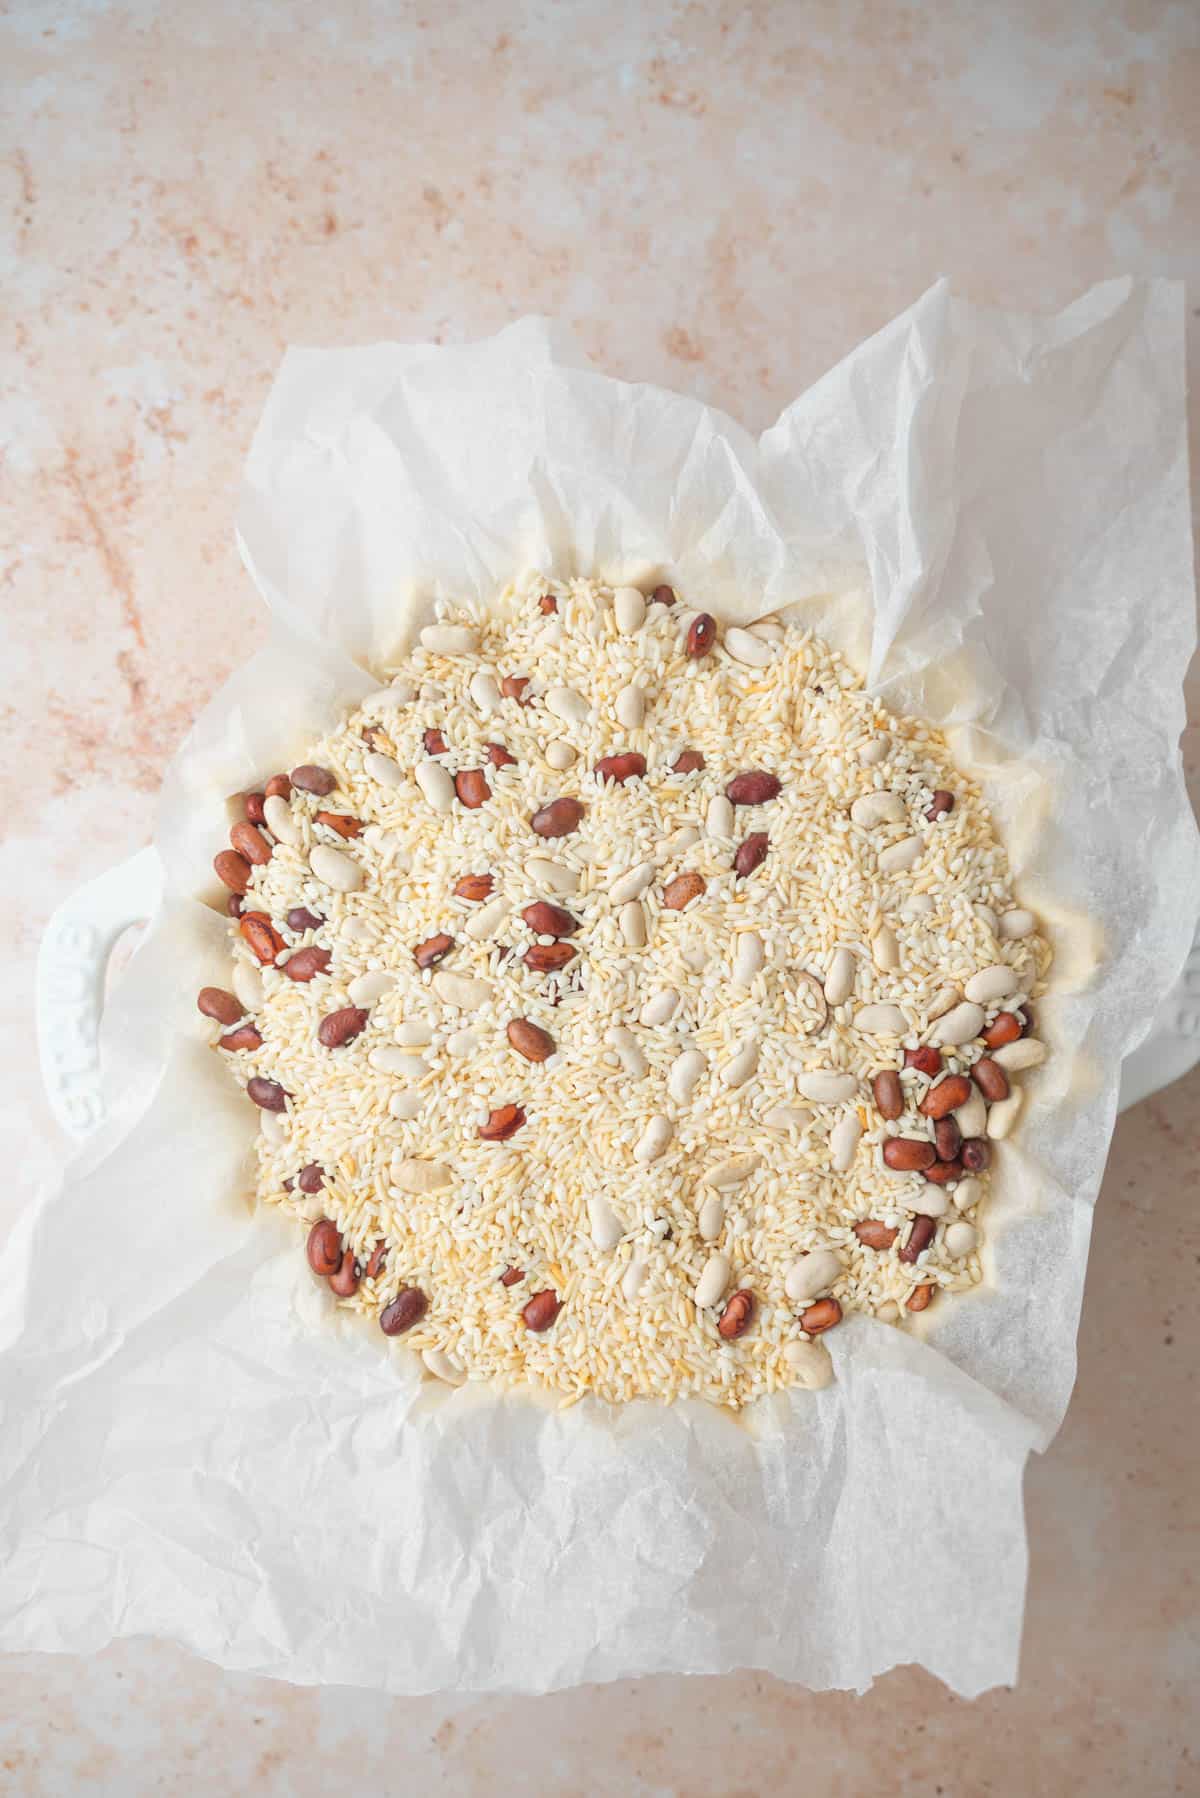
- Line the chilled crust with parchment paper or aluminum foil, leaving enough extending above the dish to lift out the weights later. Fill with pie weights, dried beans or uncooked rice.
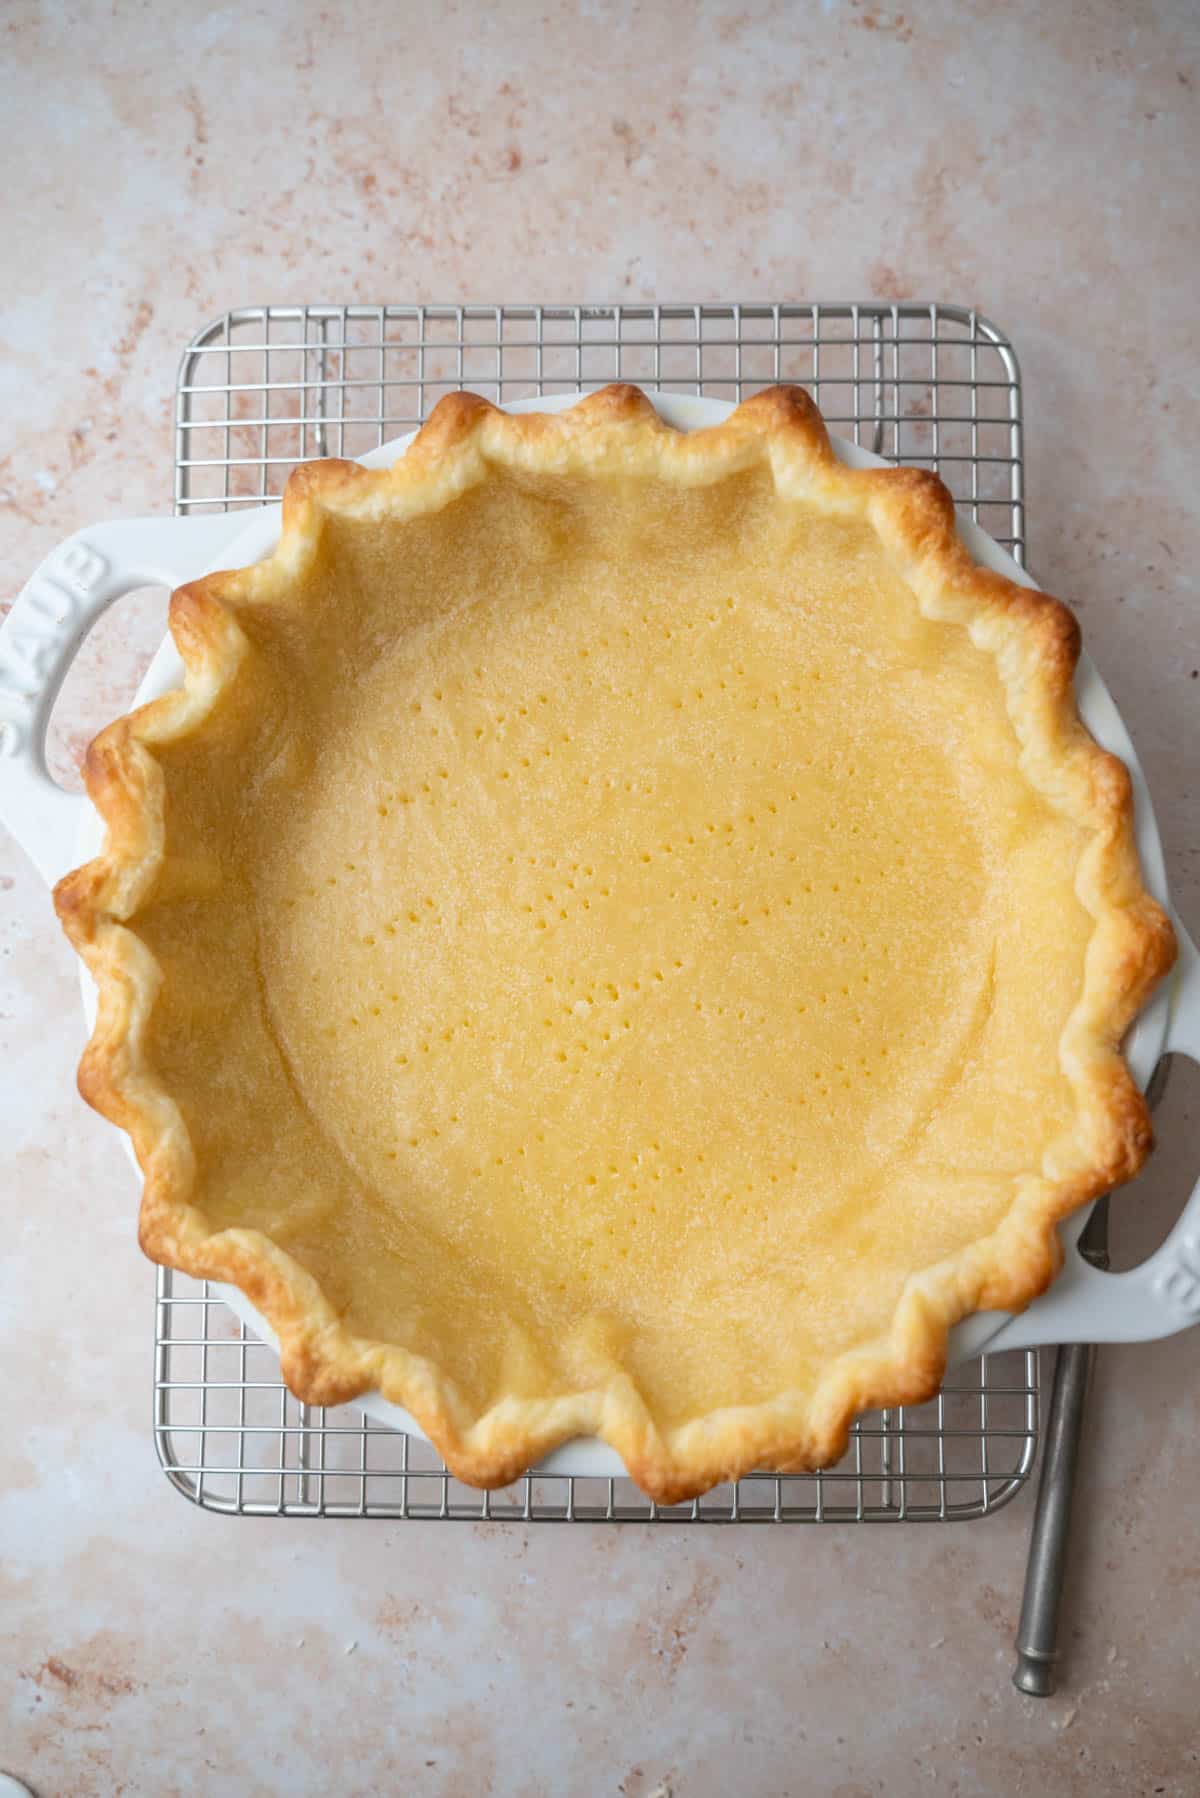
- Bake at 425°F (220°C) for 15 to 20 minutes, or until the edges are lightly golden and the sides have set or until the edges are lightly golden and the sides have set. Carefully lift out the lining and weights and transfer them to a heatproof bowl or tray.
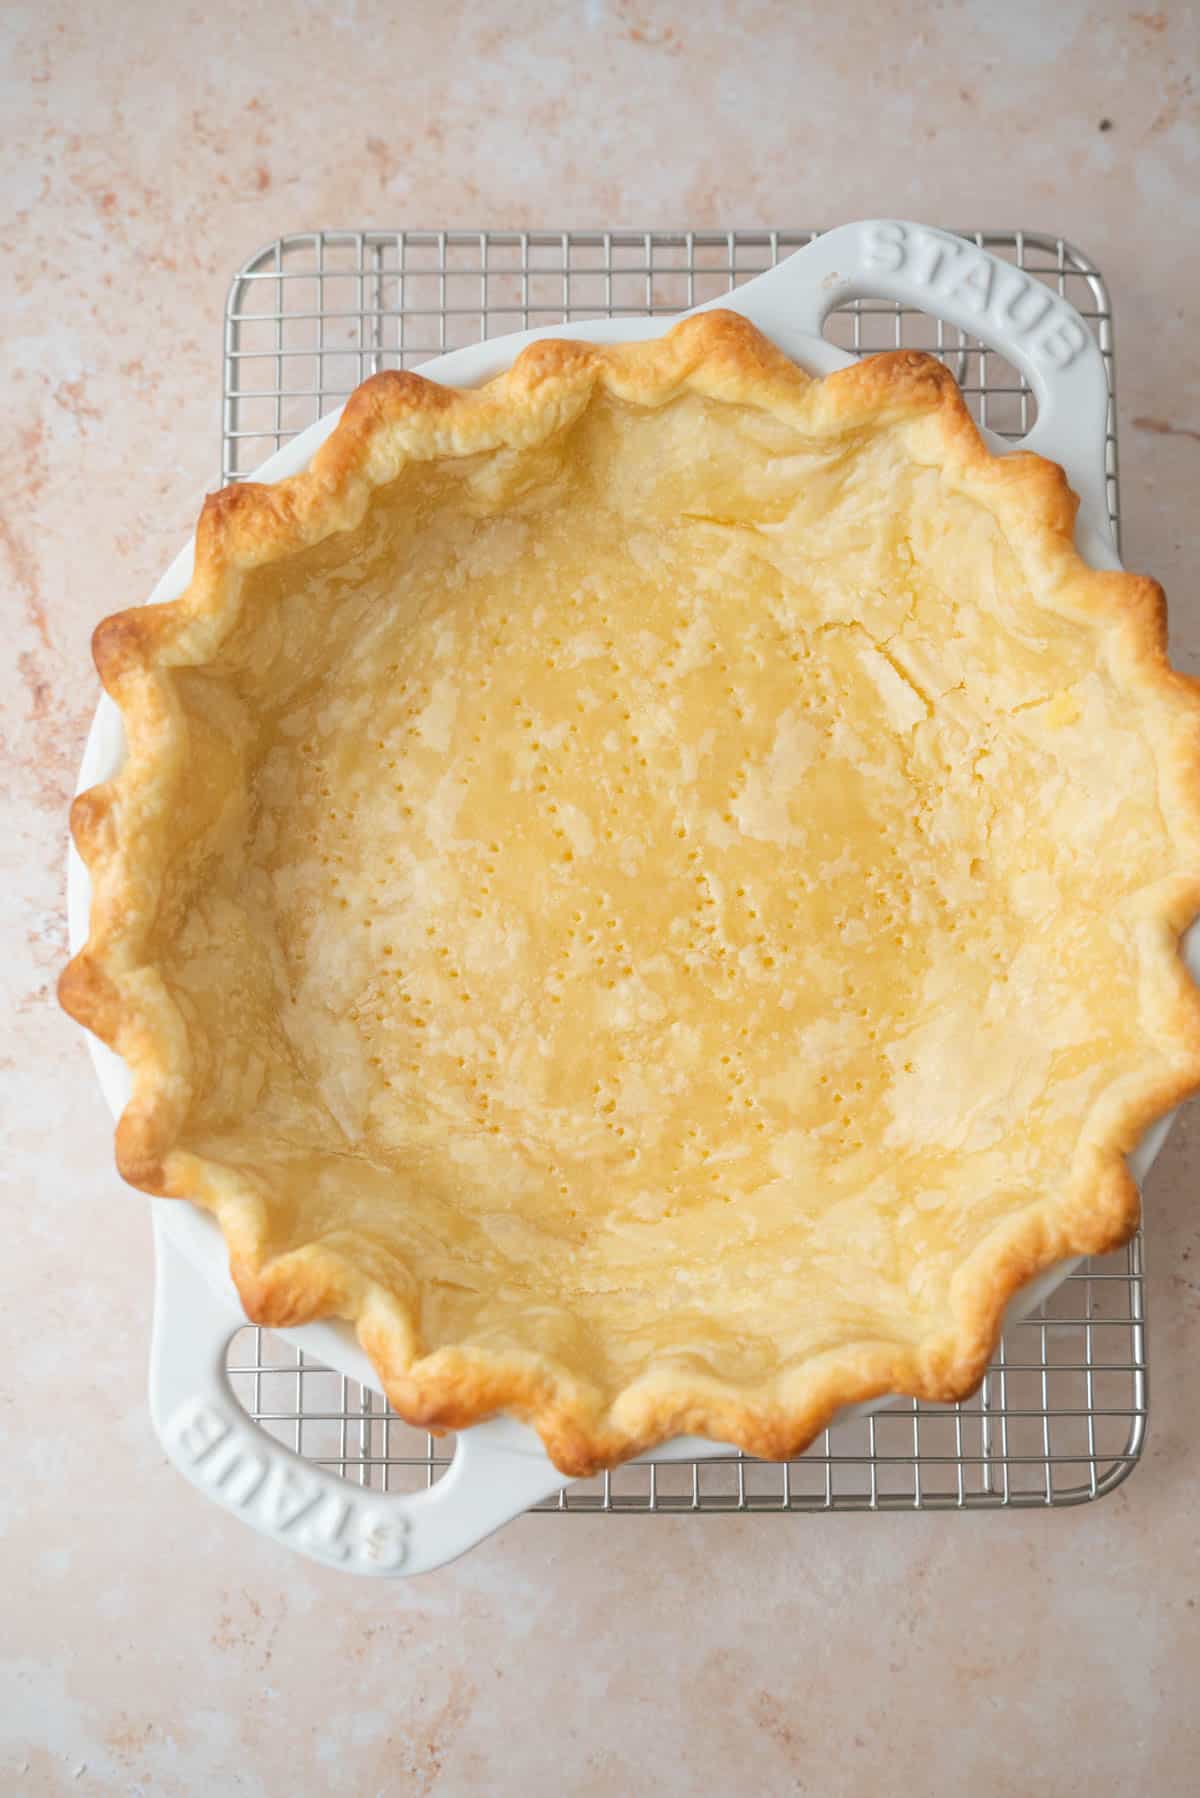
- Prick the bottom again then return it to the oven at 425°F (220°C) for 3 to 5 minutes, or until the surface looks dry rather than wet and shiny.

This is your par-baked crust. The base is still pale, though the edges have some color. It isn’t fully cooked yet and will finish baking with the filling.
Full baking a pie crust
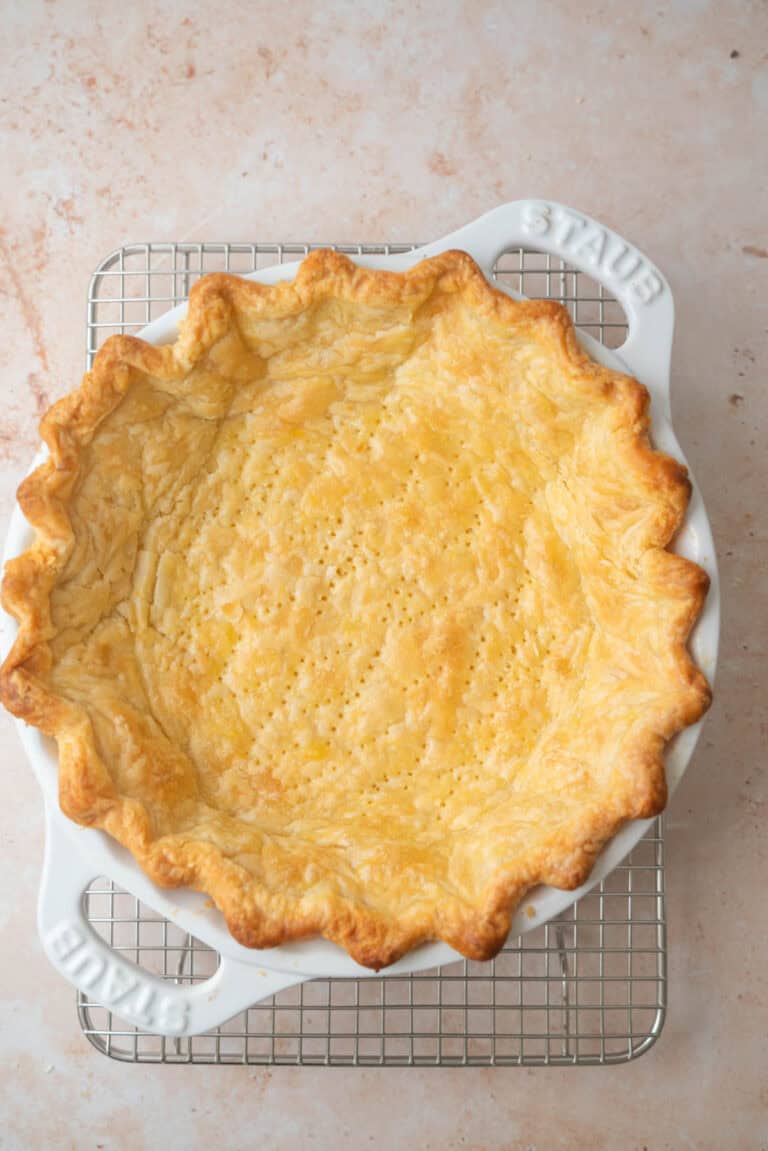
Sometimes, the pie crust must be fully baked before adding the filling. This method is used when the filling doesn’t require baking or is pre-cooked. Fully baking the crust ensures it remains crisp and flaky, even after adding the filling.
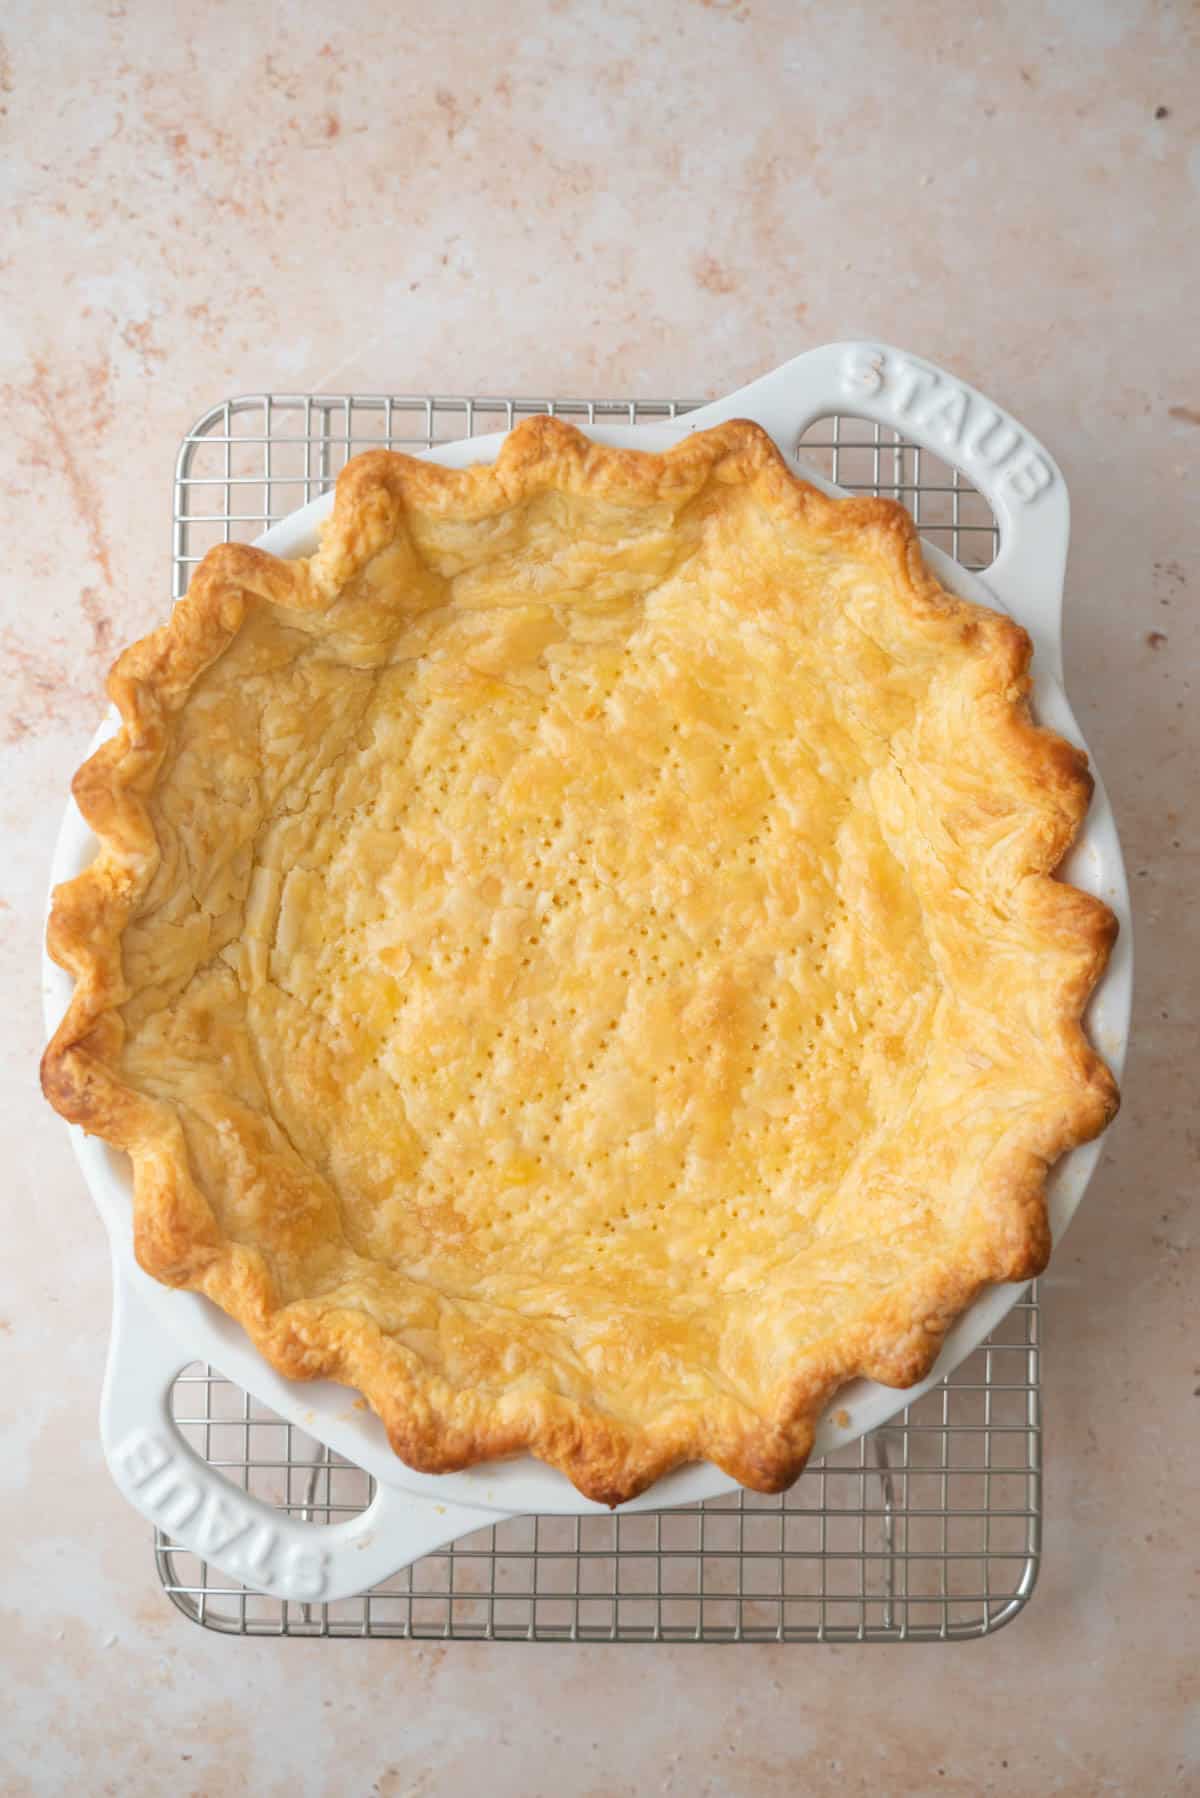
- After removing the lining and weights, lower the oven temperature to 375°F (190°C). Prick the base again if needed, then bake uncovered for 15 to 20 minutes, or longer as needed, until the bottom is golden and cooked through.
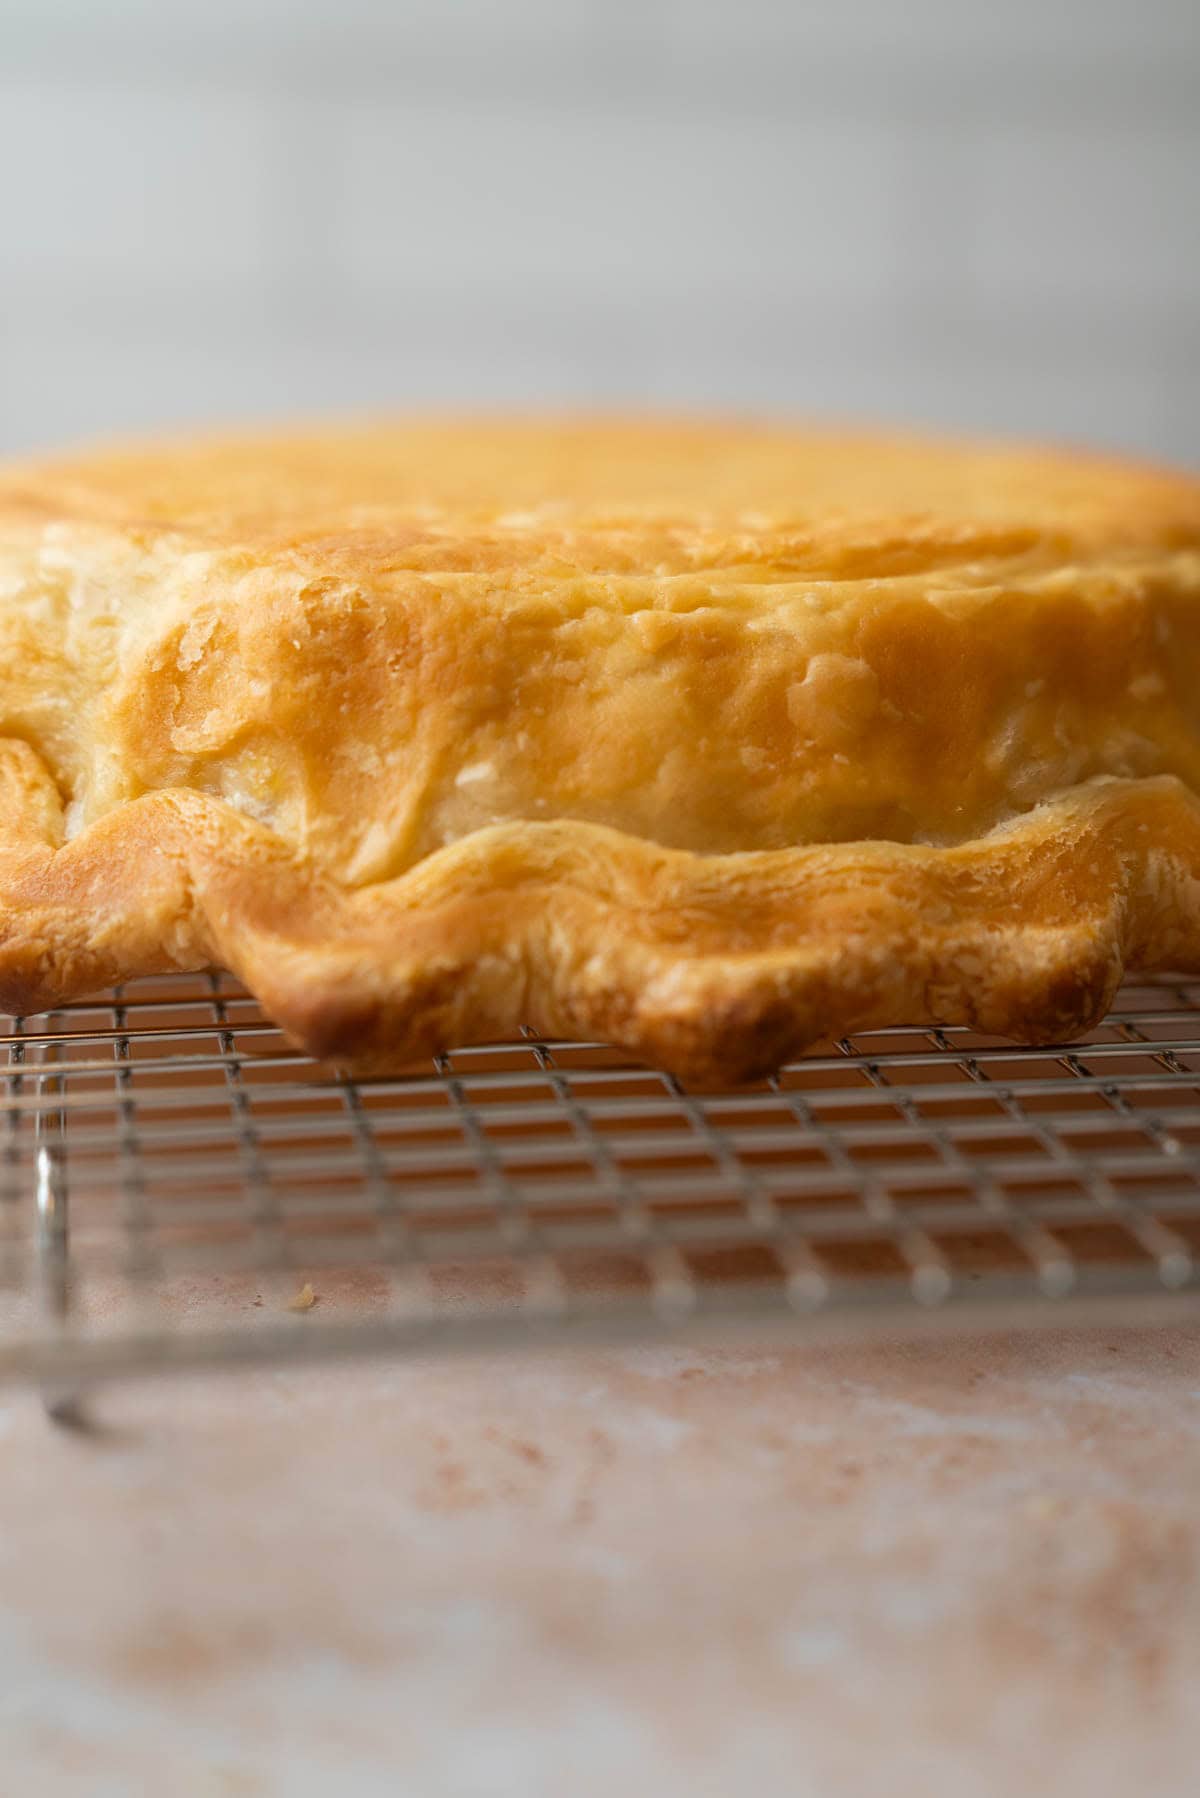
- I personally like to take my crust a little further, until it’s a deeper golden brown. This gives it a more toasted, buttery flavor and helps make sure the base is properly crisp and flaky.
Optional egg-wash seal: For a little extra protection against a moist filling, brush a thin layer of beaten egg over the base and inside walls near the end of the uncovered bake. Return it to the oven just for a tiny bit until the egg is set.
Par-Baking a Bottom Crust for a Double-Crust Pie
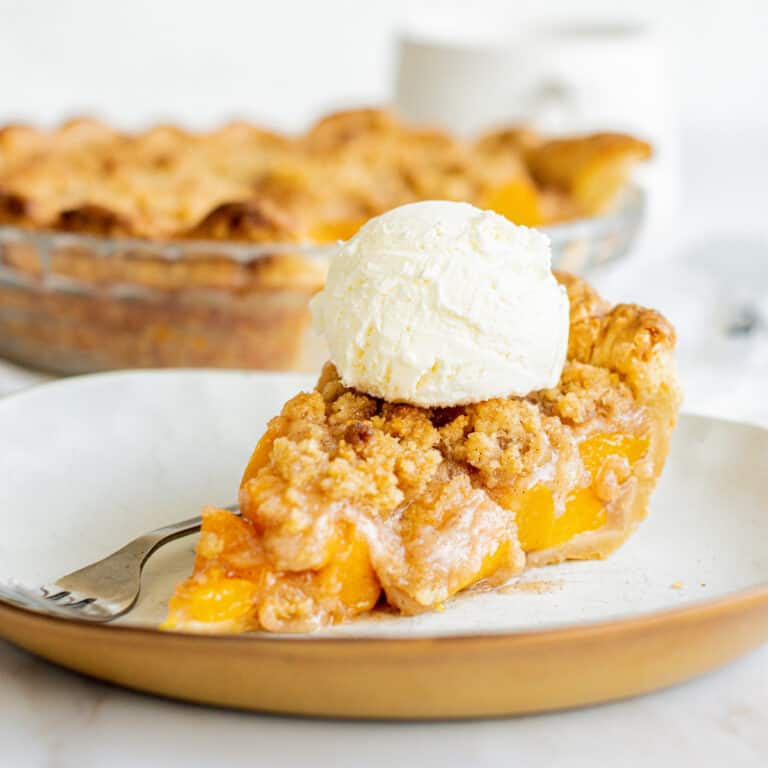
Most double-crust pies don’t need this step. The raw bottom crust, filling, and top crust bake together. However, some recipes call for a par-baked bottom, particularly with wet fillings. Attaching a raw top crust to a baked bottom is trickier, so follow the individual recipe.
- Line the dish with pastry, leaving about 1 inch (2.5 cm) of overhang without crimping. Chill until firm, then dock, line, and fill with weights.
- Bake at 425°F (220°C) until the sides have set, checking from 15 to 20 minutes. Place a baking sheet underneath to catch any butter drips.
- Remove the lining and weights. If the base still looks wet, give it a few minutes uncovered. Carefully trim any excess pastry while it’s still slightly warm, then let the crust cool completely before adding the filling and raw top pastry.
- The cooled bottom won’t soften the butter in the top crust. Arrange the top edge gently against the baked rim without forcing it underneath, cut steam vents, and bake according to your pie recipe.

FAQ
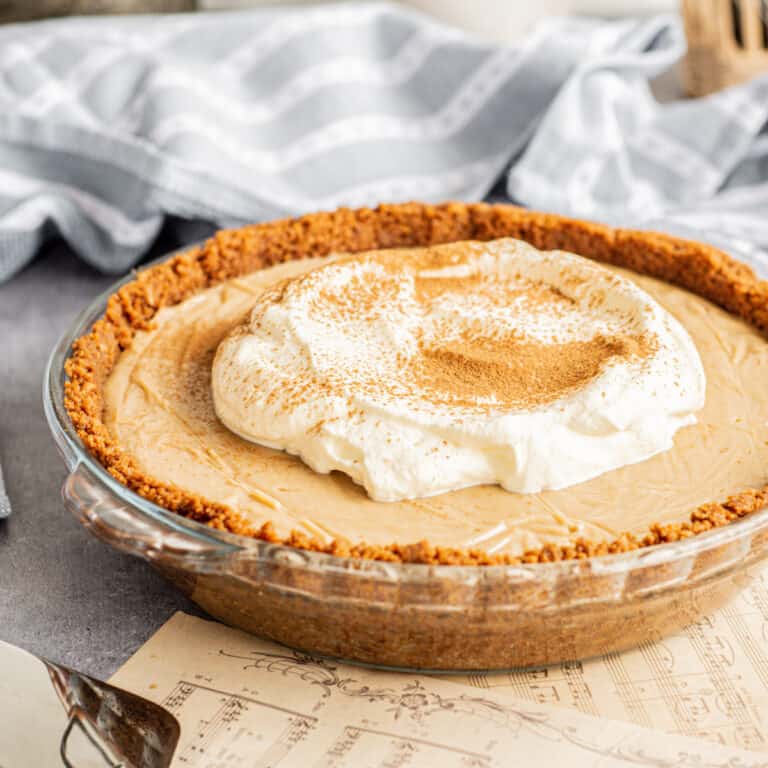
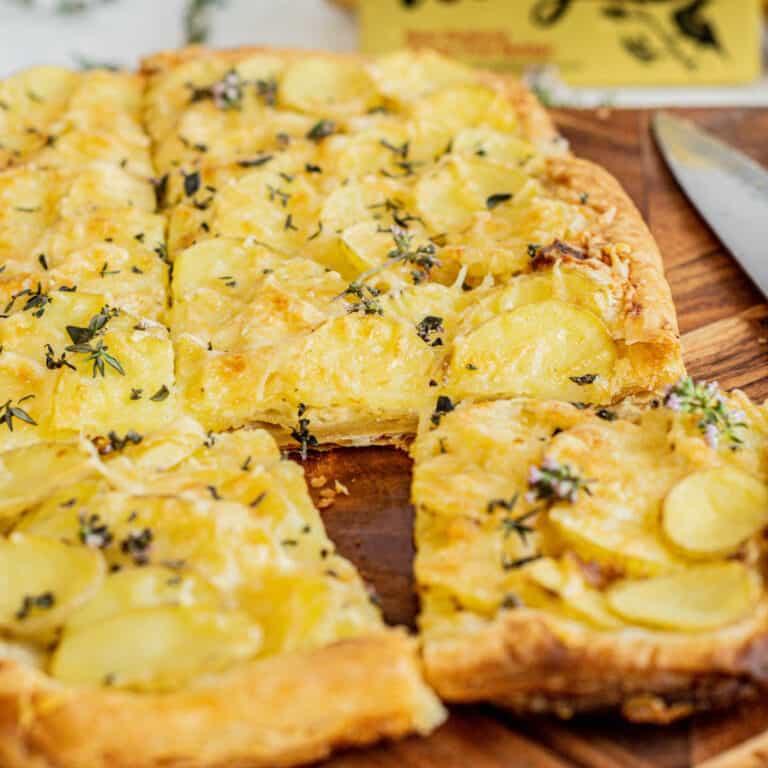
Recipes that use a fully baked crust
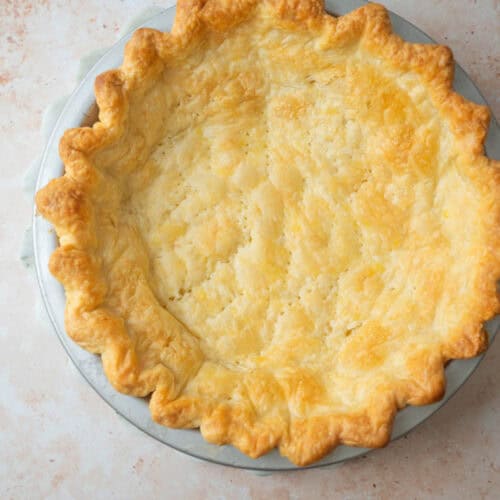
Blind Baking Pie Crust
Ingredients
Instructions
Blind baking
- On a lightly floured surface, roll one portion of chilled pie dough into an even circle about ⅙ inch (4 mm) thick. For a standard 9-inch pie dish, aim for approximately 12 inches (30 cm) across. Deeper dishes may need a larger circle.
- Gently lower the pastry into the dish. Lift the edges while easing the dough into the crease where the bottom meets the sides. Press lightly against the dish without stretching or thinning the pastry.
- Trim to leave about ½ inch (1.2 cm) of overhang. Fold this underneath itself and crimp or flute, keeping the border resting on the rim.
- Refrigerate for at least 30 minutes, or until the pastry is firm and thoroughly cold. Preheat the oven to 425°F (220°C).
- Prick the base with a fork. Line with scrunched parchment paper or heavy-duty aluminum foil, gently fitting it into the corners. Leave enough lining extending above the dish to lift out the weights.
- Fill with pie weights, dried beans, or uncooked rice, bringing the weights right up the sides to support the pastry.
- Bake for 15 to 20 minutes, or until the edges are lightly golden and the sides have set. If the pastry beneath the lining still looks very soft, bake a little longer before removing the weights.
- Carefully lift out the lining and hot weights. Follow either the par-baked or fully baked instructions below depending on your pie recipe.
For a par-baked crust
- Prick the base again if needed, then return the crust to the oven at 425°F (220°C) for 3 to 5 minutes, or until the bottom looks dry and no longer shiny. The base will still be pale.
- Follow your pie recipe for whether to cool the crust before filling and for the remaining baking instructions.
For a fully baked crust
- After removing the lining and weights, lower the oven temperature to 375°F (190°C). You don’t need to complete the separate par-baking step first.
- Prick the base again if needed, then bake uncovered for 15 to 20 minutes, or longer as needed, until the base is golden and cooked through. If the edges brown before the bottom is ready, cover them with a pie shield or strips of foil.
- For a deeper golden, extra-crisp crust, continue baking a little longer, checking regularly and protecting the edges as needed.
- Cool completely before adding a filling that won’t be baked.