
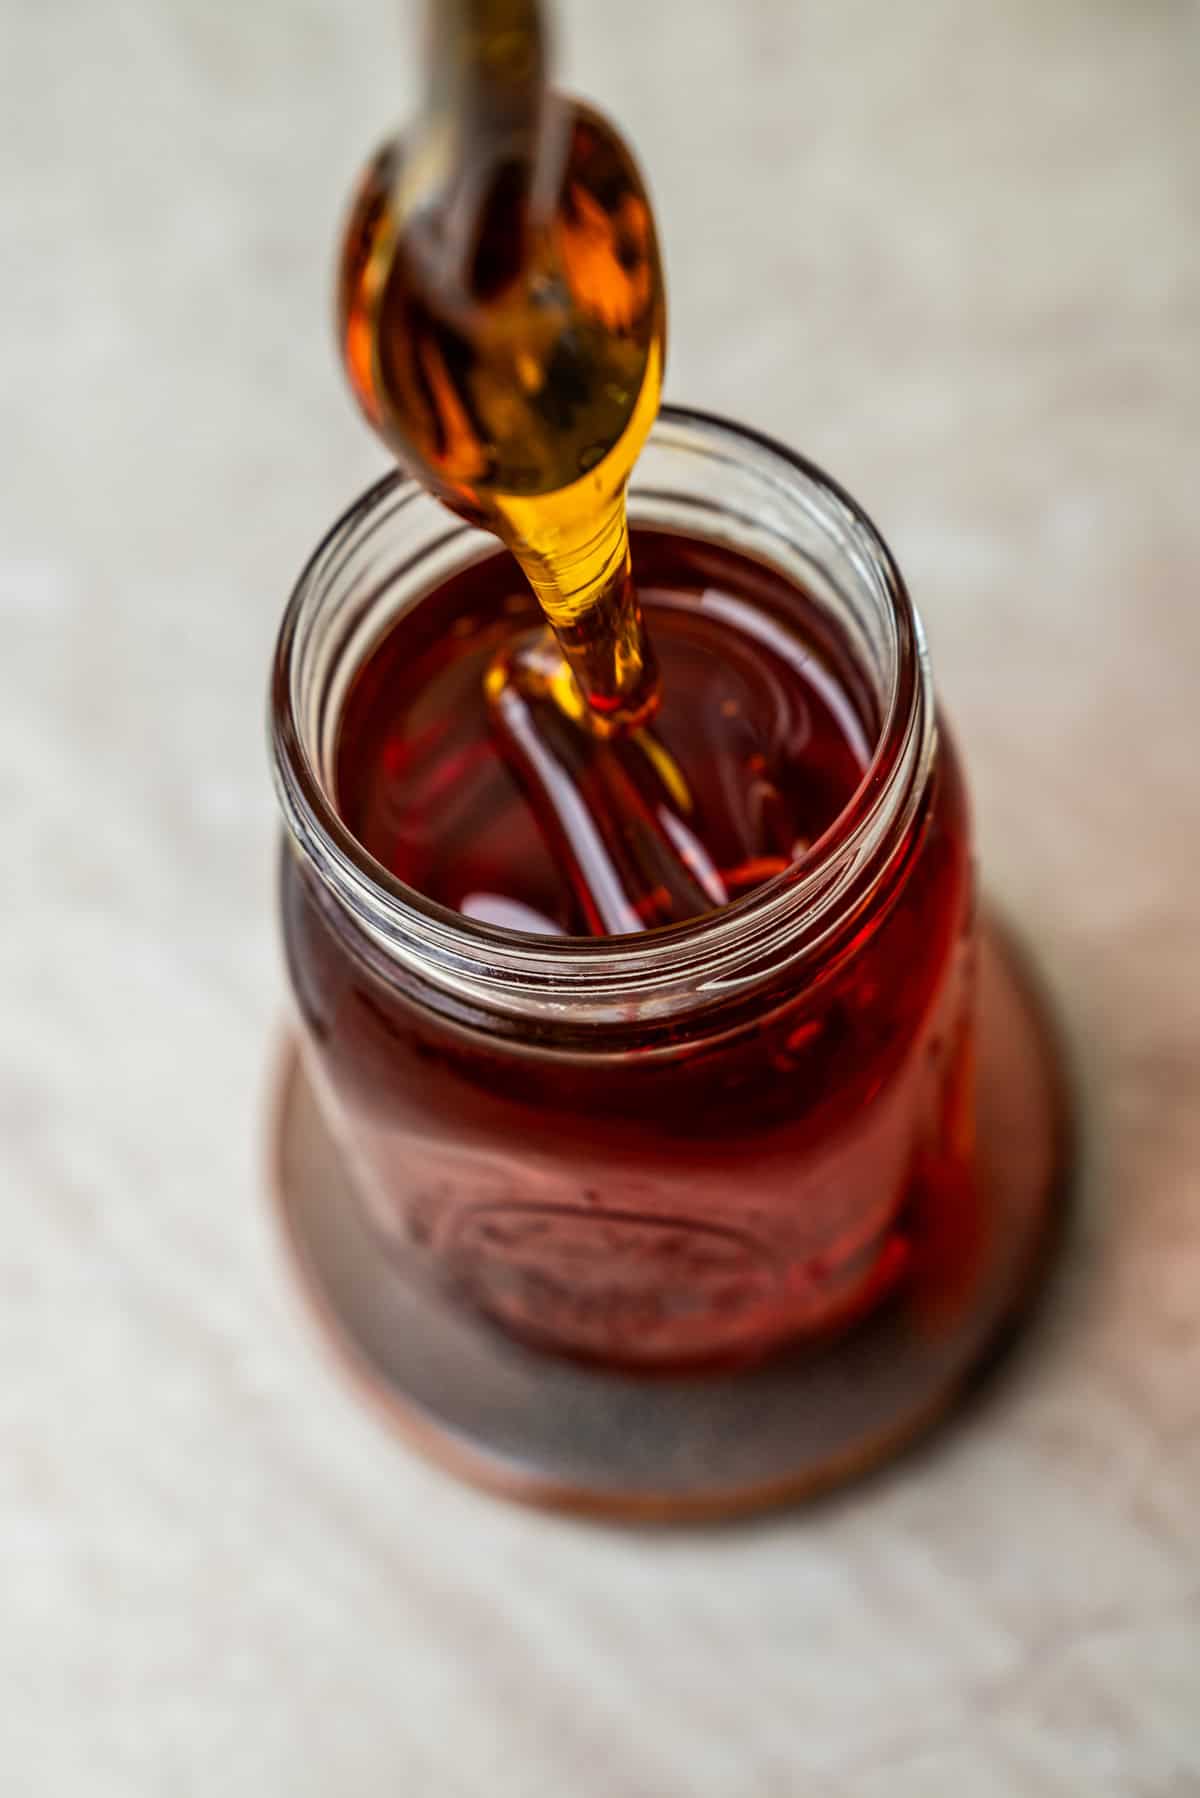

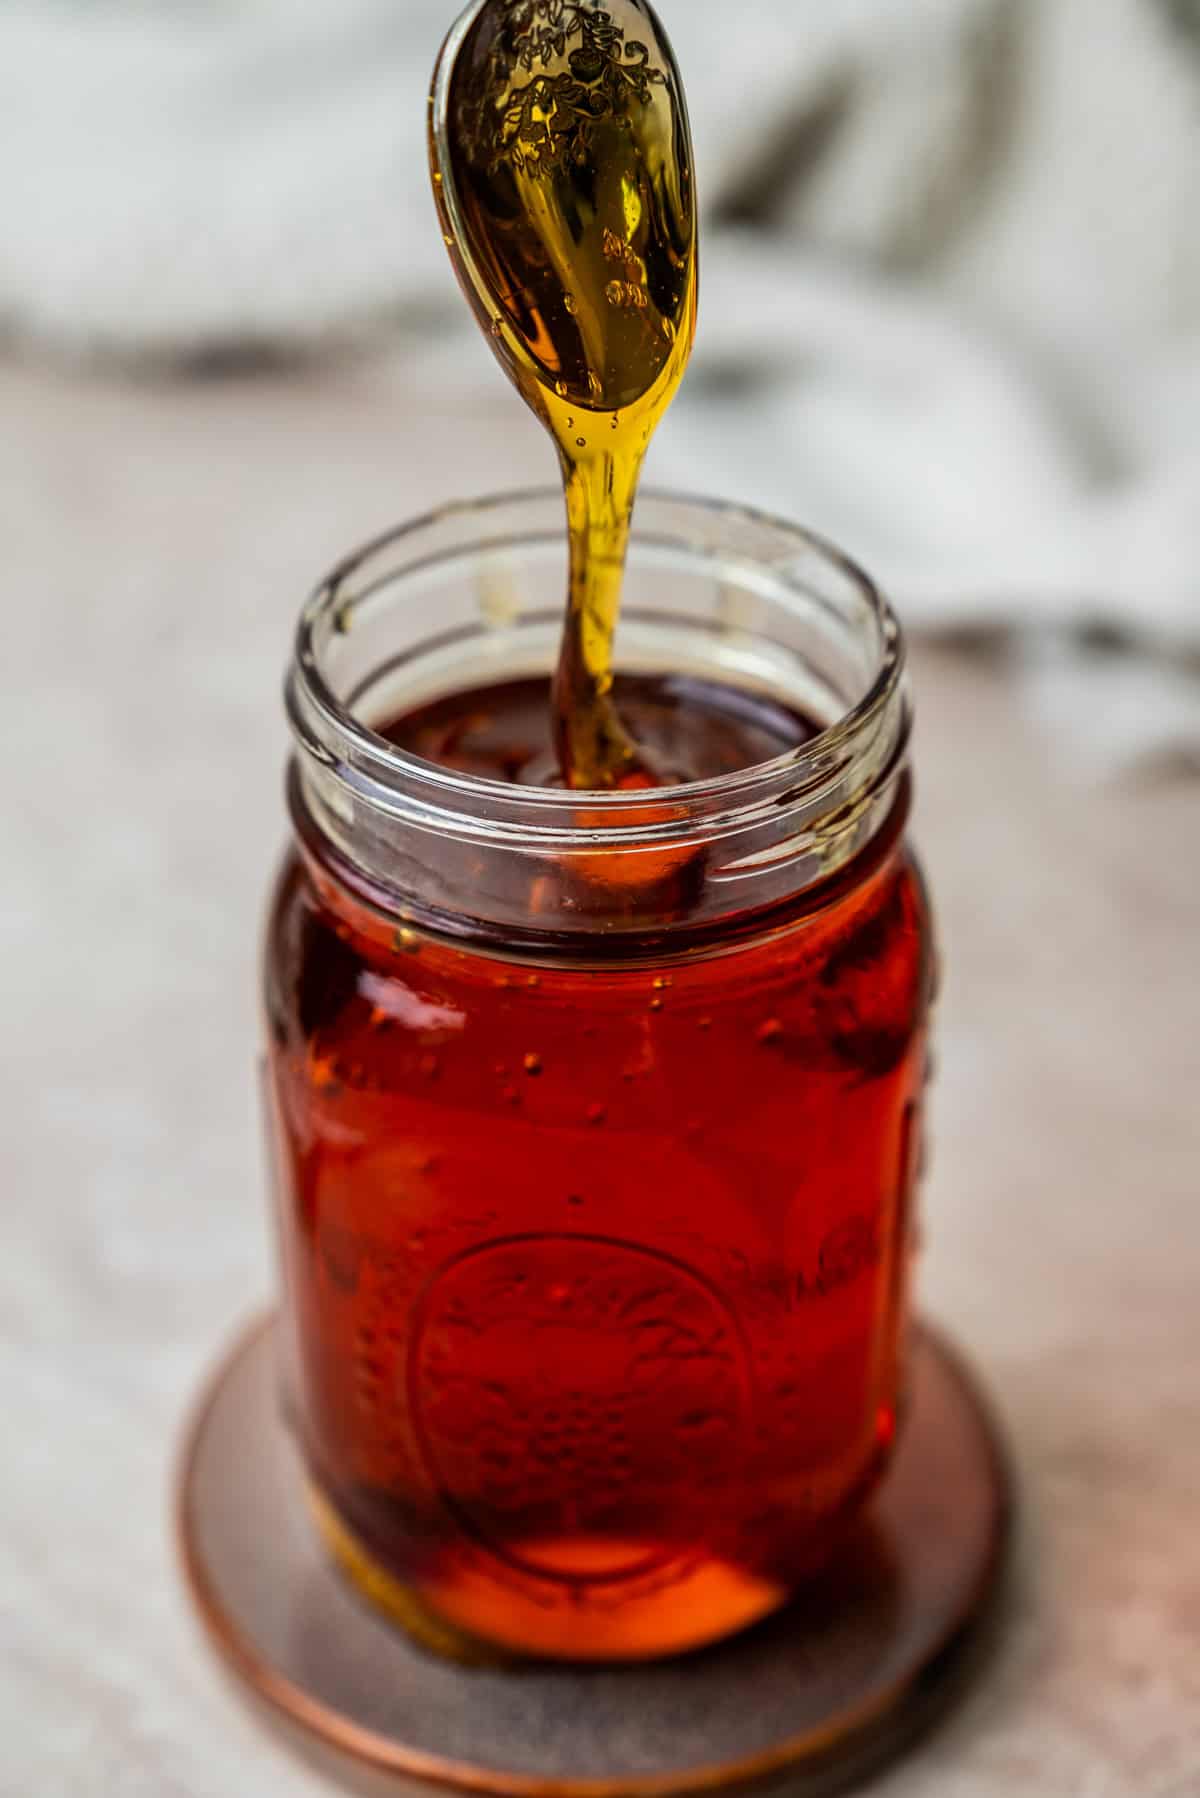
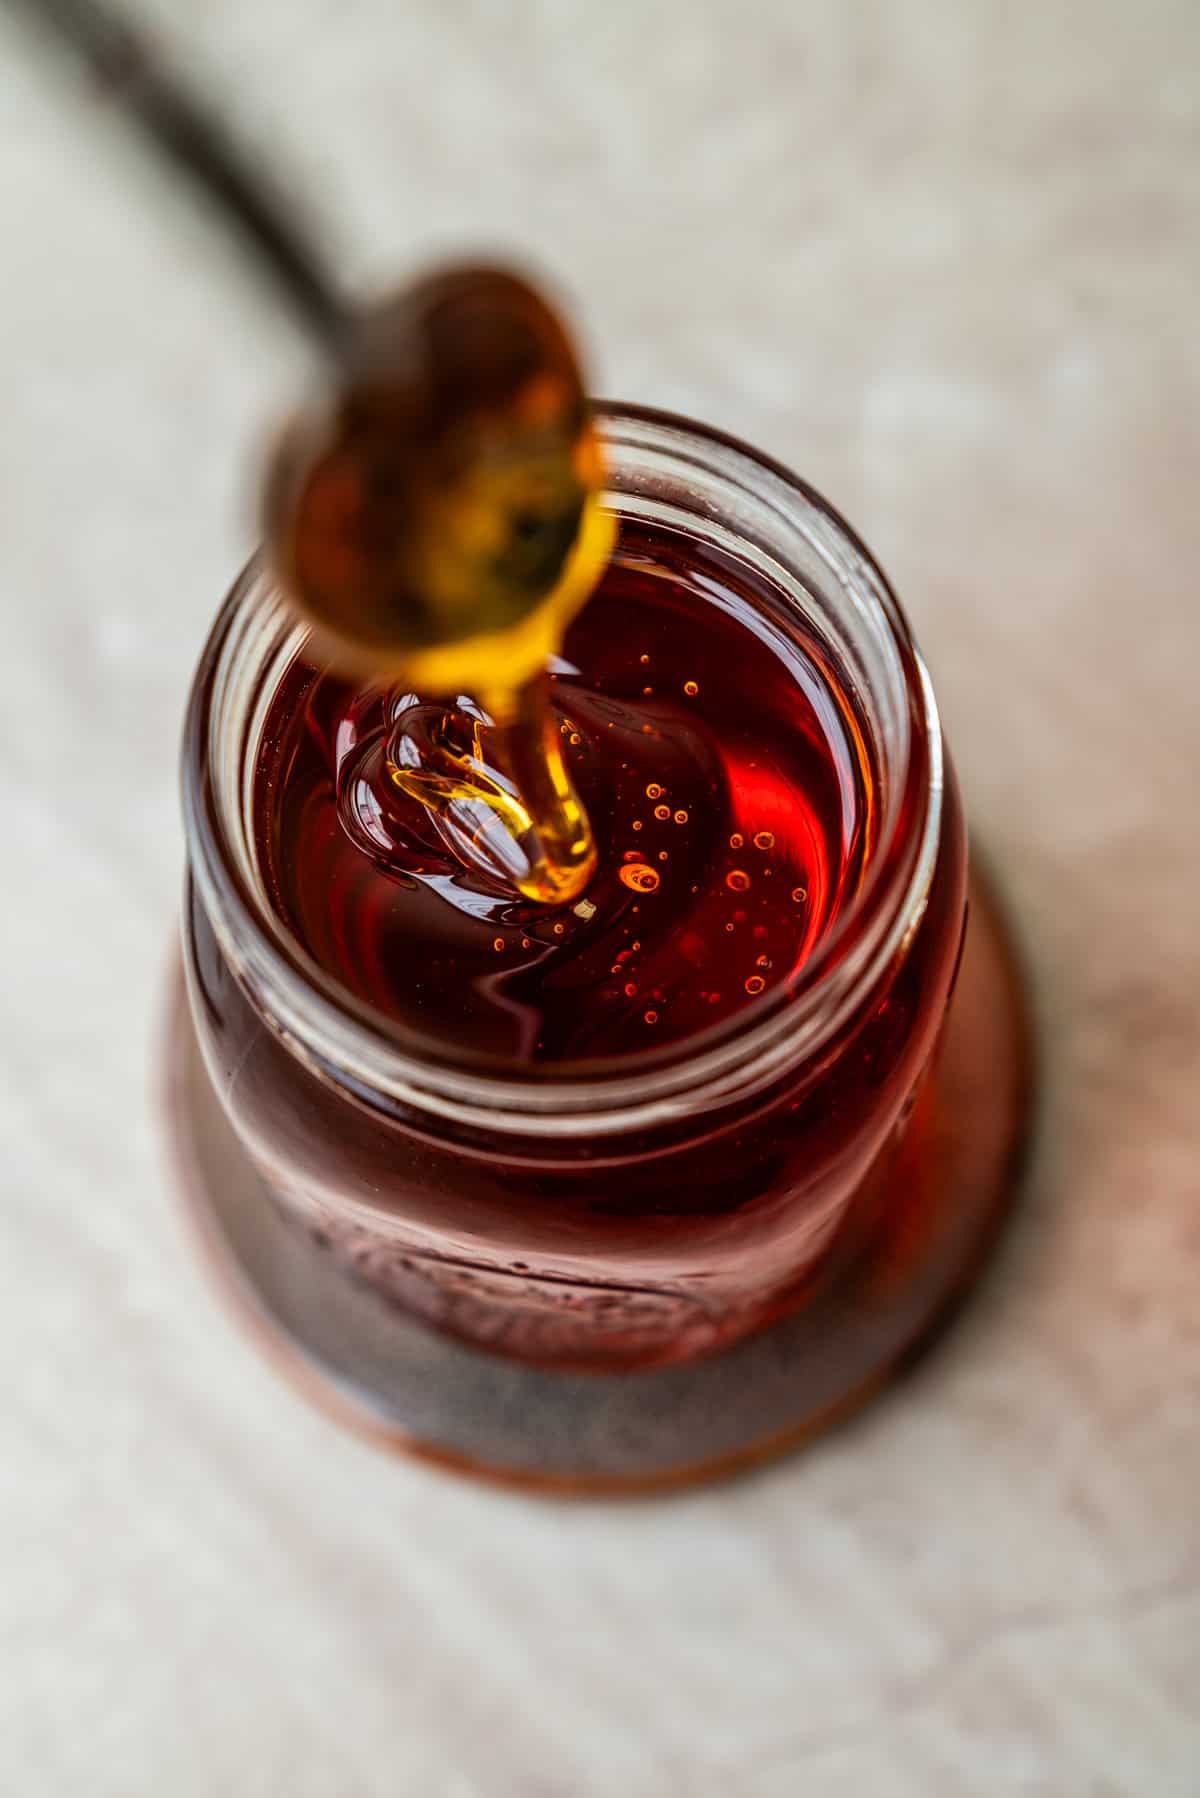
This homemade golden syrup is thick and glossy and flows slowly off a spoon in ribbons. It’s made with sugar, water, and lemon juice, plus an optional little bit of molasses for a deeper color and flavor.
The recipe starts by caramelizing a small portion of the sugar, which gives the syrup its golden color and rich caramel flavor without needing to darken the entire batch. The remaining sugar is then added with water and lemon juice. I also cook the syrup to a specific temperature rather than relying on a long simmer. This makes it easier to get that thick, slowly flowing consistency without accidentally cooking the syrup until it’s rock hard once cooled.
About this homemade golden syrup
Golden syrup is a type of invert sugar syrup that’s traditionally made during the sugar refining process. It’s very popular in New Zealand, and also in Australian and British baking.
This homemade version works a little differently from commercially produced golden syrup. It starts by caramelizing a small amount of sugar until deep amber, then adding the remaining sugar, water, and lemon juice. The lemon juice is important because its acidity helps break some of the sucrose into glucose and fructose as the syrup cooks. This process is called inversion, and it helps prevent the syrup from crystallizing into a grainy, sugary mixture.
I’m used to Chelsea Golden Syrup in New Zealand, which is quite a bit darker than Lyle’s Golden Syrup, the brand commonly used in the UK. Chelsea has a deeper flavor, with an almost metallic note to it, while Lyle’s is lighter in color with a milder, more buttery caramel flavor.
This homemade version is closer in flavor to Lyle’s, with a cleaner caramel taste. However, I sometimes add a small amount of molasses at the end to give it a darker color and some of those deeper, slightly mineral notes that I associate with Chelsea Golden Syrup. It’s completely optional, depending on which style of golden syrup you prefer.
Ingredients
You only need three main ingredients, plus an optional fourth.
- Granulated sugar: Regular white sugar forms the base of the syrup. A small amount is caramelized first for color and flavor.
- Water: Helps dissolve the sugar and controls the final consistency.
- Lemon juice: The acidity helps invert some of the sugar and prevent crystallization. Fresh or bottled lemon juice works.
- Molasses (optional): I add a little dark or blackstrap molasses to give the syrup a darker color and some of the deep, slightly mineral notes of Chelsea Golden Syrup. You can leave it out for a lighter caramel flavor.
How to make homemade golden syrup
Step 1: Caramelize the sugar
- Add 50 g (1/4 cup) sugar and 15 g (1 tablespoon) water to a heavy-bottomed saucepan.
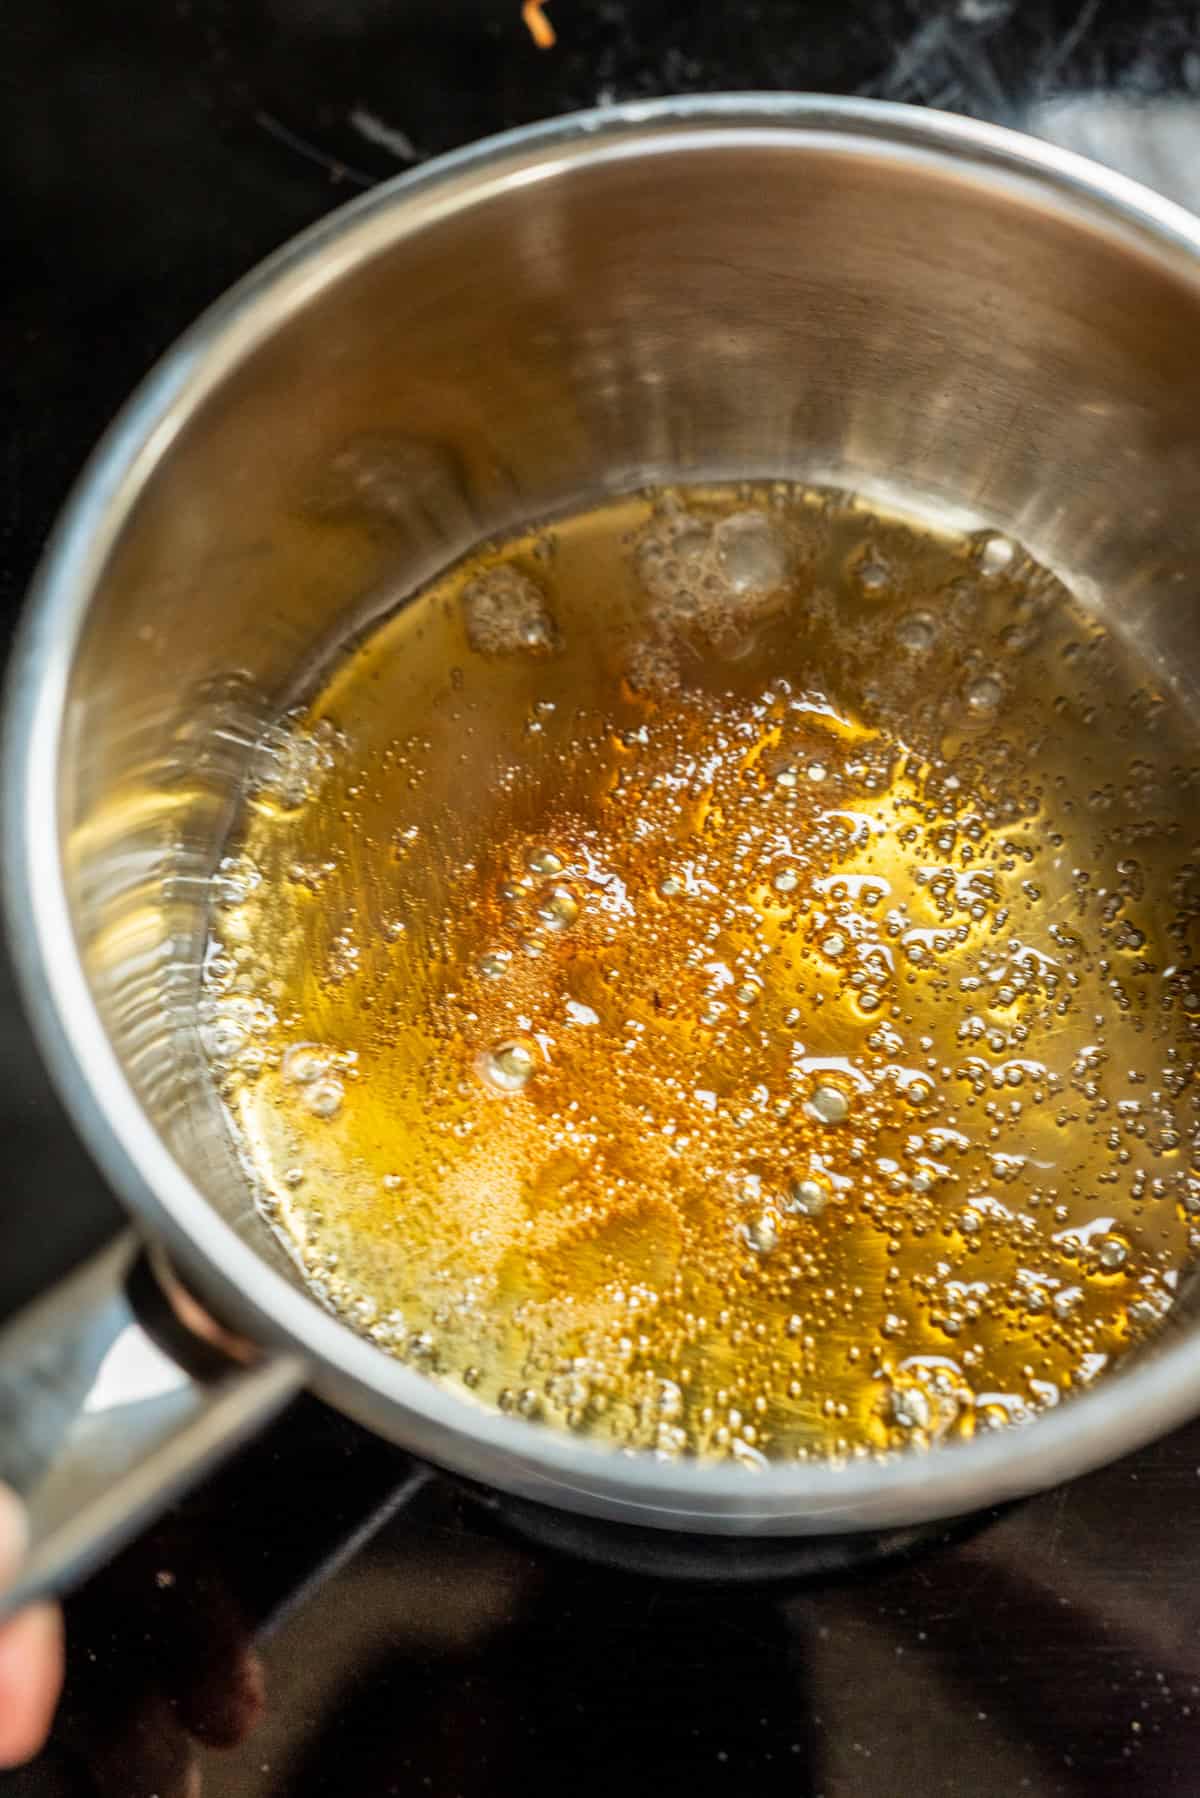
- Heat over medium heat until the sugar caramelizes to a deep amber color. Keep an eye on it because it can go from amber to burnt quite quickly.
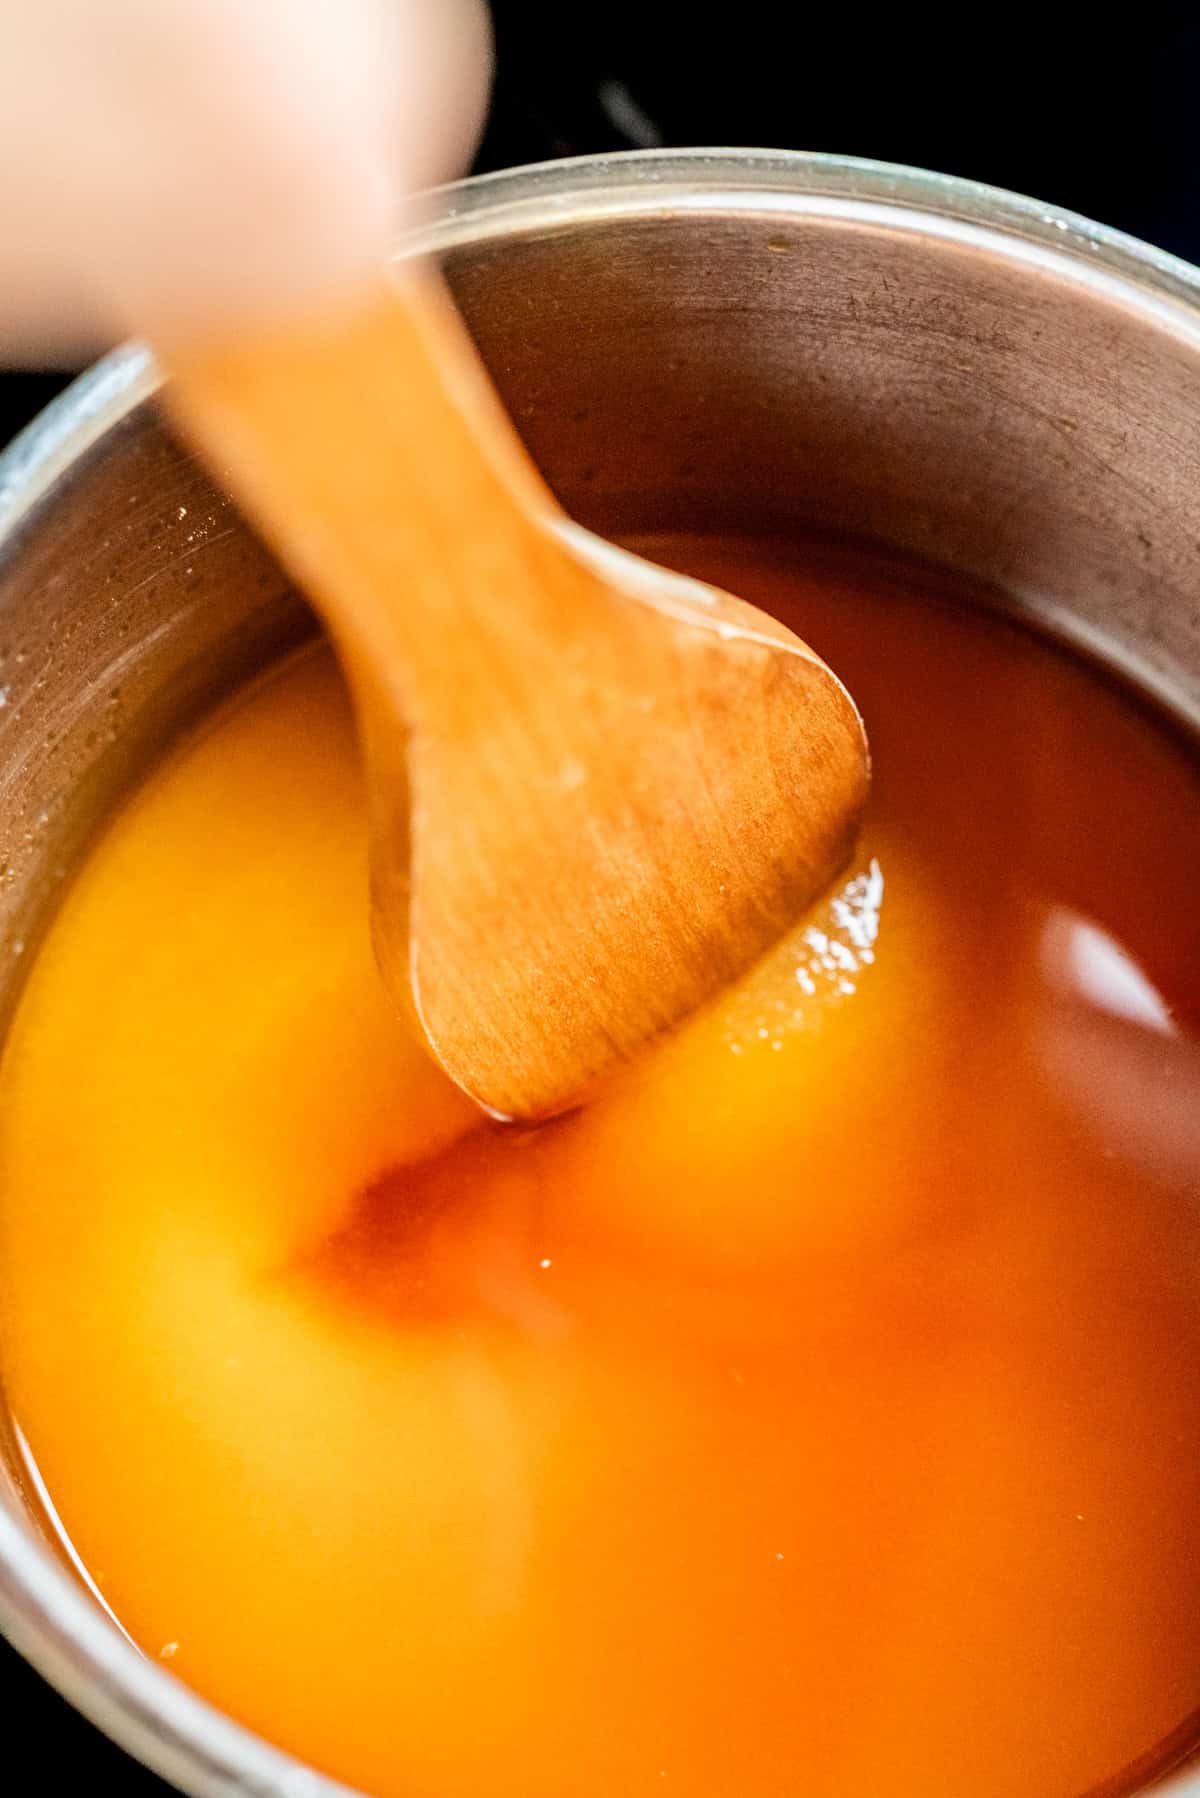
- Remove the saucepan from the heat and let it cool for about two minutes. Carefully add the remaining water, a little at a time, then the lemon juice and remaining sugar.

Note: Carefully add the remaining water, a little at a time. The mixture will bubble and steam and the caramel may temporarily harden. That’s okay.
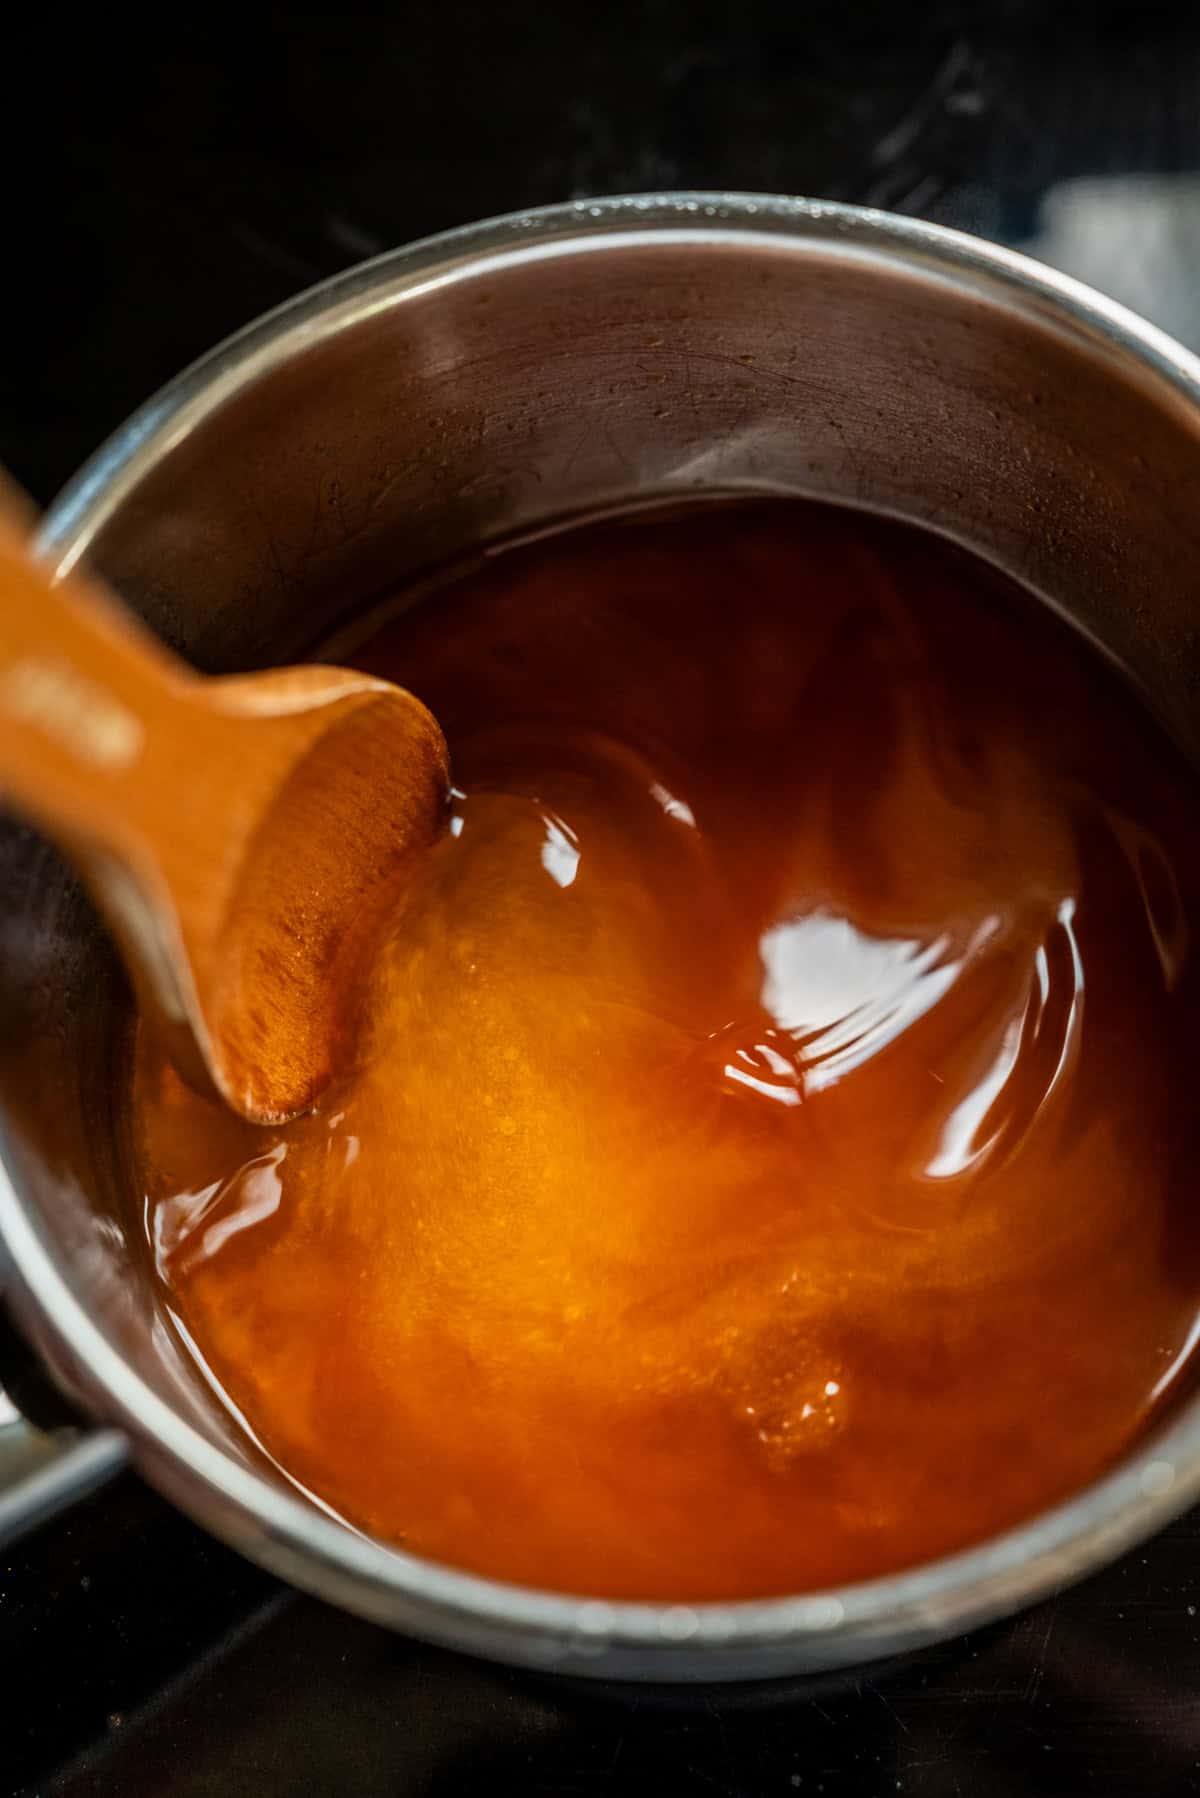
- Heat gently, stirring as needed until all the sugar and caramel have completely dissolved. Then stop stirring.
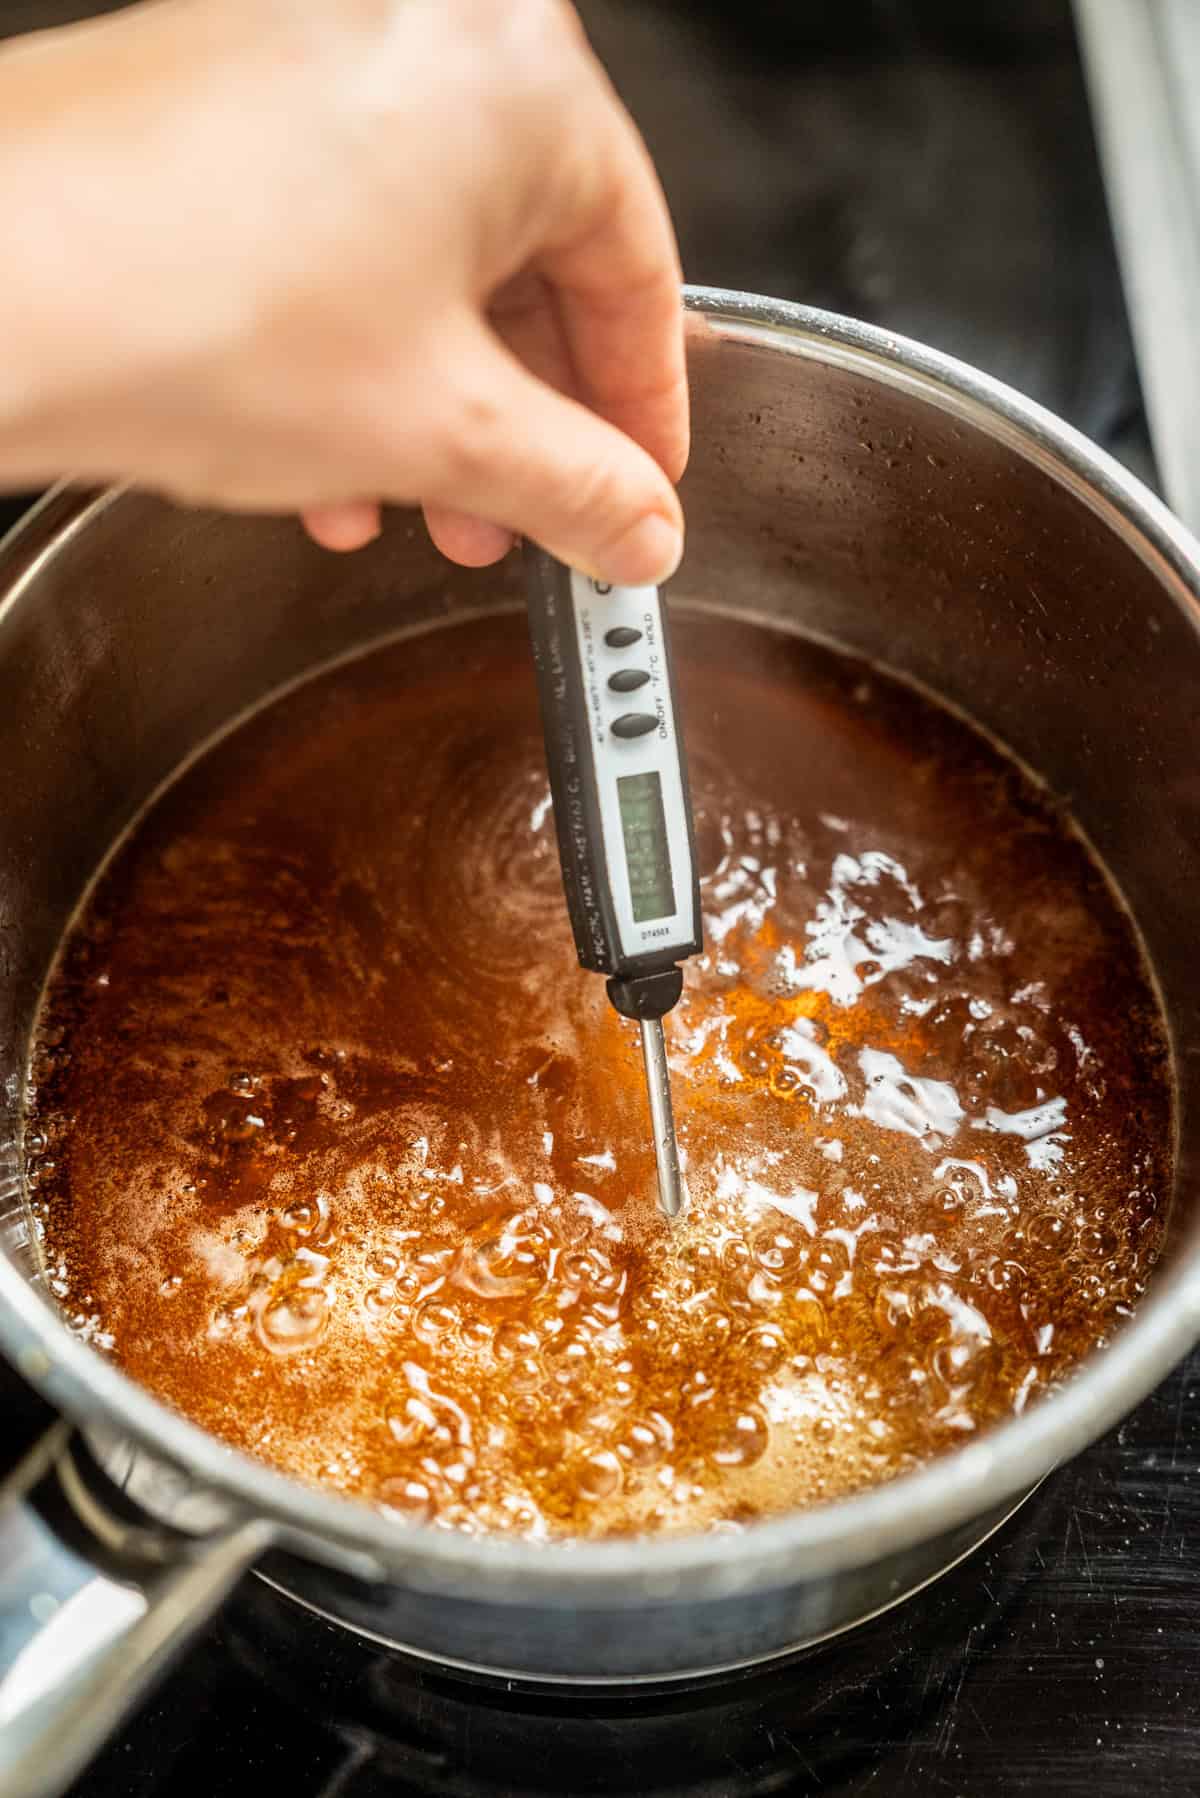
- Once everything has dissolved, bring the mixture to a gentle boil. Continue cooking until the syrup reaches approximately 240°F (116°C) on a candy thermometer.
- Once the syrup has reached temperature, remove it from the heat. Stir in 1/2 tablespoon of molasses, if using. It will darken the syrup slightly and give it a deeper flavor.
- Let the syrup cool in the saucepan for 5 to 10 minutes, then carefully pour it into a clean, dry, heatproof jar. Leave it to cool completely before sealing. The syrup will thicken considerably as it cools.
Don’t judge the consistency while hot. The syrup will look incredibly thin and watery while it’s still hot, even when it’s reached the correct temperature. It thicken heaps as it cools, so don’t be tempted to keep cooking it just because it looks too runny. Let it cool completely to room temperature before checking the consistency. It should be thick and flow slowly off a spoon in a glossy ribbon.
How to test golden syrup without a thermometer
A candy thermometer is the most reliable way to get the right consistency, but you can also use a cold plate test. Place a small plate in the freezer for 10 minutes. Drizzle a little hot syrup onto the plate, let it cool briefly, then tilt it. The syrup should thicken and move slowly in a glossy ribbon rather than running quickly across the plate.
Be careful not to overcook it. The cold water test isn’t as accurate as a thermometer, and the syrup can quickly overcook. It’s better to stop cooking a little early rather than take it too far.
Let the syrup cool completely before judging the consistency. If it’s still too runny, you can always return it to the saucepan and cook it a little longer. It’s much easier to thicken an undercooked syrup than fix one that’s become rock hard.
How to fix golden syrup that’s too thick or too runny
If your syrup is too runny: Make sure it has cooled completely first. If it’s still too thin, return it to the saucepan and bring it back to a gentle boil. Cook it a little longer, checking the temperature, then let it cool again before judging the consistency.
If your syrup is too thick or hard, it has probably been cooked too long. Add it back to a saucepan with around 2-3 tablespoons of water and heat gently until smooth. Add a little more water if needed, but remember that the syrup will look much thinner while hot. Let it cool completely before checking the consistency again.
It’s always easier to cook a runny syrup a little longer than to fix one that’s become too hard.
Ways to use homemade golden syrup
Golden syrup is such a useful ingredient to have on hand, especially for baking. It adds sweetness, a lovely caramel flavor, and helps keep baked goods moist and chewy.
Here are some ways to use it:
- Cookies: Use it in ginger cookies, ANZAC biscuits, or other chewy cookies.
- Cakes and puddings: It’s great in sticky gingerbread cakes, steamed puddings, and traditional British desserts.
- Flapjacks and bars: Golden syrup helps bind oat bars together and gives them a lovely chewy texture.
- Brandy Snaps Baskets: These crisp, lacy ginger cookies use golden syrup in the batter. They’re shaped into little baskets and filled with whipped cream and fresh strawberries.
- Pancakes and waffles: Warm it slightly and drizzle over pancakes, waffles, or French toast.
- Homemade caramel and candy: Use it in recipes that call for golden syrup to help control sugar crystallization.
Homemade Golden Syrup
Equipment
- Heavy-bottomed saucepan
- Candy thermometer
- Clean heatproof jar
Ingredients
Golden syrup
- 500 g granulated sugar divided
- 160 g water divided
- 2 tsp lemon juice
- 2 tsp molasses Optional for deeper flavor. Use dark or blackstrap molasses, or treacle.
Instructions
Caramelize the sugar
- Add 50 g (1/4 cup) sugar and 15 g (1 tablespoon) water to a heavy-bottomed saucepan. Heat over medium heat until the sugar caramelizes to a deep amber color. Gently swirl the pan rather than stirring vigorously as it changes color.
- Remove the pan from the heat and let the caramel cool for a few minutes.
Dissolve the remaining ingredients
- Carefully add the remaining 145 g of water to the pan. Gently warm it and stir until the hardened caramel dissolves. Be careful because the mixture might still sputter up or steam.
- Add the remaining 450 g sugar and lemon juice. Stir over gentle heat until all the sugar is completely dissolved.
Cook to temperature
- Bring to a gentle boil and stop stirring. Cook until the syrup reaches approximately 240°F (116°C) on a candy thermometer. Be careful to not scrape sugar crystals from the sides of the saucepan into the syrup when using the thermometer.
- Remove from the heat and stir in the molasses, if using.
Cool and store
- Let cool in the saucepan for 5 to 10 minutes, then carefully transfer to a clean, dry, heatproof jar. Leave uncovered until completely cool, then seal and refrigerate. The syrup will look very watery while hot but becomes thick and scoopable as it cools, flowing from a spoon in a slow, glossy ribbon.