

Apple Danish Pastries From Scratch (Without Puff Pastry)
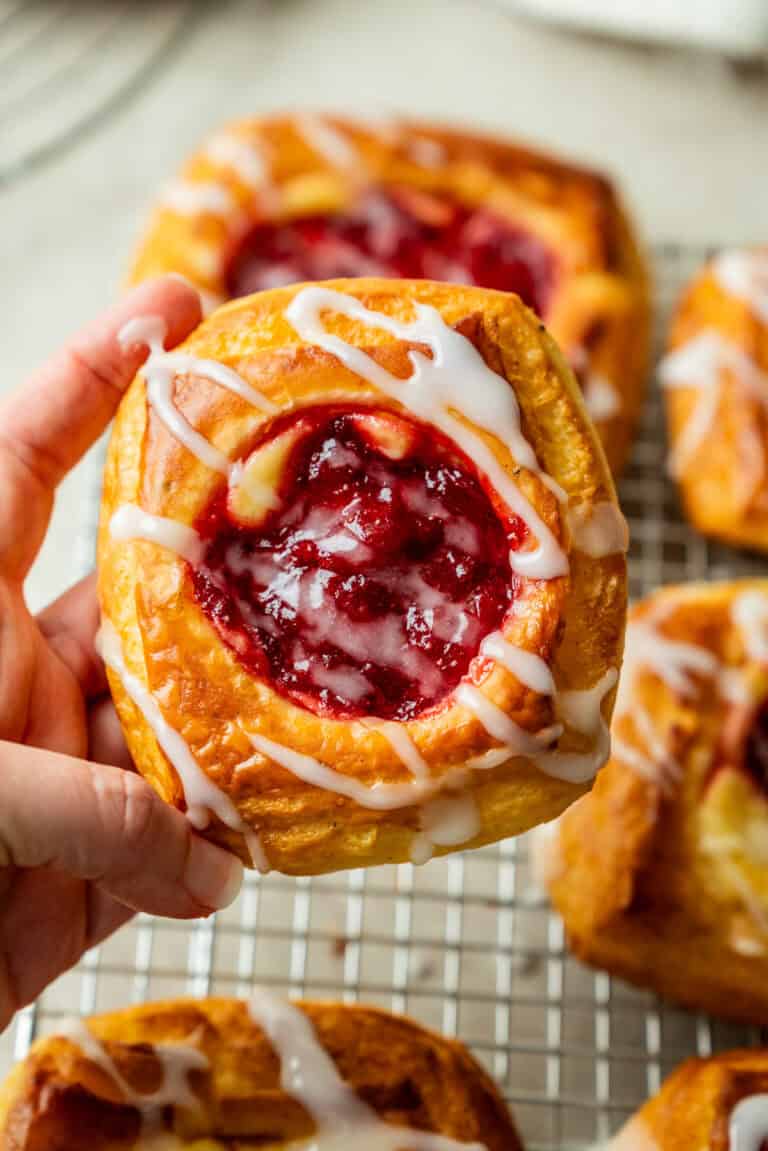
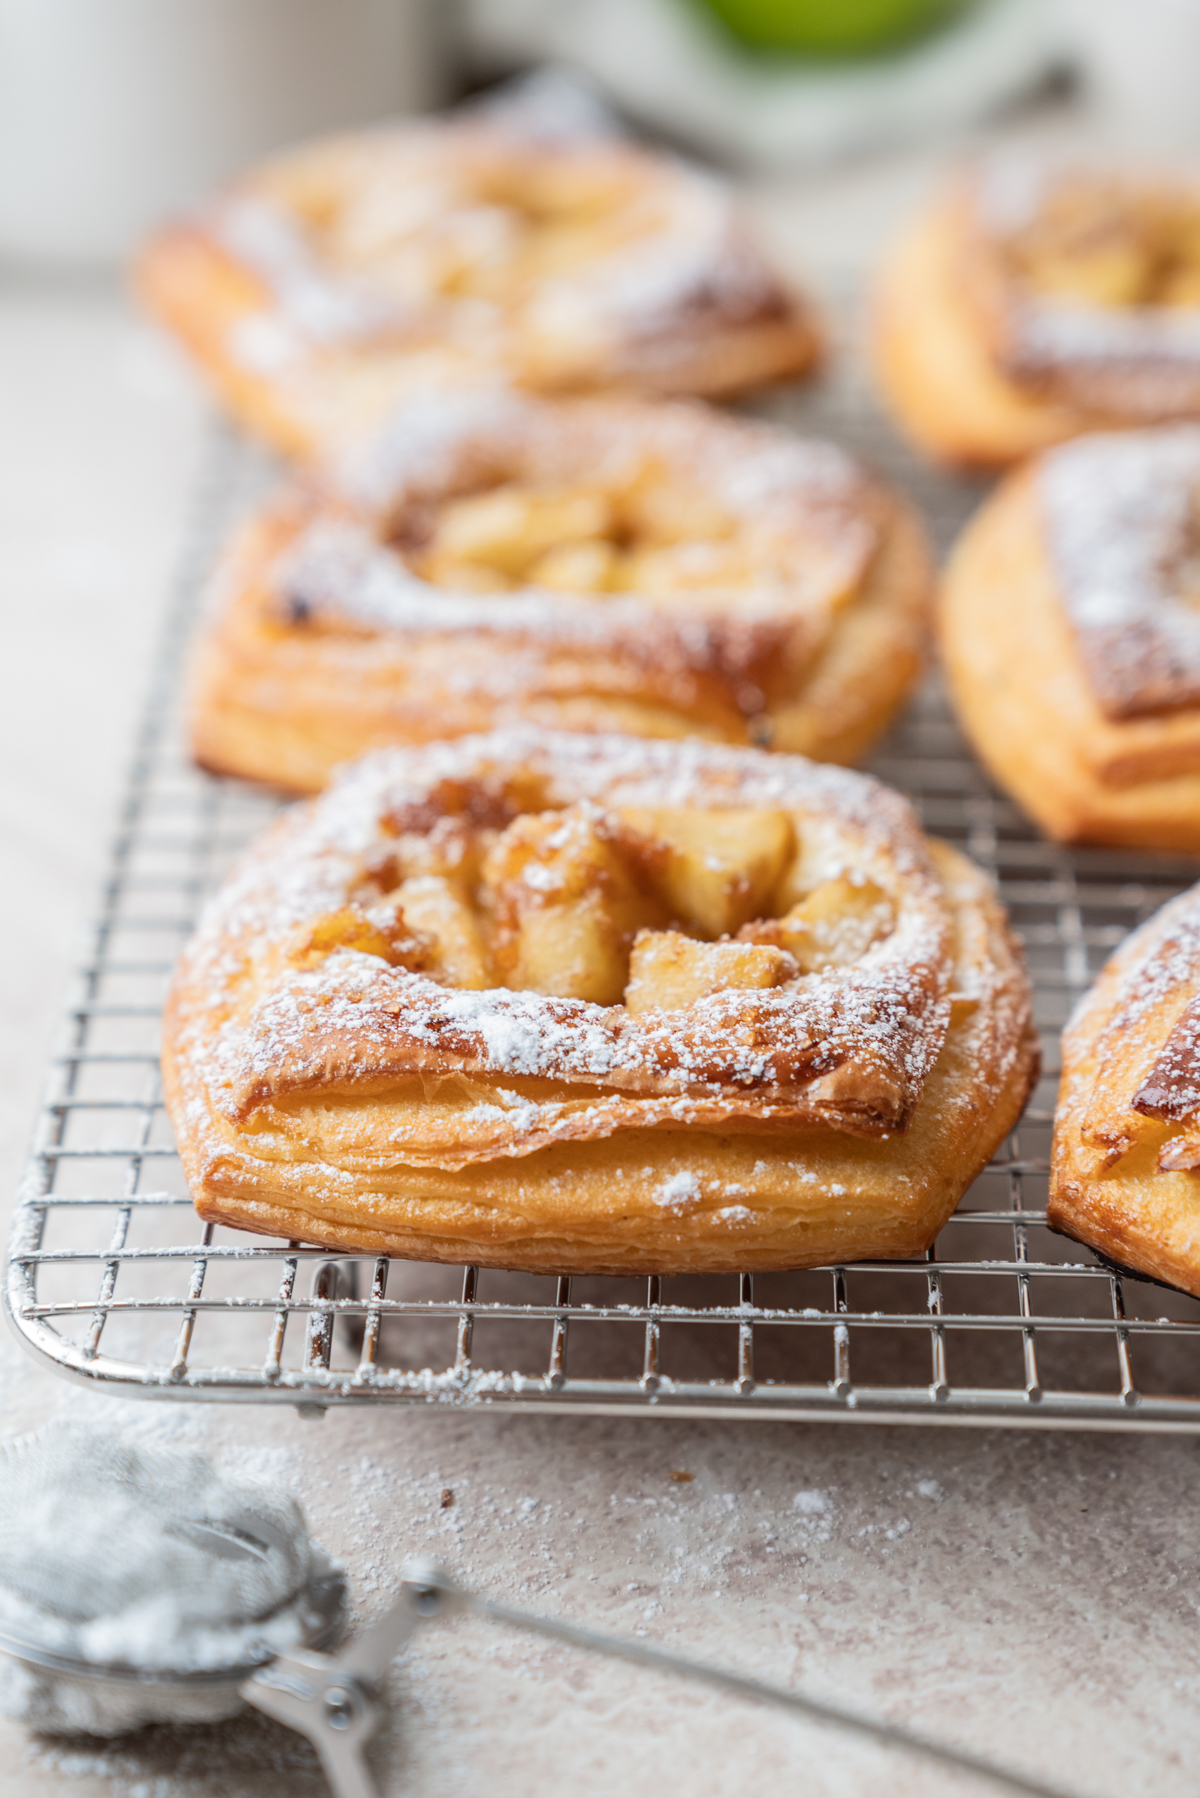
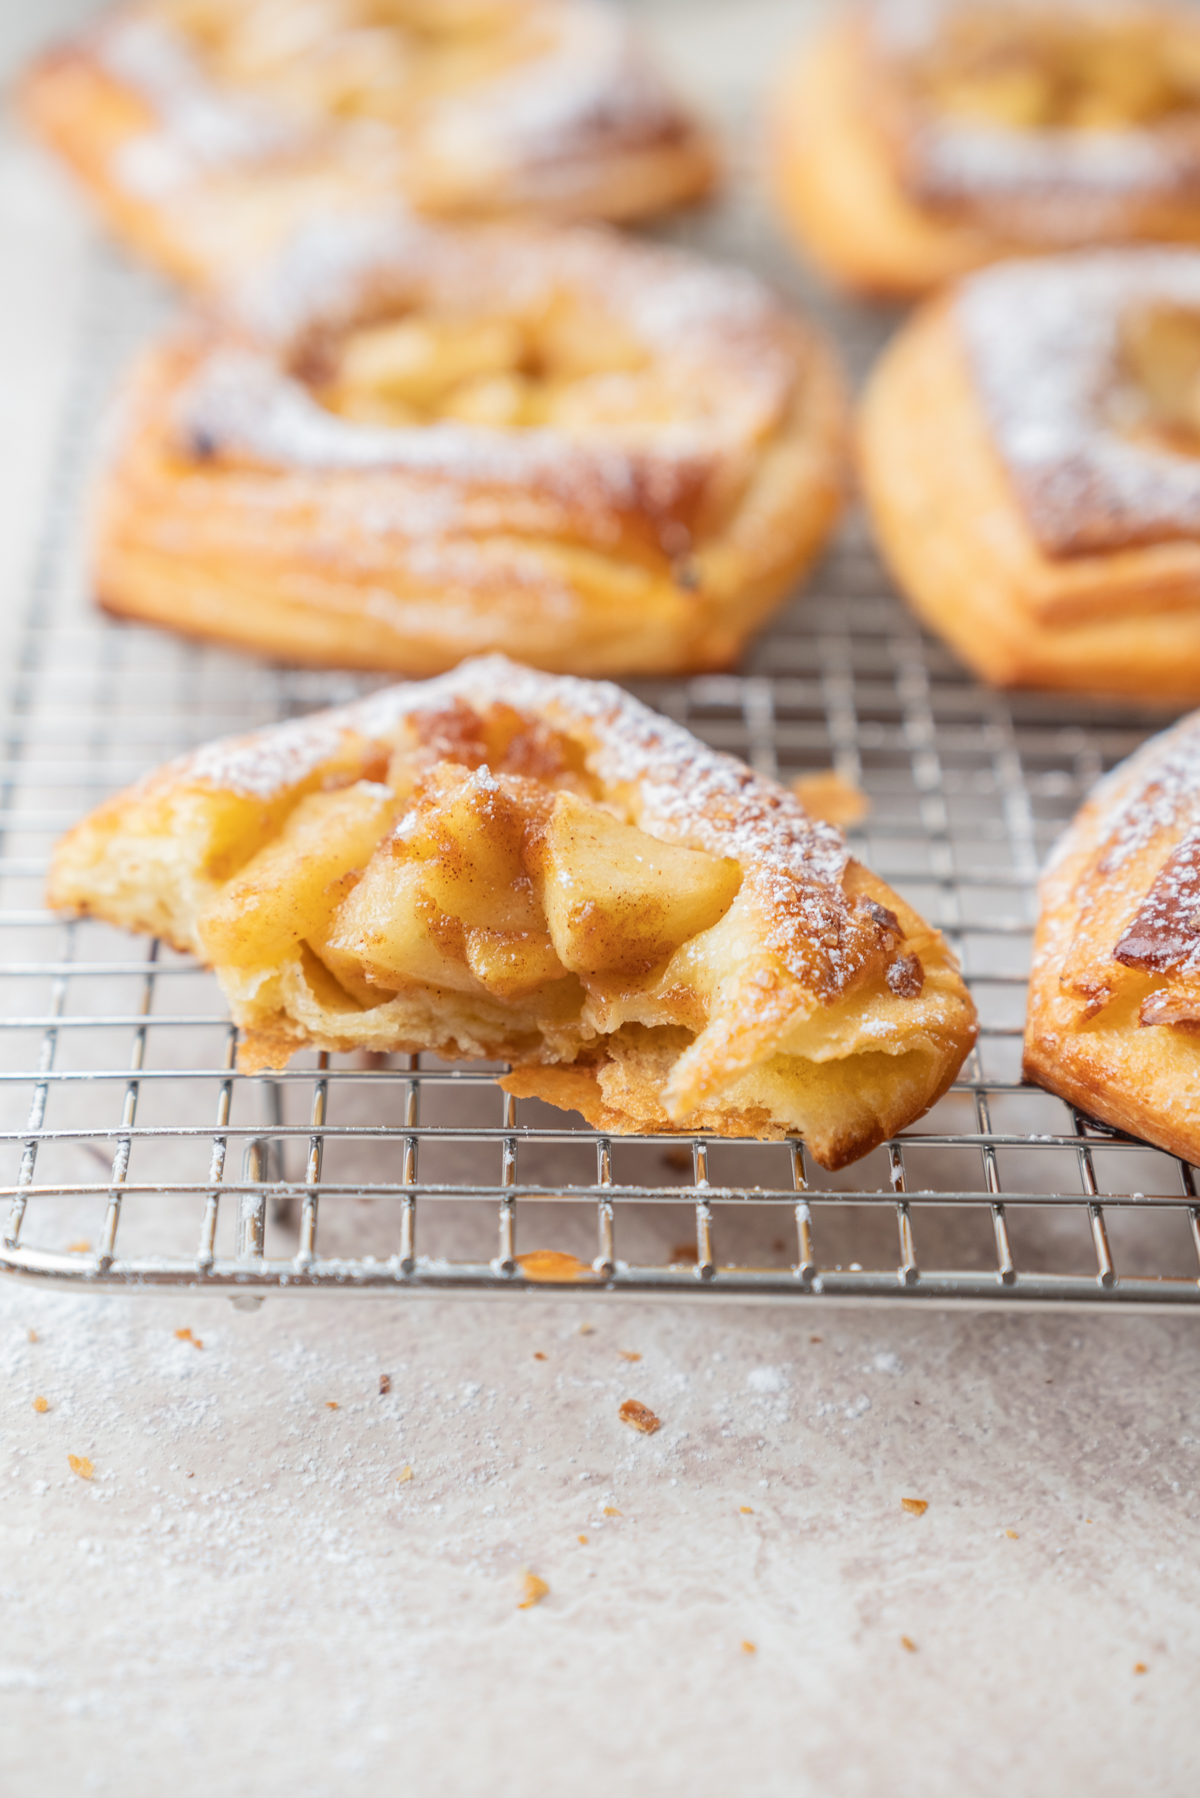
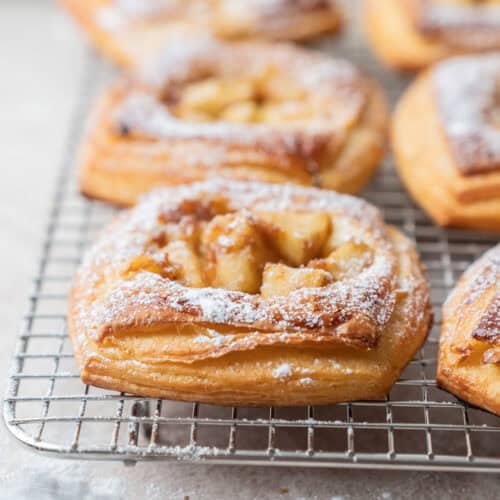
These homemade apple Danish pastries have beautiful flaky layers and a spiced apple center. I add a little turbinado sugar around the edges for crunch, then finish them with powdered sugar or vanilla glaze.
About these apple Danish pastries
These are fully made from scratch pastries, no puff pastry shortcuts and it’s part of my collection of pastries I’ve been making using my go-to Danish pastry dough! It is flaky and buttery and has a hint of fresh cardamom. The apple filling is cooked before it is added to the pastry, so the apples soften and the juices thicken without soaking into the laminated dough. You can make the pastries with apple alone or add a layer of vanilla custard underneath for apple custard Danish.
This post includes the complete dough method. For extra lamination photographs, butter temperature guidance and troubleshooting, see my homemade Danish pastry dough guide.
The apple filling
I love using Granny Smith apples for this because they are tart and keep some texture as they cook. Cut them into a fine, even dice shape so the filling fits nicely inside the small centers of the pastries.
I cook the apples with butter, brown sugar, cinnamon, salt and lemon juice. Once they have softened, add a cornstarch slurry to thicken the juices. Cool it completely before adding it to the proofed pastries.
Baker’s schedule
Two-day schedule
Day 1: Mix the dough, chill it for 2 hours, enclose the butter and complete the three folds. Refrigerate the laminated dough overnight. Make the apple filling and refrigerate it separately.
Day 2: Roll and cut the dough, proof the squares, press the centers, add the apple filling and bake.
Same-day schedule
Mix the dough early in the day. Allow 2 hours for the first chill, 30 minutes between the folds and at least 1 hour after the final fold. Once shaped, the pastries need approximately 2 hours to proof at around 24°C.
Method
Laminate the dough
If you are new to lamination, please read my full Danish dough tutorial before starting.
- Mix the dough on low speed until it is smooth and strong, then shape it into a flat rectangle and chill it for 2 hours.
- Enclose the butter packet, then complete three business-letter folds with a 30-minute chill between each one.
- Chill the finished dough for at least 2 hours or overnight.
The apple filling
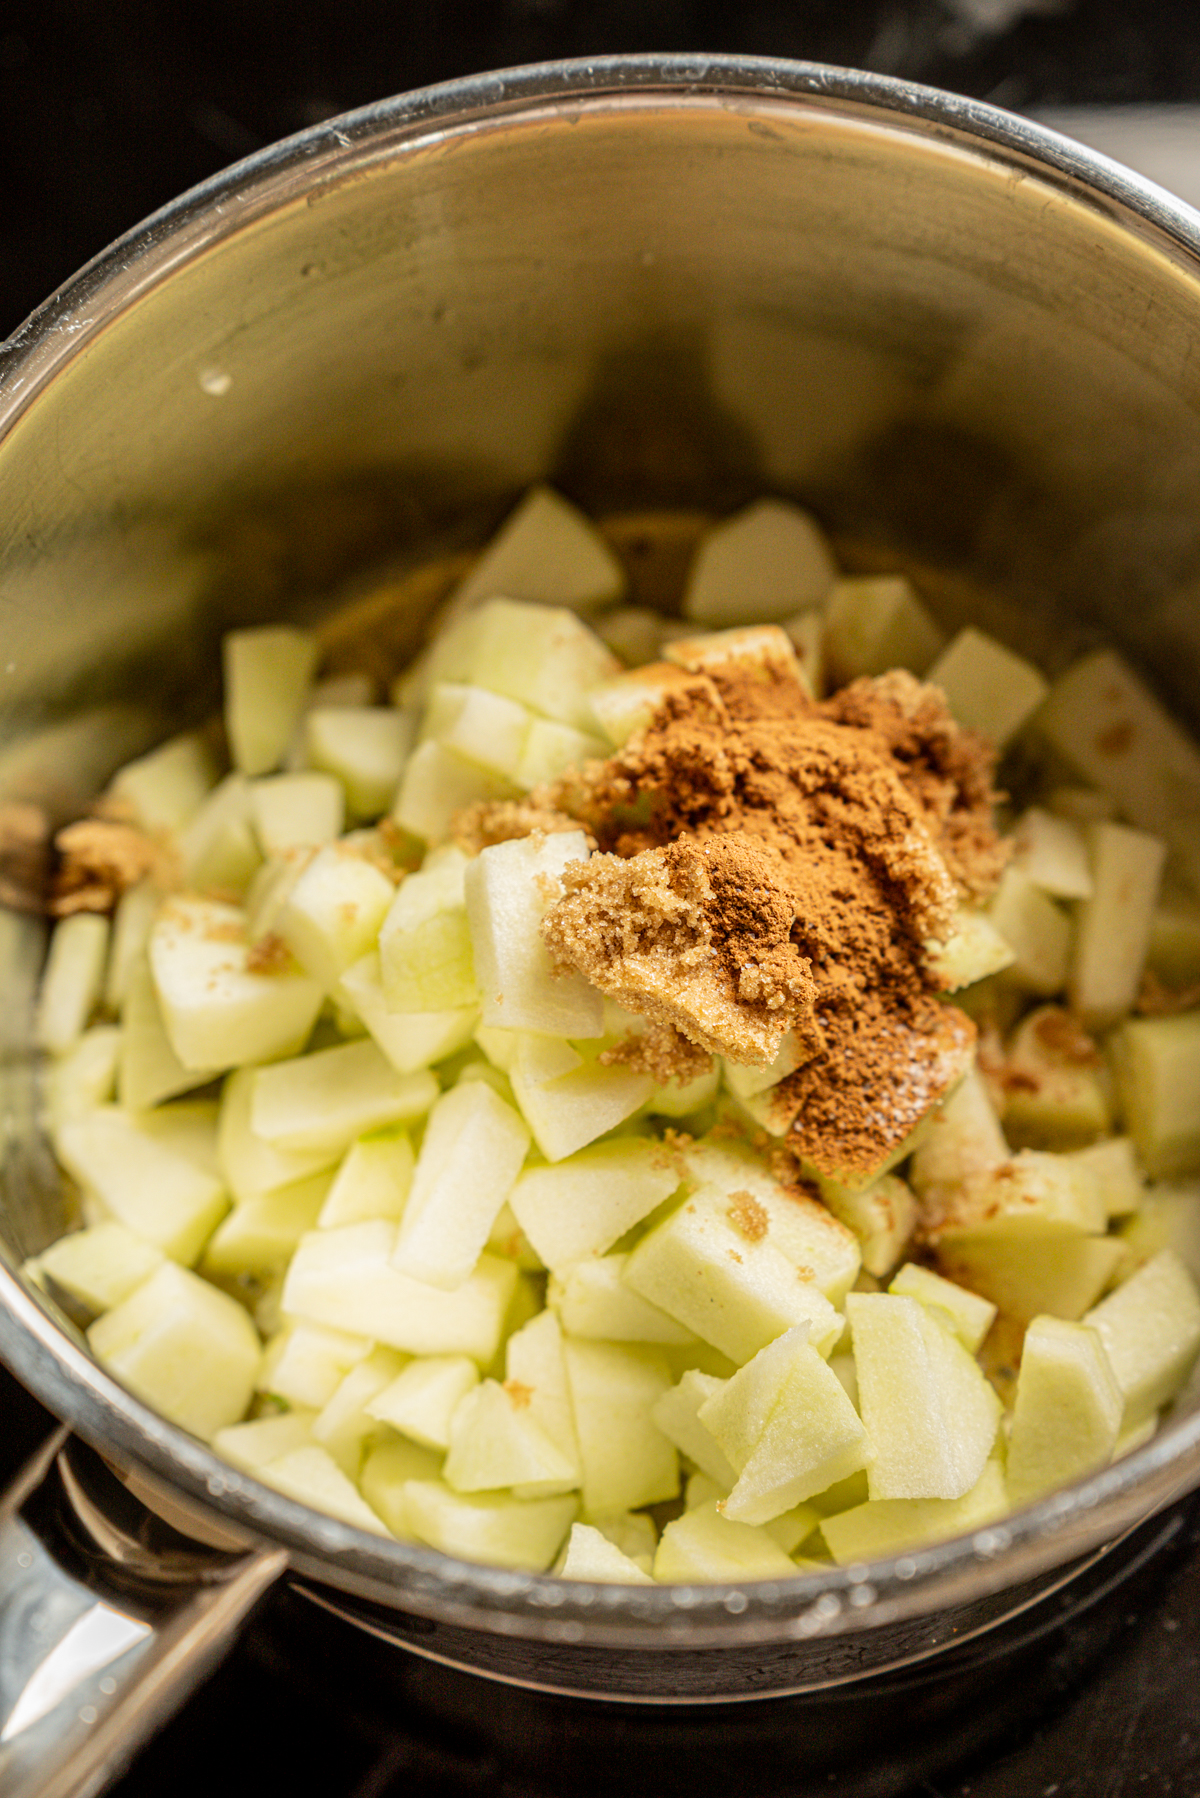
- Cook the apples with the butter, brown sugar, cinnamon, salt and lemon juice until softened but still holding their shape.
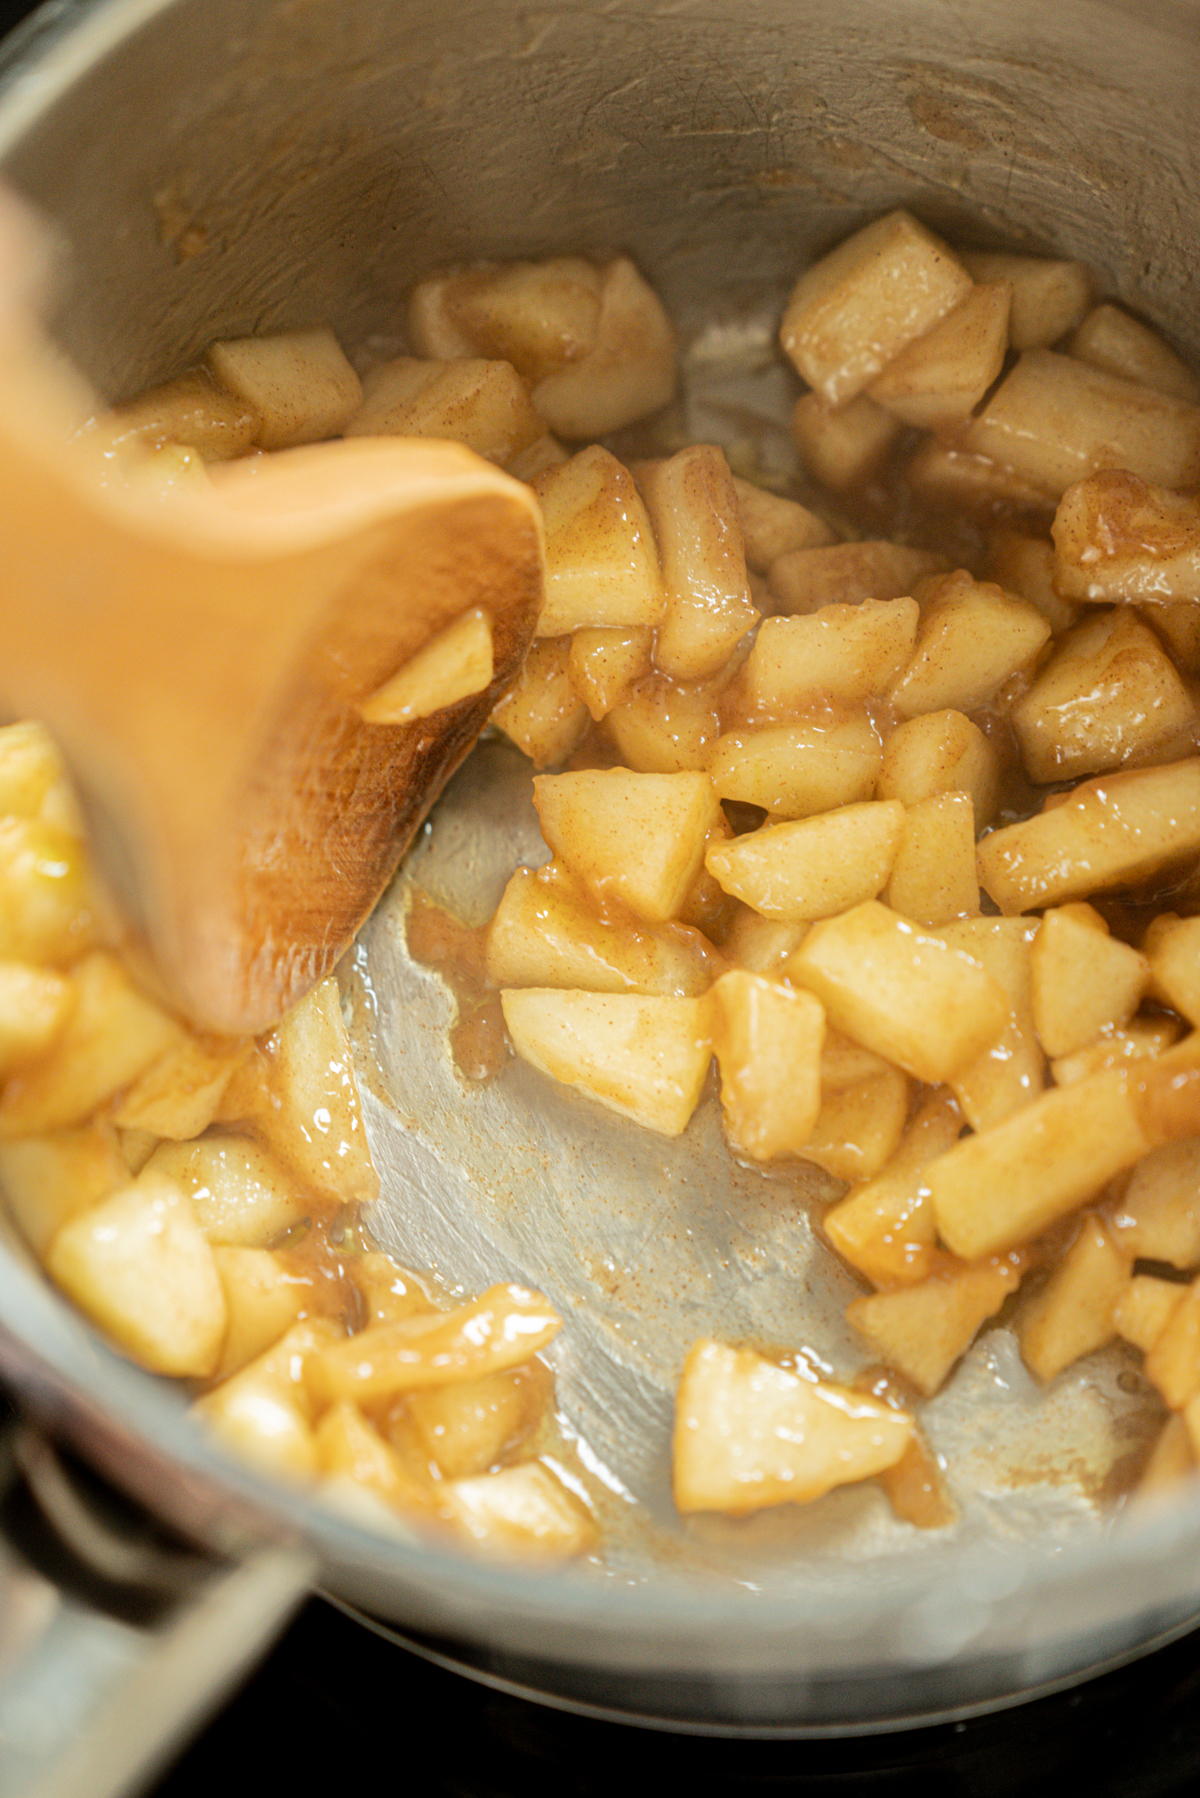
- Add the cornstarch slurry and cook until the juices are thick and glossy, then let the filling cool completely.
Shaping
Roll the chilled dough into a 16 x 9 1/2-inch (40 x 24 cm) rectangle and cut fifteen 3 inch (8 cm) squares and put them on lined trays, cover loosely and proof until visibly puffy and airy.
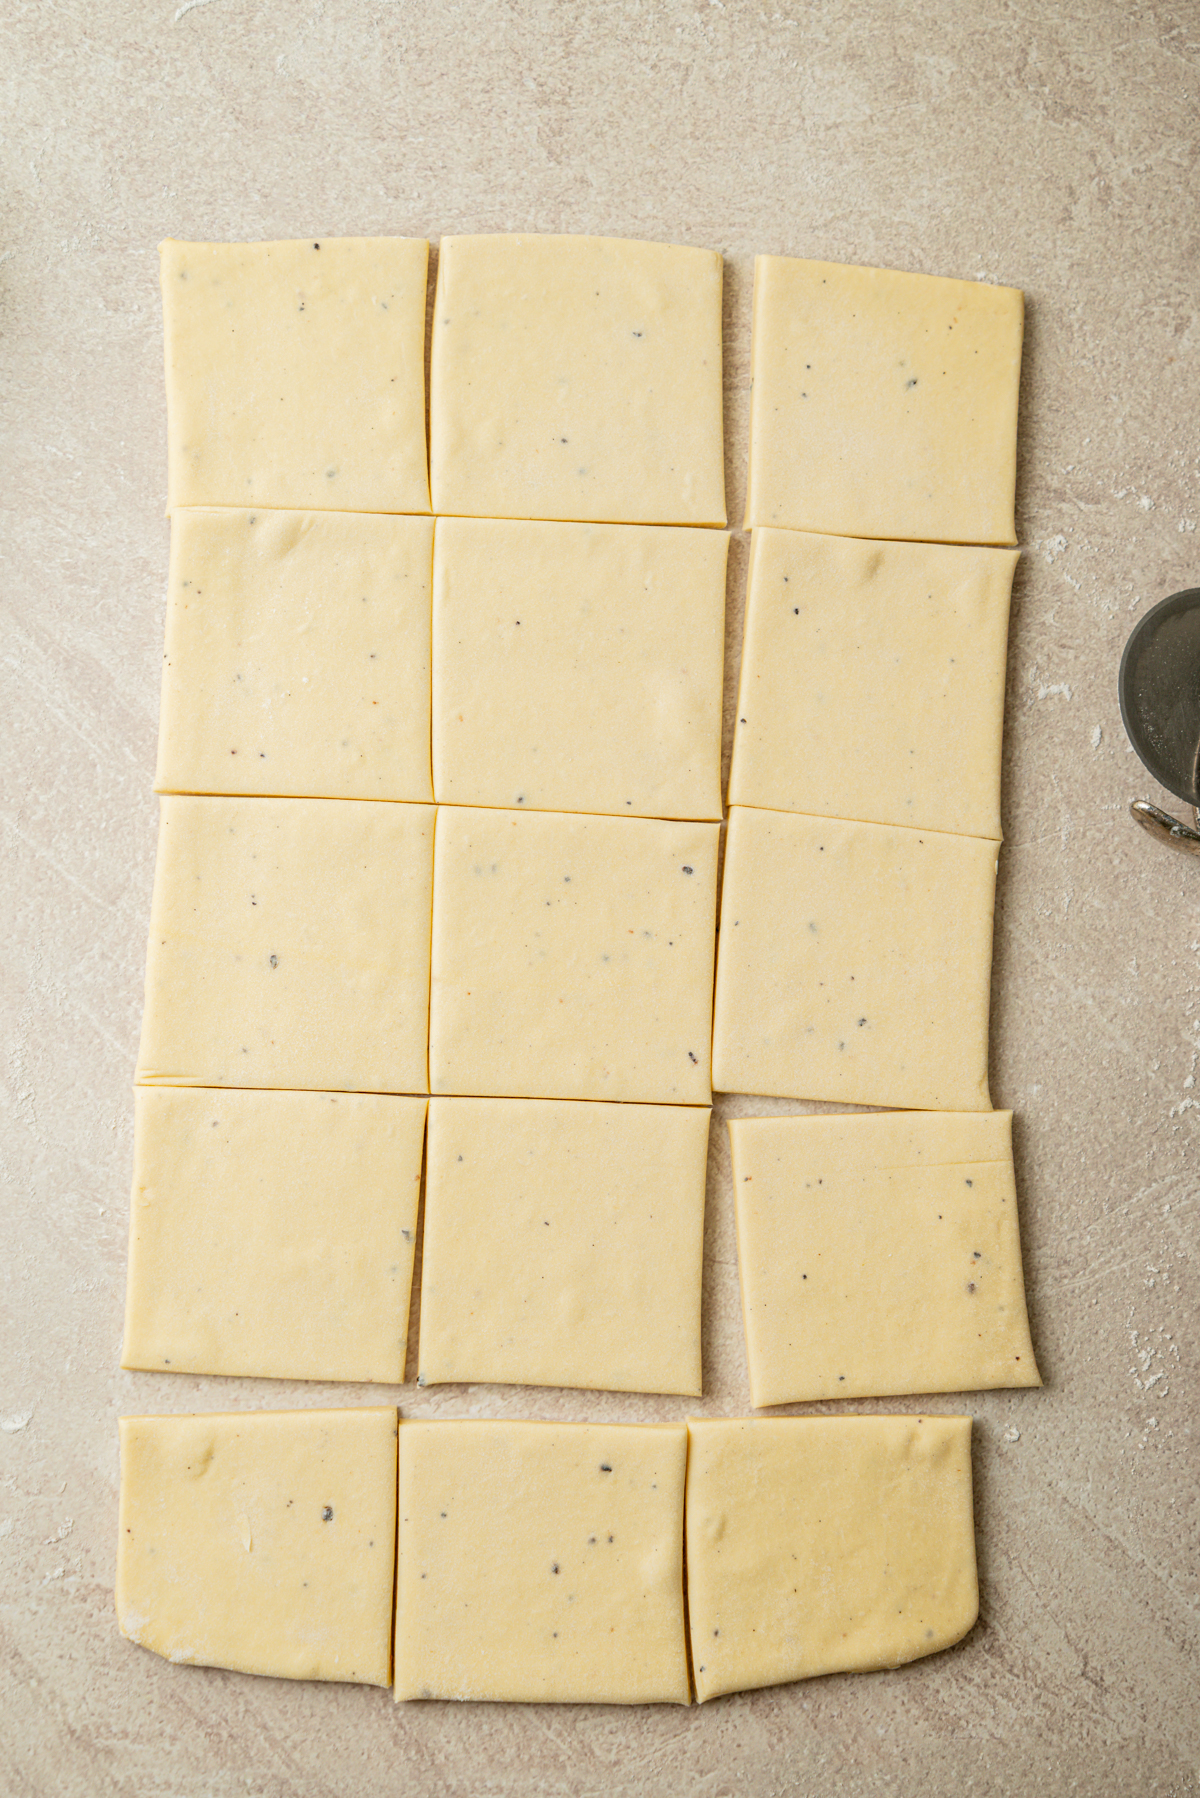
- At around 75°F (24°C), this takes approximately 2 hours. Cooler rooms may need longer. Keep the pastries below 79°F (26°C) so the butter does not melt.
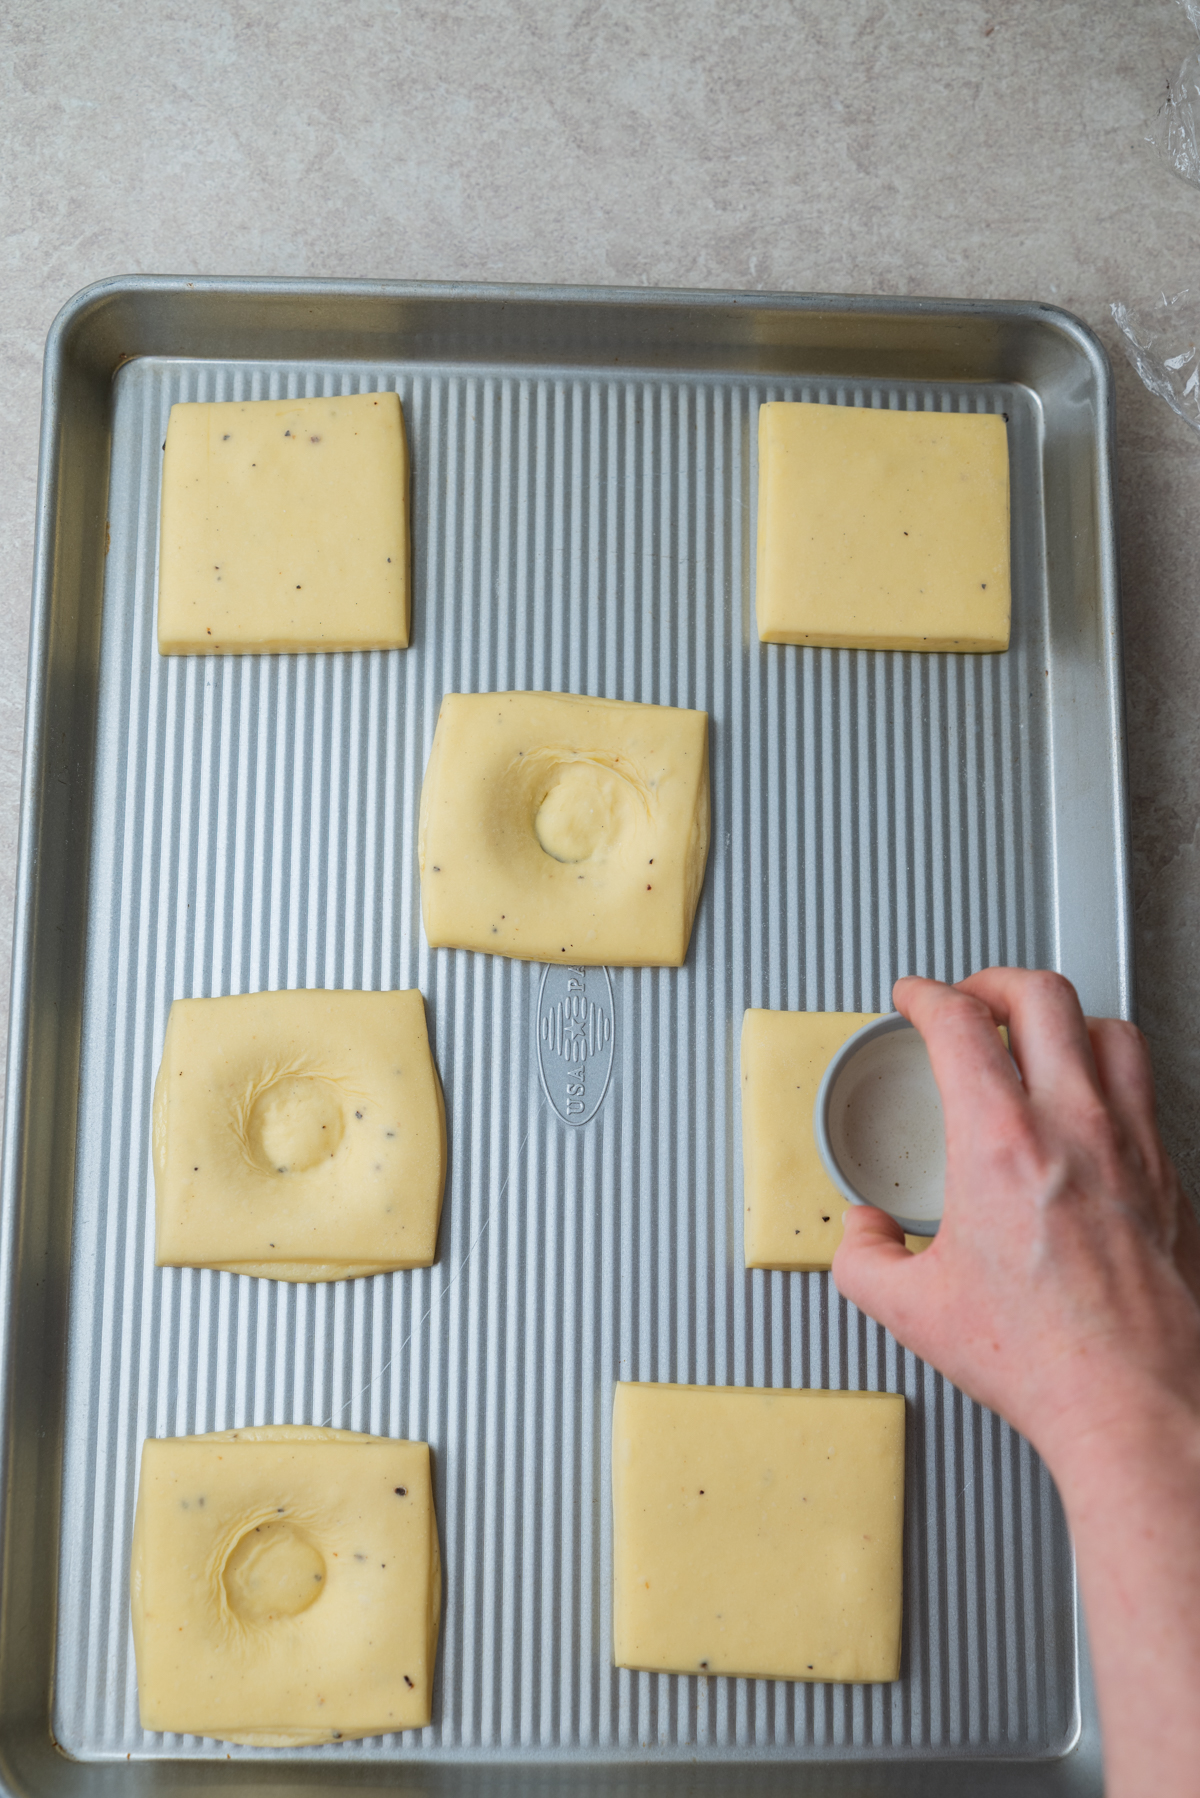
- Use a small, flat-bottomed glass to press an indent into each proofed square. Add egg wash to the edges.
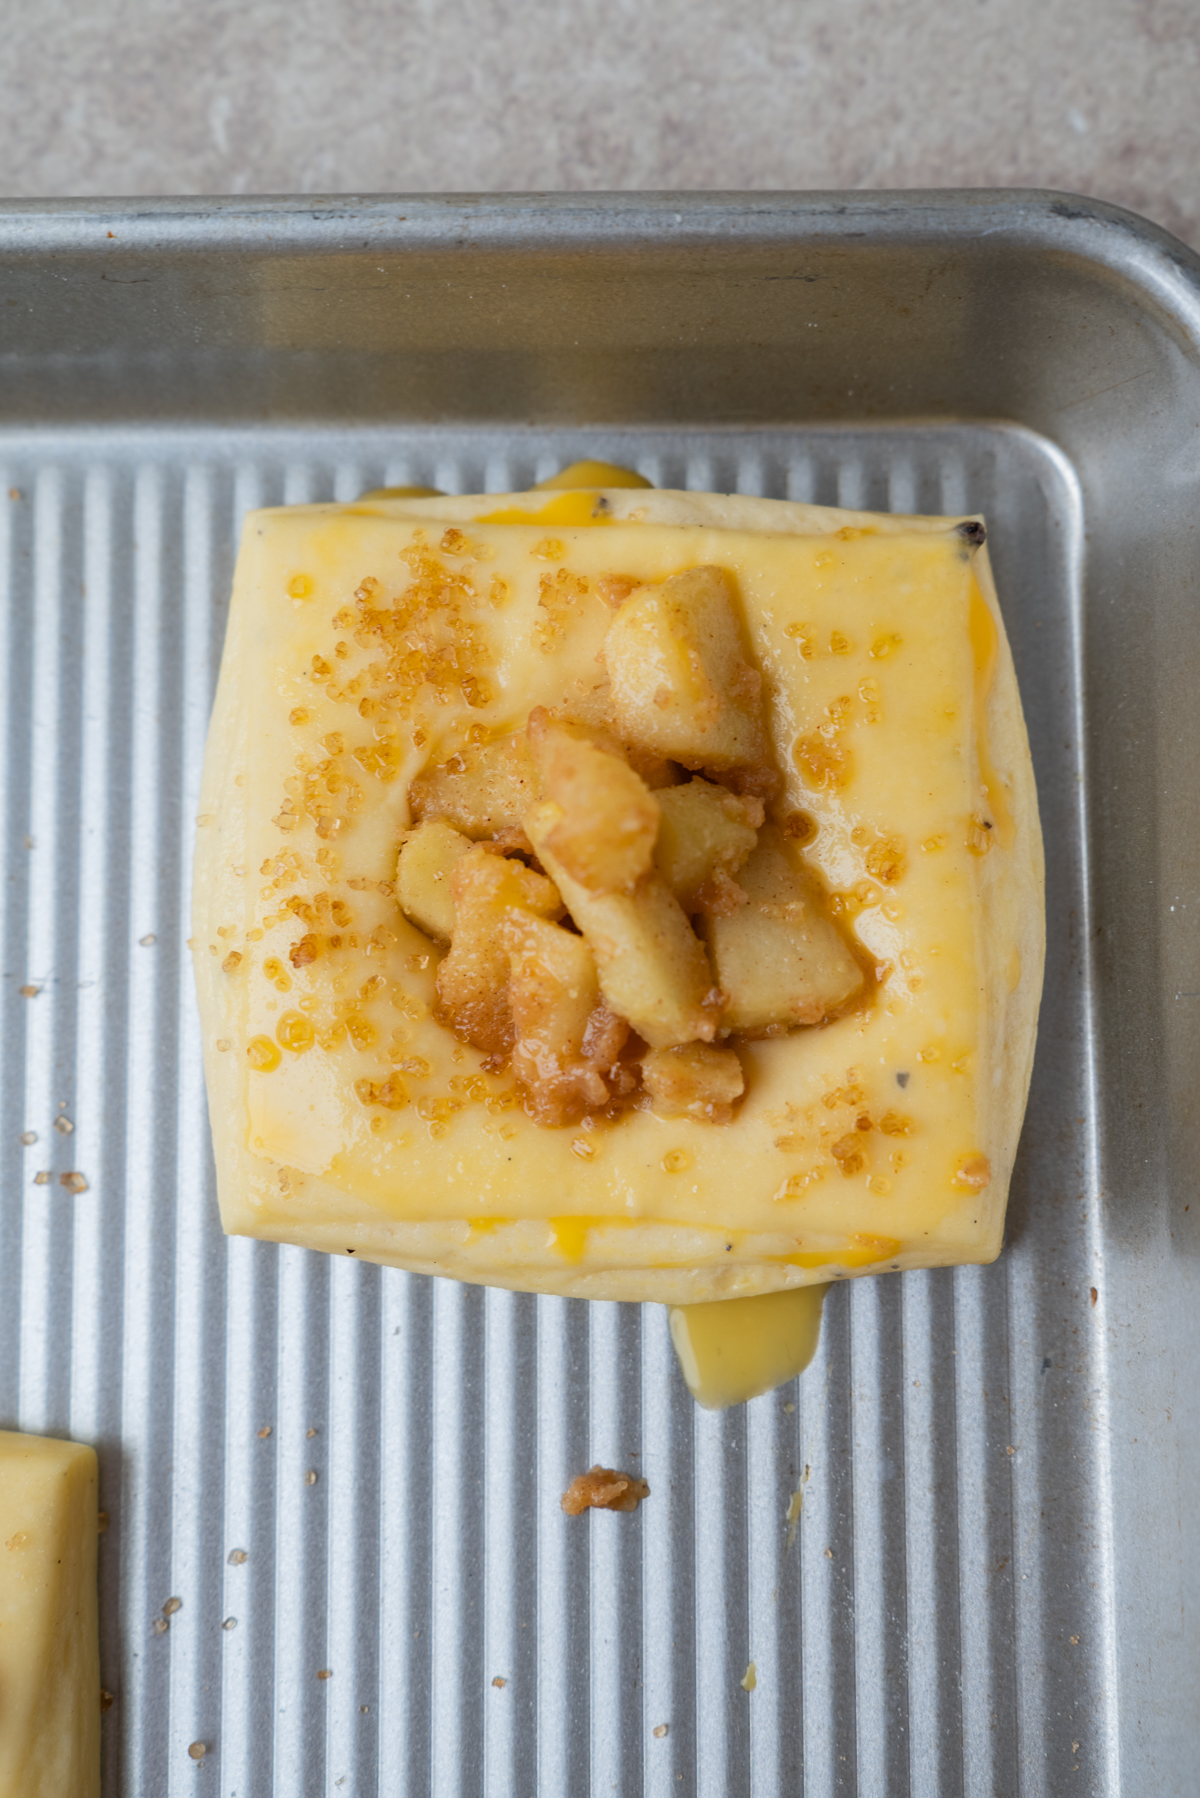
- Add the cold apple filling, egg wash the exposed pastry and sprinkle it with turbinado sugar. Bake immediately until deeply golden.
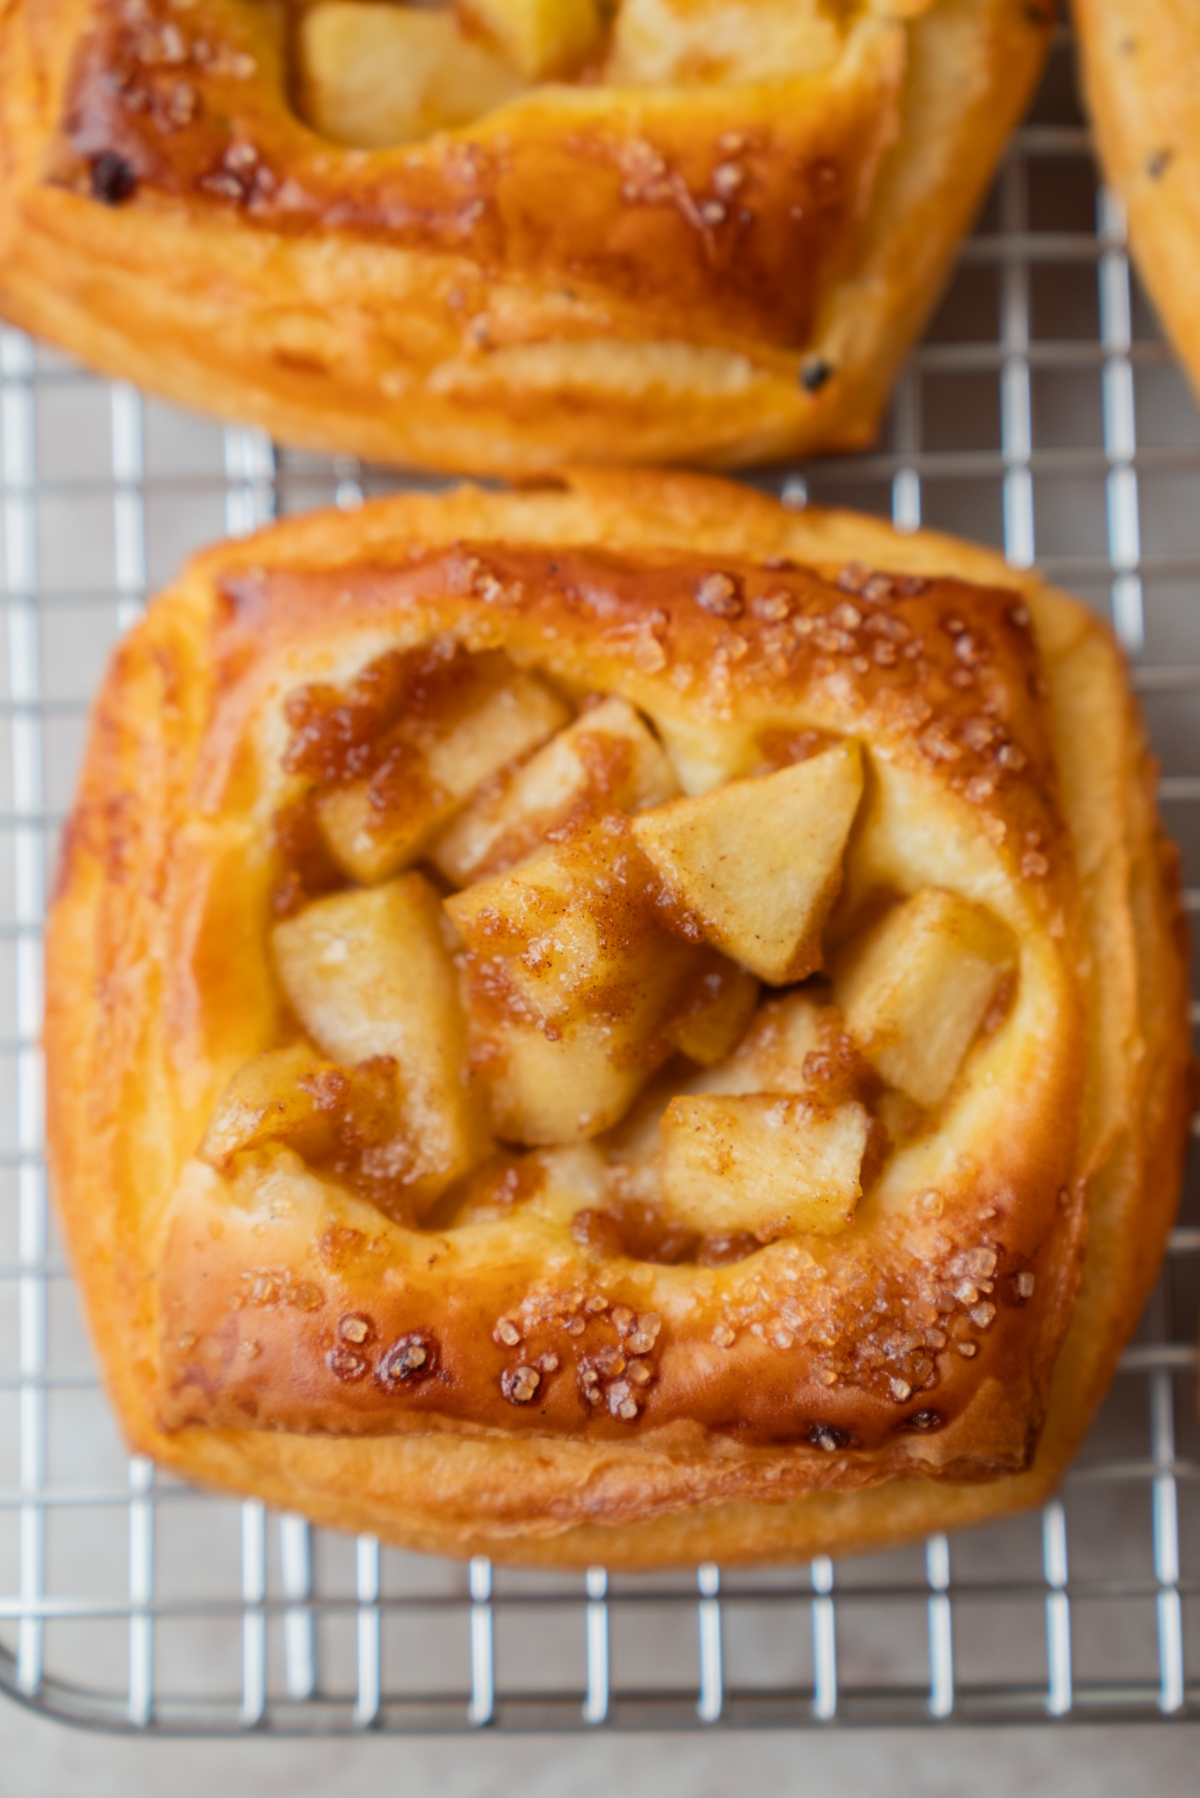
- Bake until deep golden.
Apple custard Danish variation
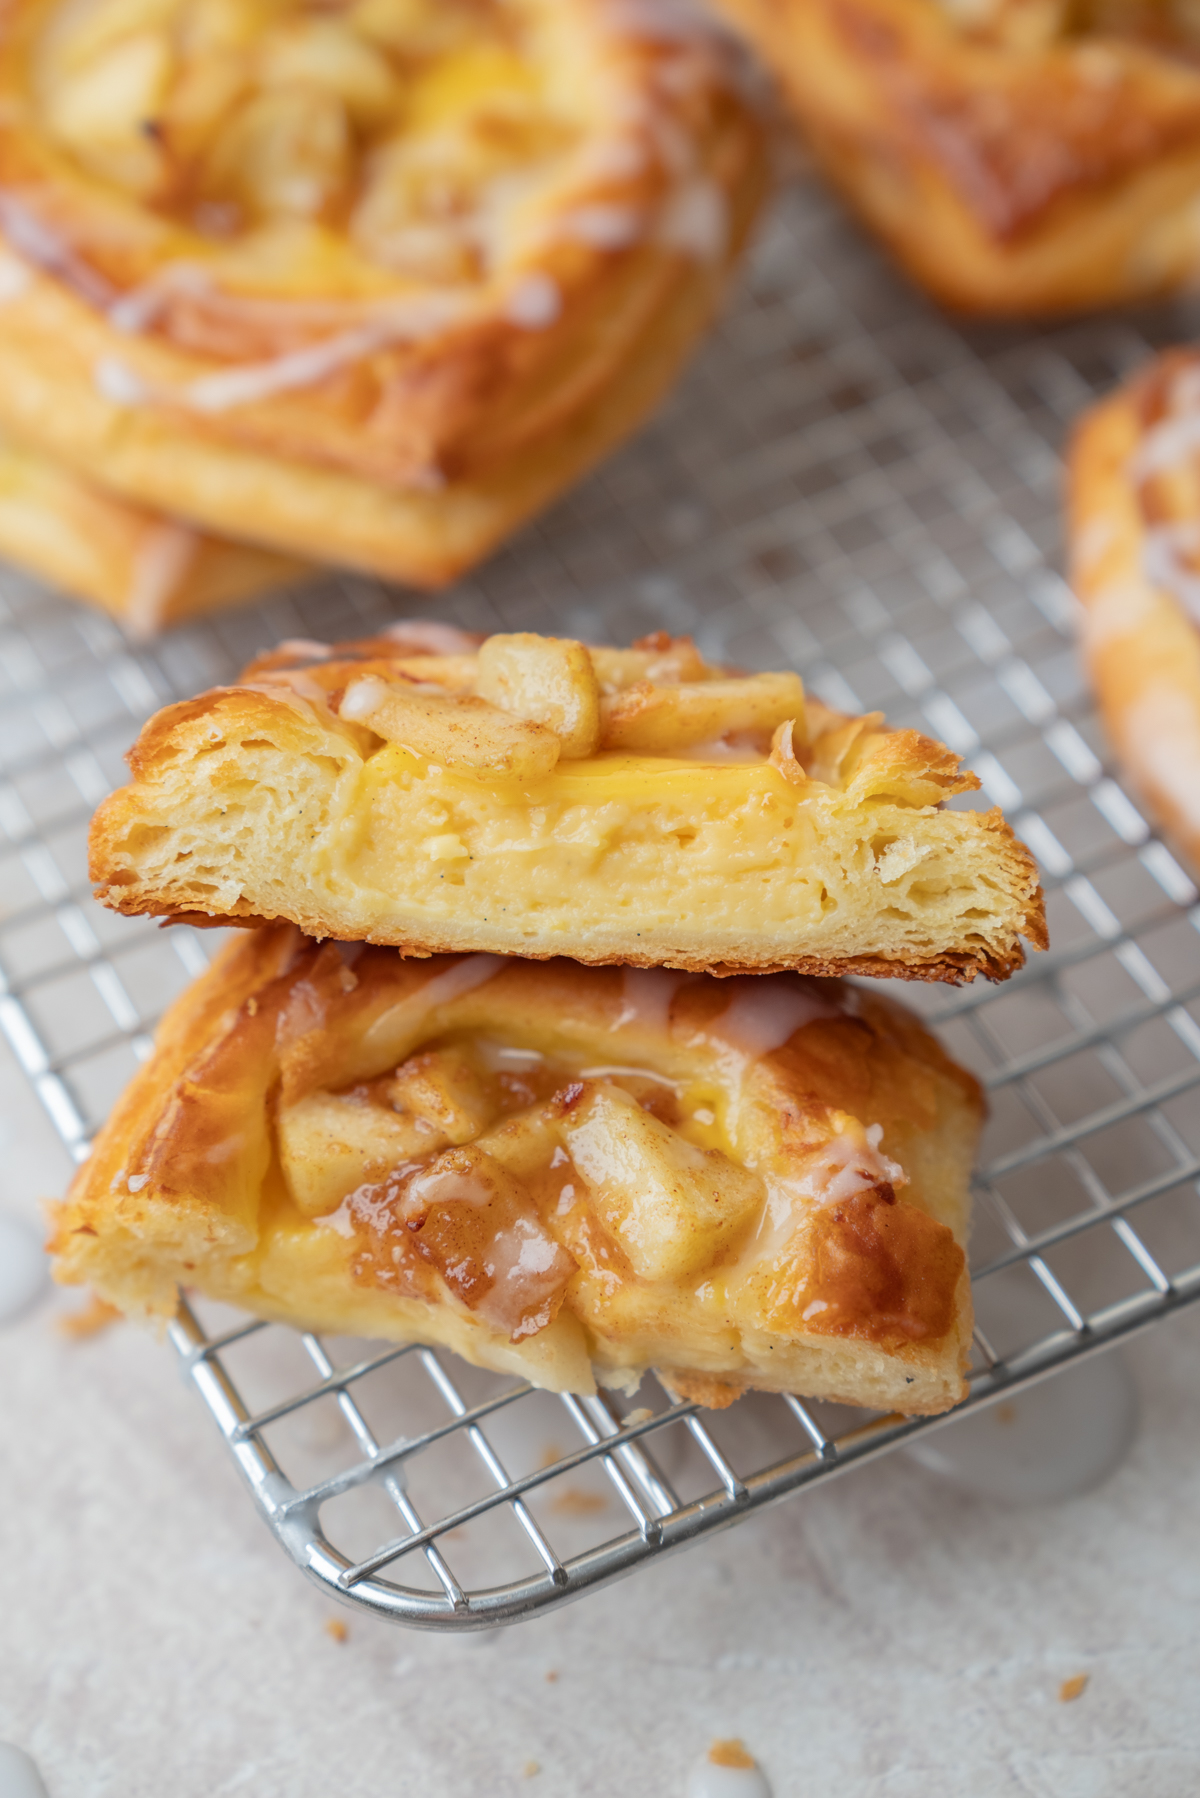
For apple custard Danish, make a half batch of my vanilla custard. Chill it completely and then whisk it just for a little bit to loosen it, then transfer it to a piping bag. If you make a full batch, serve the remaining custard alongside the warm apple Danish.
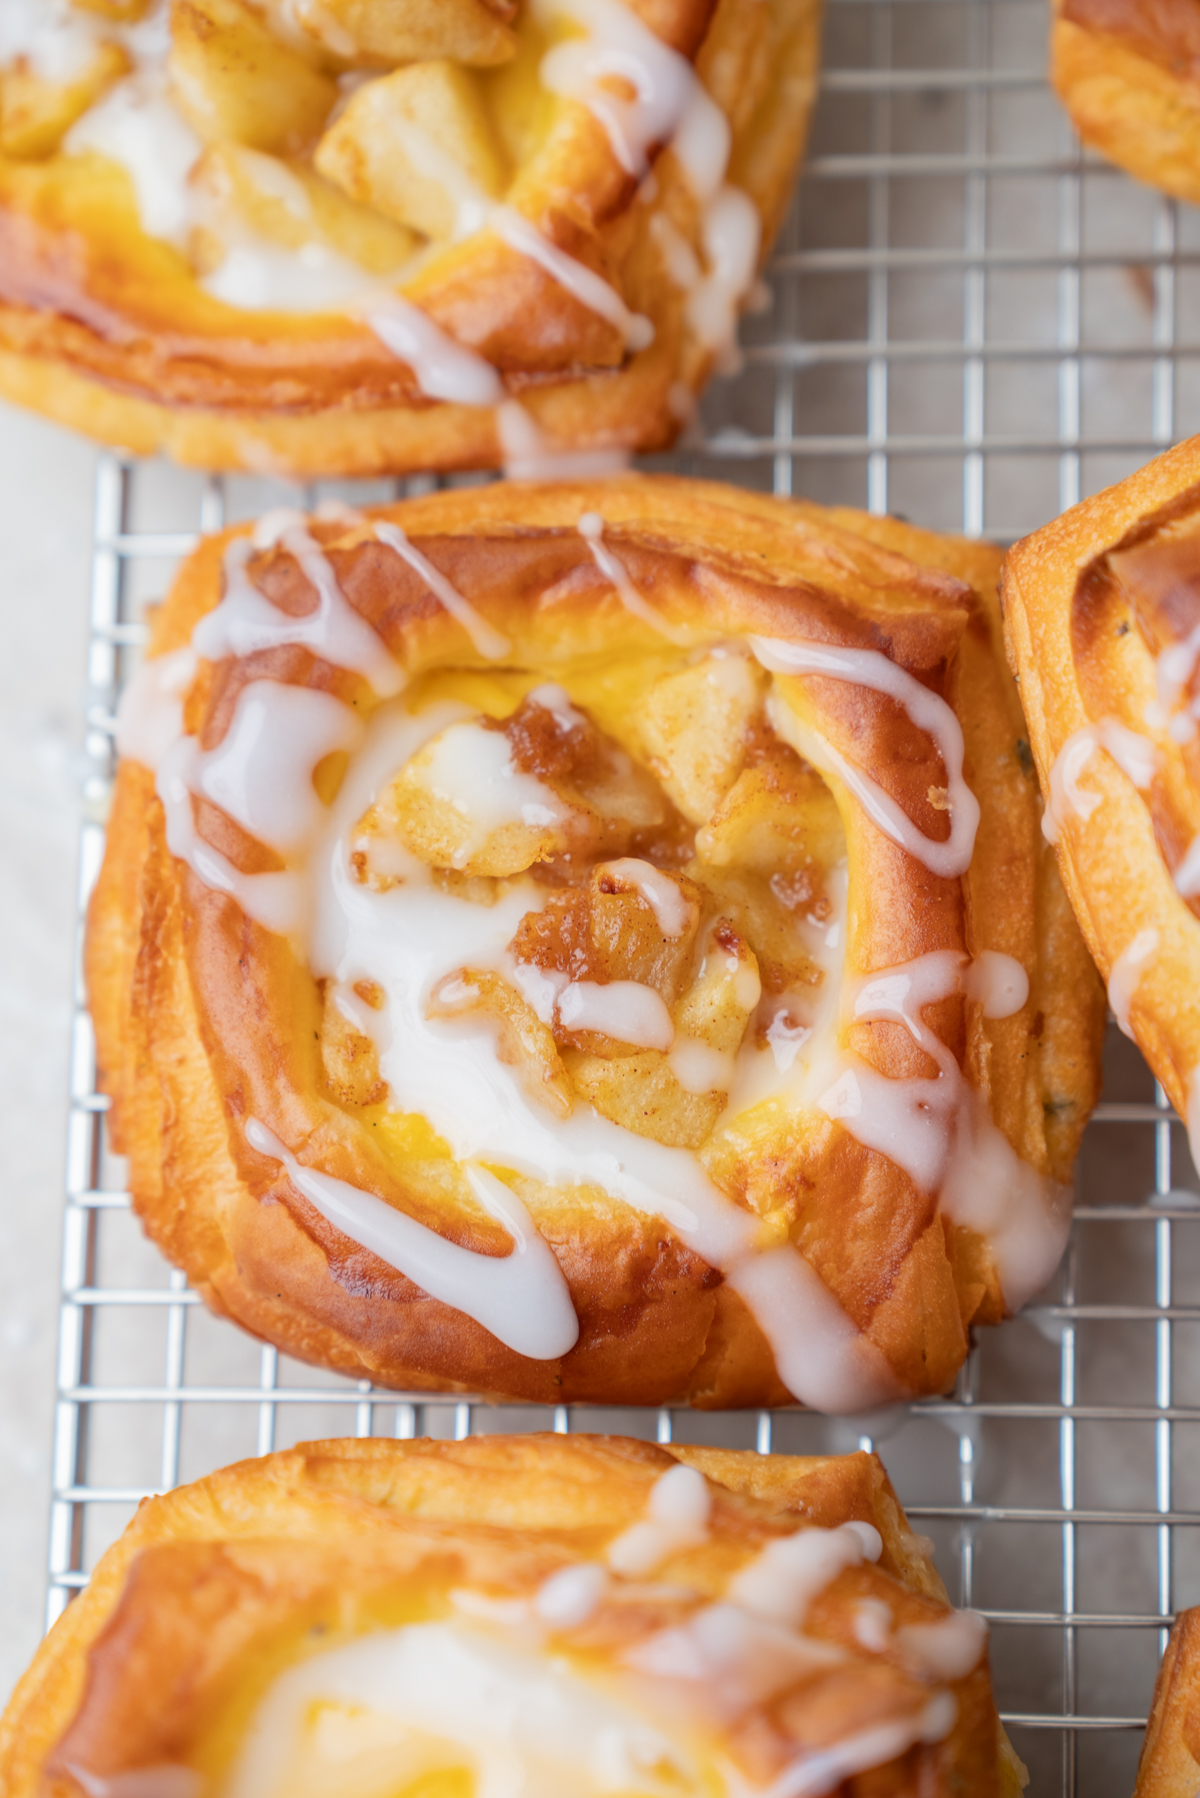
Once the Danish have finished proofing, press the centers with the glass. Brush the edges with egg wash. Pipe approximately 15 g of custard into each little indent, then press on a tablespoon of the cold apple filling on top. After baking I like to glaze this variation with a simple white glaze of 1/2 cup powdered sugar mixed with a tablespoon of milk as needed until it’s pourable.
Storing apple Danish
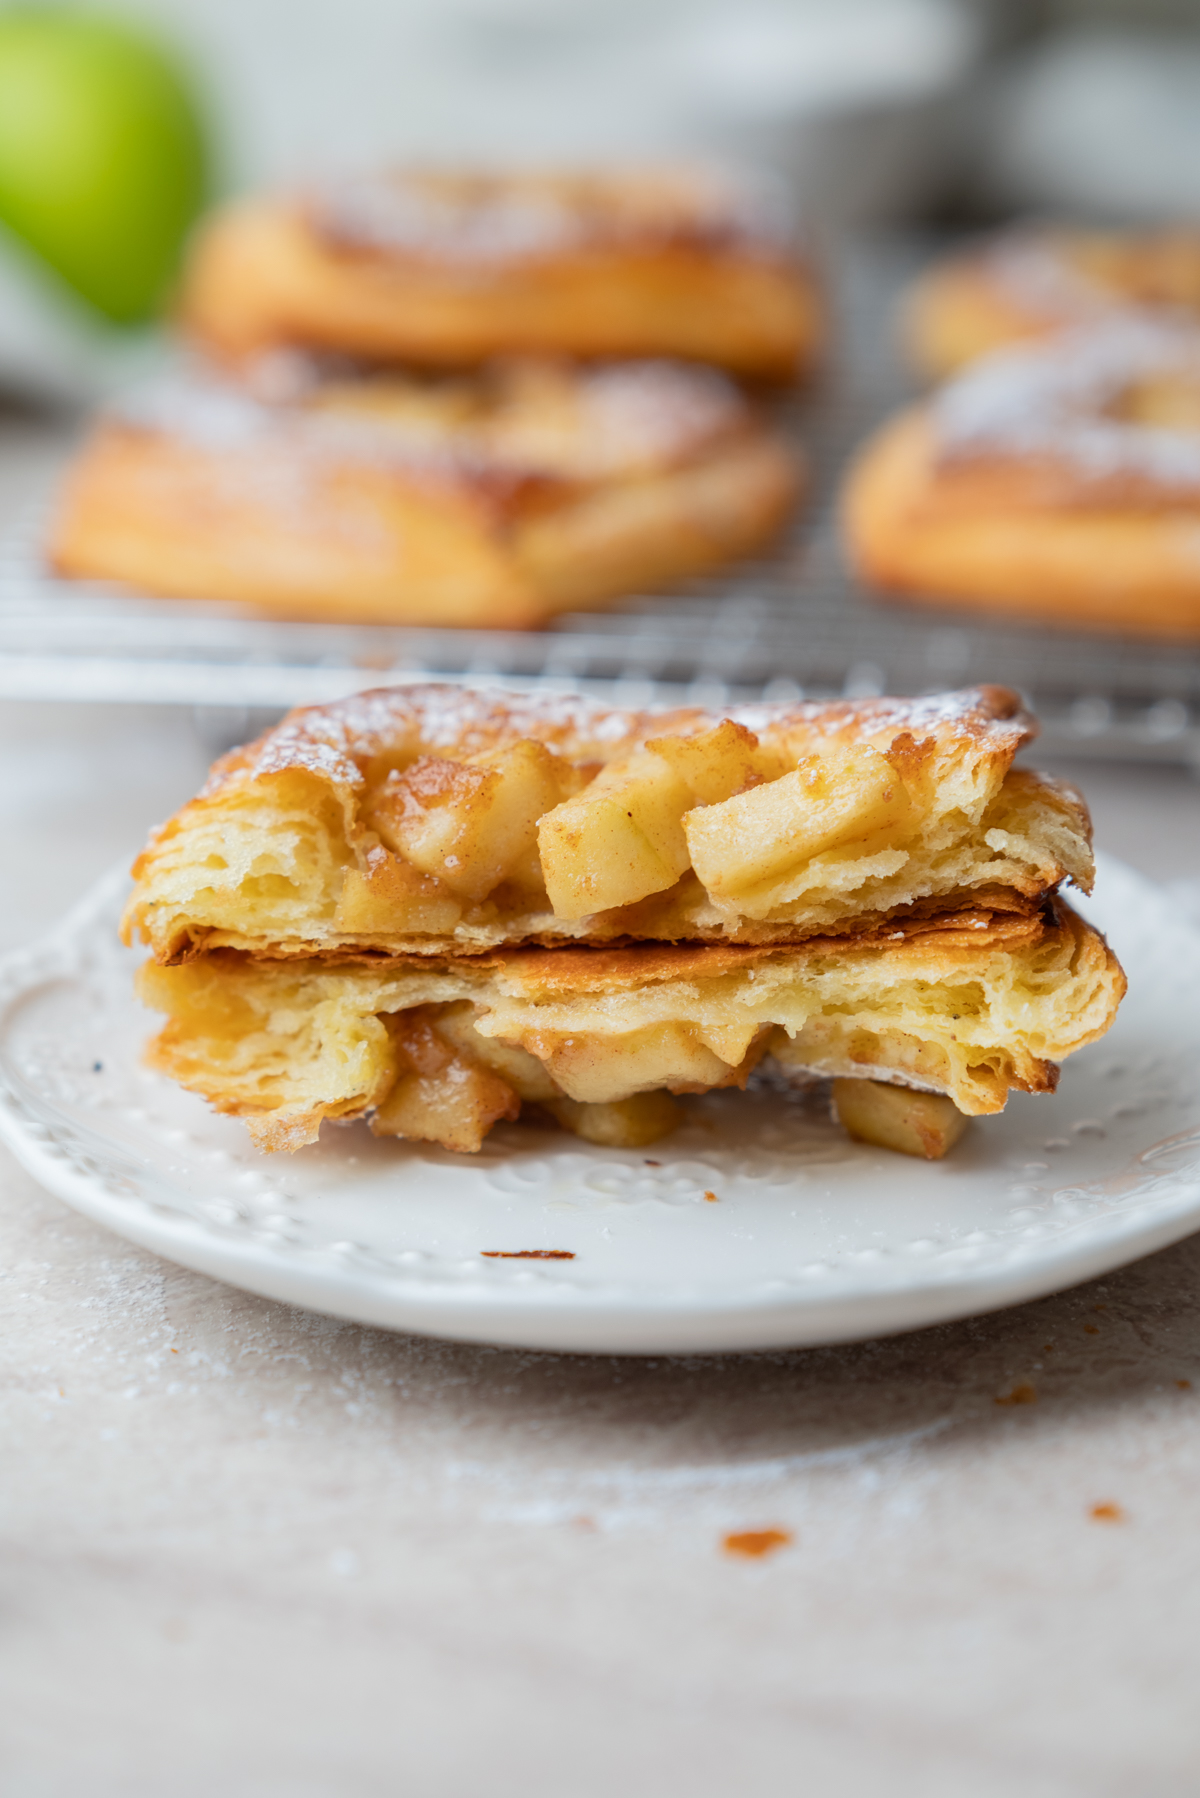
Apple Danish without custard are best on the day they are baked, but they can be stored in an airtight container at room temperature for up to 2 days. You can warm them in an 180°C (350°F) oven for 5 to 8 minutes. They can be frozen too.
Apple custard Danish should be refrigerated once cooled. Store them in an airtight container for up to 2 days. This version doesn’t freeze as well because the custard changes consistency when frozen and will become watery.

Troubleshooting Danish pastry dough
Related recipes
- Brioche Suisse Recipe
- Strawberry Cream Cheese Danish Pastries
- Homemade Croissants Step-by-Step
- Sourdough Pain au Chocolat
- Step by Step Pain aux Raisins Recipe
- Pain au Chocolat Recipe Step by Step
Homemade Apple Danish Pastries
Equipment
- Stand mixer with dough hook
- Rolling Pin
- Parchment paper
- 2 large baking sheets
Ingredients
Danish dough
- 120 g whole milk cold
- 80 g water cold
- 7 g instant or active dry yeast
- 440 g all-purpose flour with at least 11% protein
- 50 g granulated sugar
- 30 g unsalted butter softened
- 1 large egg
- 1 teaspoon vanilla bean paste or vanilla extract
- 3/4 teaspoon fine salt
- 1/4 teaspoon ground cardamom freshly ground, optional
Butter packet
- 225 g unsalted butter cold
Spiced apple filling
- 3 large Granny Smith apples peeled, cored and finely diced
- 40 g brown sugar
- 15 g unsalted butter
- salt pinch
- 3/4 teaspoon ground cinnamon
- 1 1/2 teaspoons lemon juice
- 1 Tablespoon cold water
- 1 teaspoon cornstarch
Egg wash and finishing
- 1 large egg
- 1 Tablespoon water
- turbinado sugar for sprinkling
- powdered sugar for dusting
Optional vanilla glaze
- 120 g powdered sugar
- 1 Tablespoon milk plus more as needed
- 1/2 teaspoon vanilla bean paste or vanilla extract
Instructions
Make the dough
- Add the cold milk, water, yeast, flour, sugar, salt, vanilla, softened butter, cardamom and egg to the bowl of a stand mixer fitted with a dough hook.
- Mix on low speed until combined. Continue kneading on low for 10 to 15 minutes, until the firm dough is smooth, strong and elastic.
- Shape it into a flat rectangle, wrap it tightly and refrigerate for 2 hours.
Make the butter packet
- Cut the cold butter into four slabs and arrange them in a two-by-two grid on parchment paper.
- Fold the parchment into a square around the butter. Pound and roll the butter until it forms an even sheet.
- Refrigerate the packet. Before laminating, bash it again with the rolling pin until the butter is bendy and really easily pliable. It should feel similar in firmness to the dough.
Laminate the dough
- Roll the chilled dough into a rectangle approximately twice the length of the butter packet. Place the butter in the center, fold the top and bottom sections of dough over it so they meet, and pinch the center seam closed. Turn the dough 90 degrees and use a sharp knife to slice down the closed sides to release the tension.
- Press gently along the length with the rolling pin to flatten the butter, then roll in one direction from one short end to the other. Focus on length rather than width and lift the dough regularly to make sure it is not sticking. Roll it to about 5/16 inch (8 mm) thick.
- Brush away all loose flour and fold the dough into thirds like a business letter. Wrap and chill for 30 minutes. Rotate the dough 90 degrees, then repeat the pressing, rolling and folding process. Chill for another 30 minutes.
- Rotate, roll and fold the dough a third time. Wrap and chill for at least 1 hour or up to overnight.
Make the apple filling
- Melt the butter in a medium frying pan over medium heat. Add the apples, brown sugar, salt, cinnamon and lemon juice.
- Cook, stirring regularly, until the apples have softened but still hold their shape, around 6-8 minutes.
- Stir together the cornstarch and cold water. Pour the slurry into the pan and cook for another minute stirring, until the filling is thick and glossy.
- Scoop it into a shallow container and cool completely.
Shape and proof
- Line two large baking sheets with parchment paper.
- Roll the chilled dough into a 16 x 9 1/2-inch (40 x 24 cm) rectangle. Trim the edges if needed, then cut it into fifteen 3-inch (8 cm) squares.
- Divide the squares between the trays, cover loosely and proof until visibly puffy and airy. At approximately 75°F (24°C), this takes around 2 hours. Cooler rooms may require 2 1/2 to 3 hours or longer. Keep the pastries below 79°F (26°C) so the butter does not melt. The pastries should wobble slightly when the tray is moved, and a light indentation should spring back slowly.
Fill and bake
- Heat the oven to 400°F (200°C) conventional. Whisk together the egg and water.
- Press a small, flat-bottomed glass gently into the center of each proofed square to create a deep indentation. Brush the edges of the pastry lightly with egg wash.
- Divide the cold apple filling between the centers. Sprinkle the edges with turbinado sugar.
- Bake for approximately 18 minutes, until deeply golden brown. If baking one tray at a time, refrigerate the second fully proofed tray while the first tray bakes.
- Transfer to a wire rack. Once cool, dust with powdered sugar or drizzle with vanilla glaze.
Optional vanilla glaze
- Whisk together the powdered sugar, 1 tablespoon milk and vanilla. Add more milk a little at a time until thick but pourable.
- Drizzle over the cooled Danish and allow it to set.