

Homemade Danish Pastry Dough
This homemade Danish pastry dough bakes into beautiful flaky layers with a soft center. The dough is enriched with milk, egg, sugar and vanilla, then laminated with butter. Once you’ve got the dough made, you can shape and fill it in all sorts of ways! Danish pastry takes time, but pretty much most of that time is in the chilling and proofing stages. The actual hands-on work isn’t much. It can all be made in one day or laminated one day and shaped the next.
About this Danish pastry dough
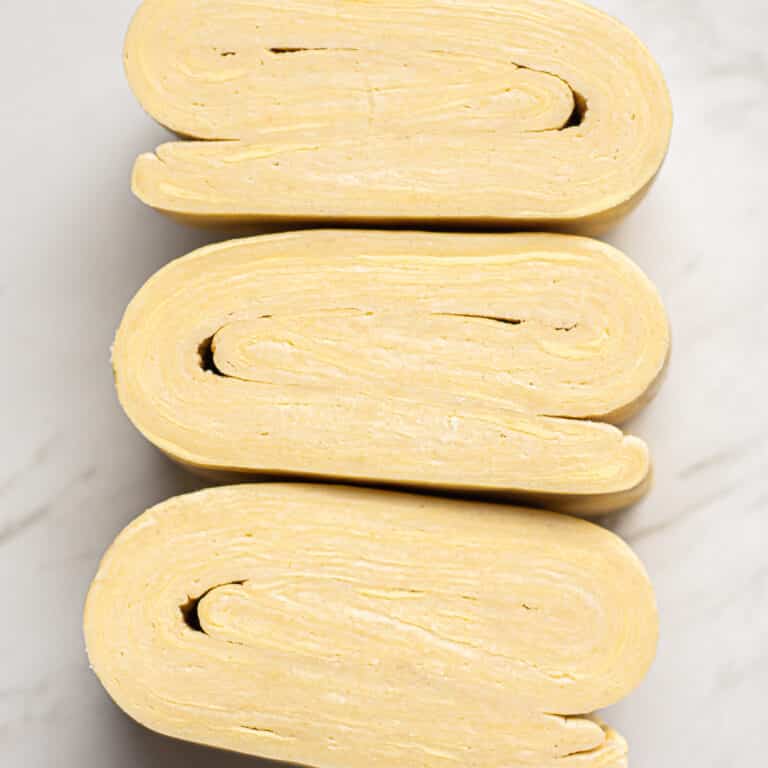
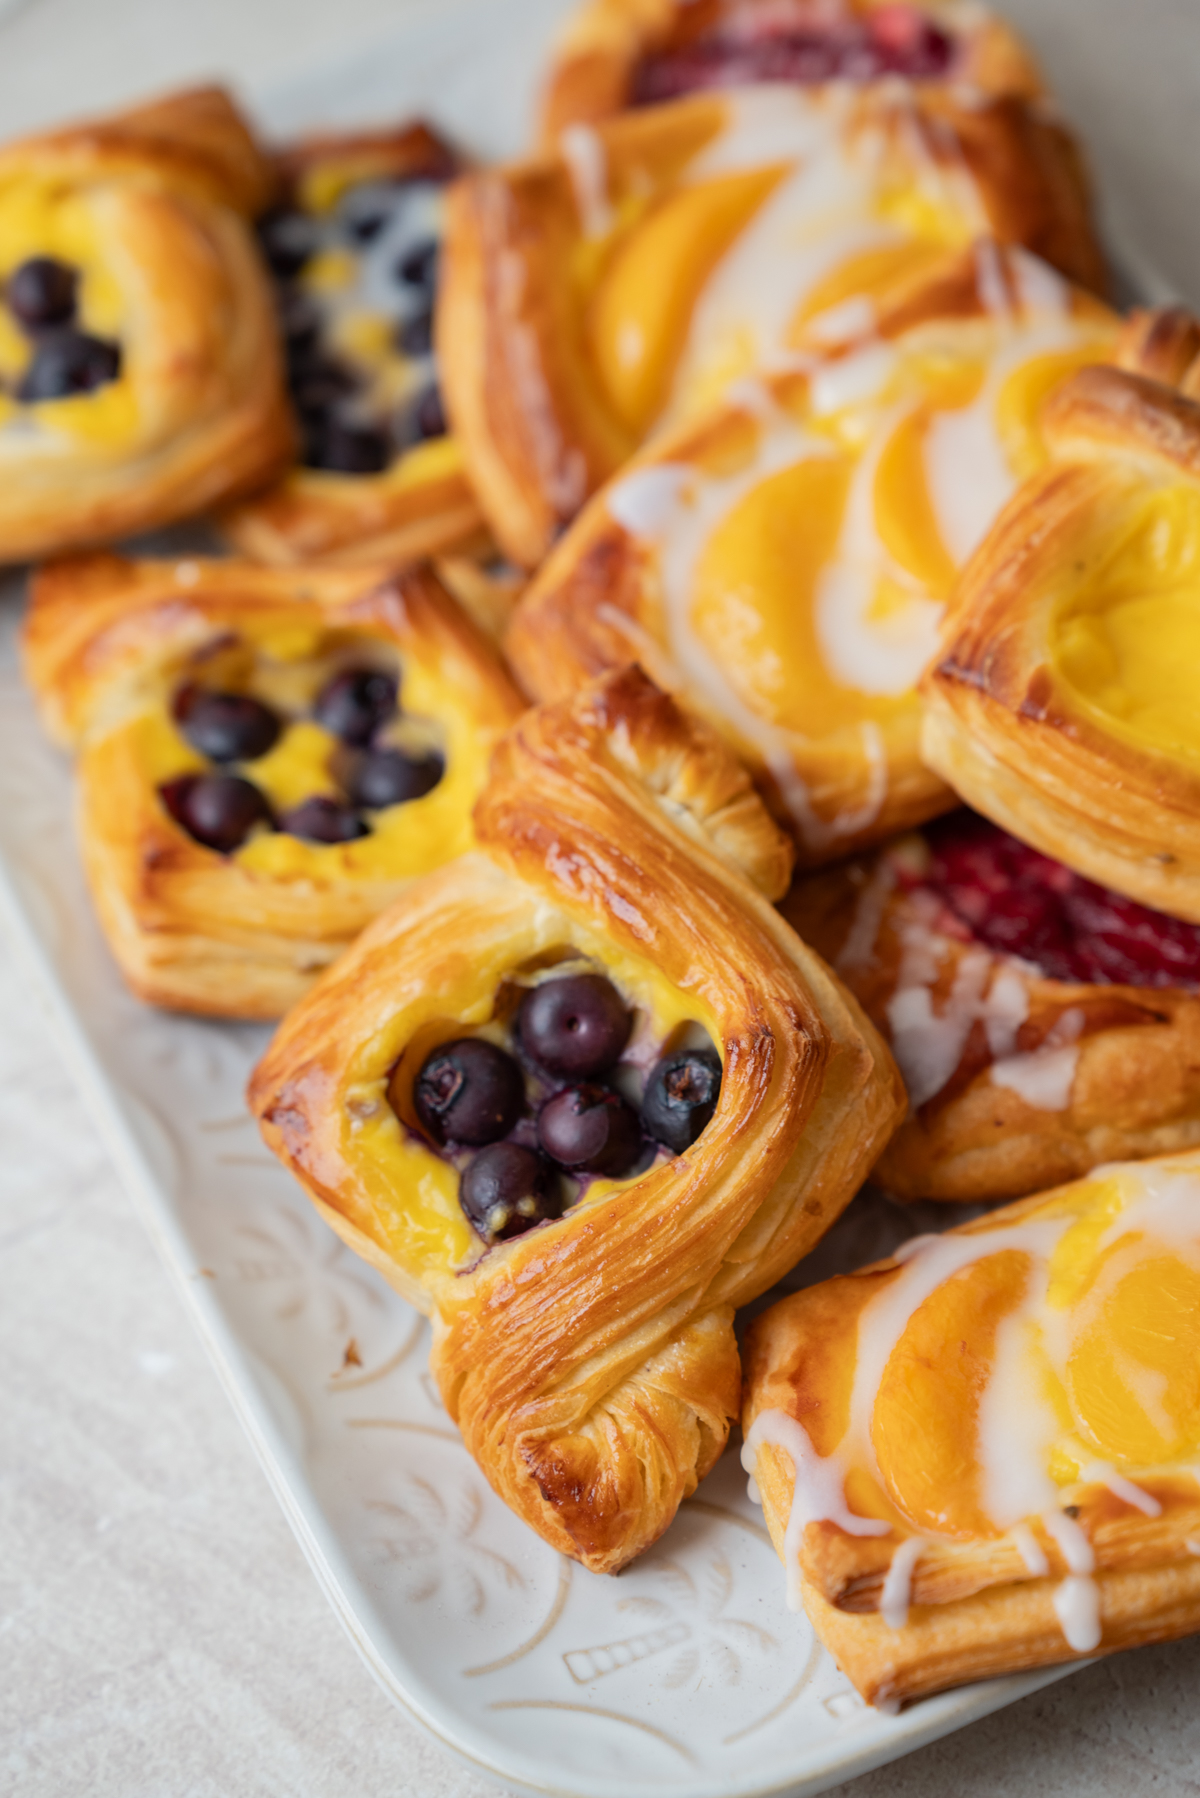
Danish pastry dough is risen with yeast and laminated with butter. As the pastry bakes, water in the butter turns to steam and lifts the dough layers apart. Danish dough is more enriched than croissant dough. This recipe contains milk, egg, sugar, vanilla and a little butter mixed directly into the base dough. The finished pastry should still have clear, flaky layers, but the center is softer and richer than a croissant.
What you can make with this dough
One batch of this recipe makes around 2.2 pounds (1 kg) of laminated dough. It is enough for 15-16 smaller Danish made from 8 cm squares, twelve large pastries made from 10 cm squares, or two medium Danish braids.
Try it in these recipes:
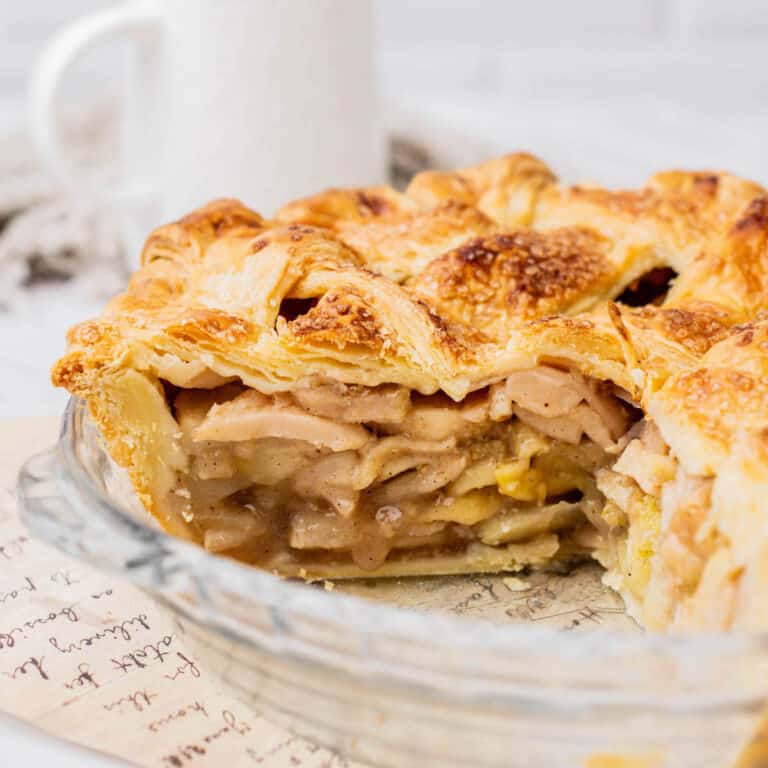
- Apple Danish pastries
- Strawberry cream cheese Danish pastries
- Vanilla custard Danish pastries
Ingredients
The ingredient quantities are listed in the printable recipe card below. Here is a run down of why I use each ingredient.
- All-purpose flour: Use all-purpose flour with at least 11% protein. The dough needs enough strength to hold the butter layers and support the pastry during proofing, but very strong bread flour can make it too chewy and difficult to roll.
- Milk and water: The combination of milk and water keeps the dough tender without making it too rich.
- Yeast: Instant yeast or active dry yeast can be used.
- Sugar: I only use a little sugar in the dough which is mainly there to help it brown and supports fermentation. The fillings and finishing sugar bring most of the sweetness to the finished pastries.
- Egg: Egg enriches the dough, adds color and helps give the pastry its lovely soft interior.
- Butter in the dough: A small amount of softened butter is kneaded directly into the main base dough, which makes the crumb tender.
- Vanilla and cardamom: Freshly ground cardamom is optional, but it is just so perfect in the dough. If you’re going to use it, I would really recommend grinding your own seeds, not using pre-ground.
- Roll-in butter: A higher-fat European-style butter is much easier to laminate because it contains less water.
The butter packet
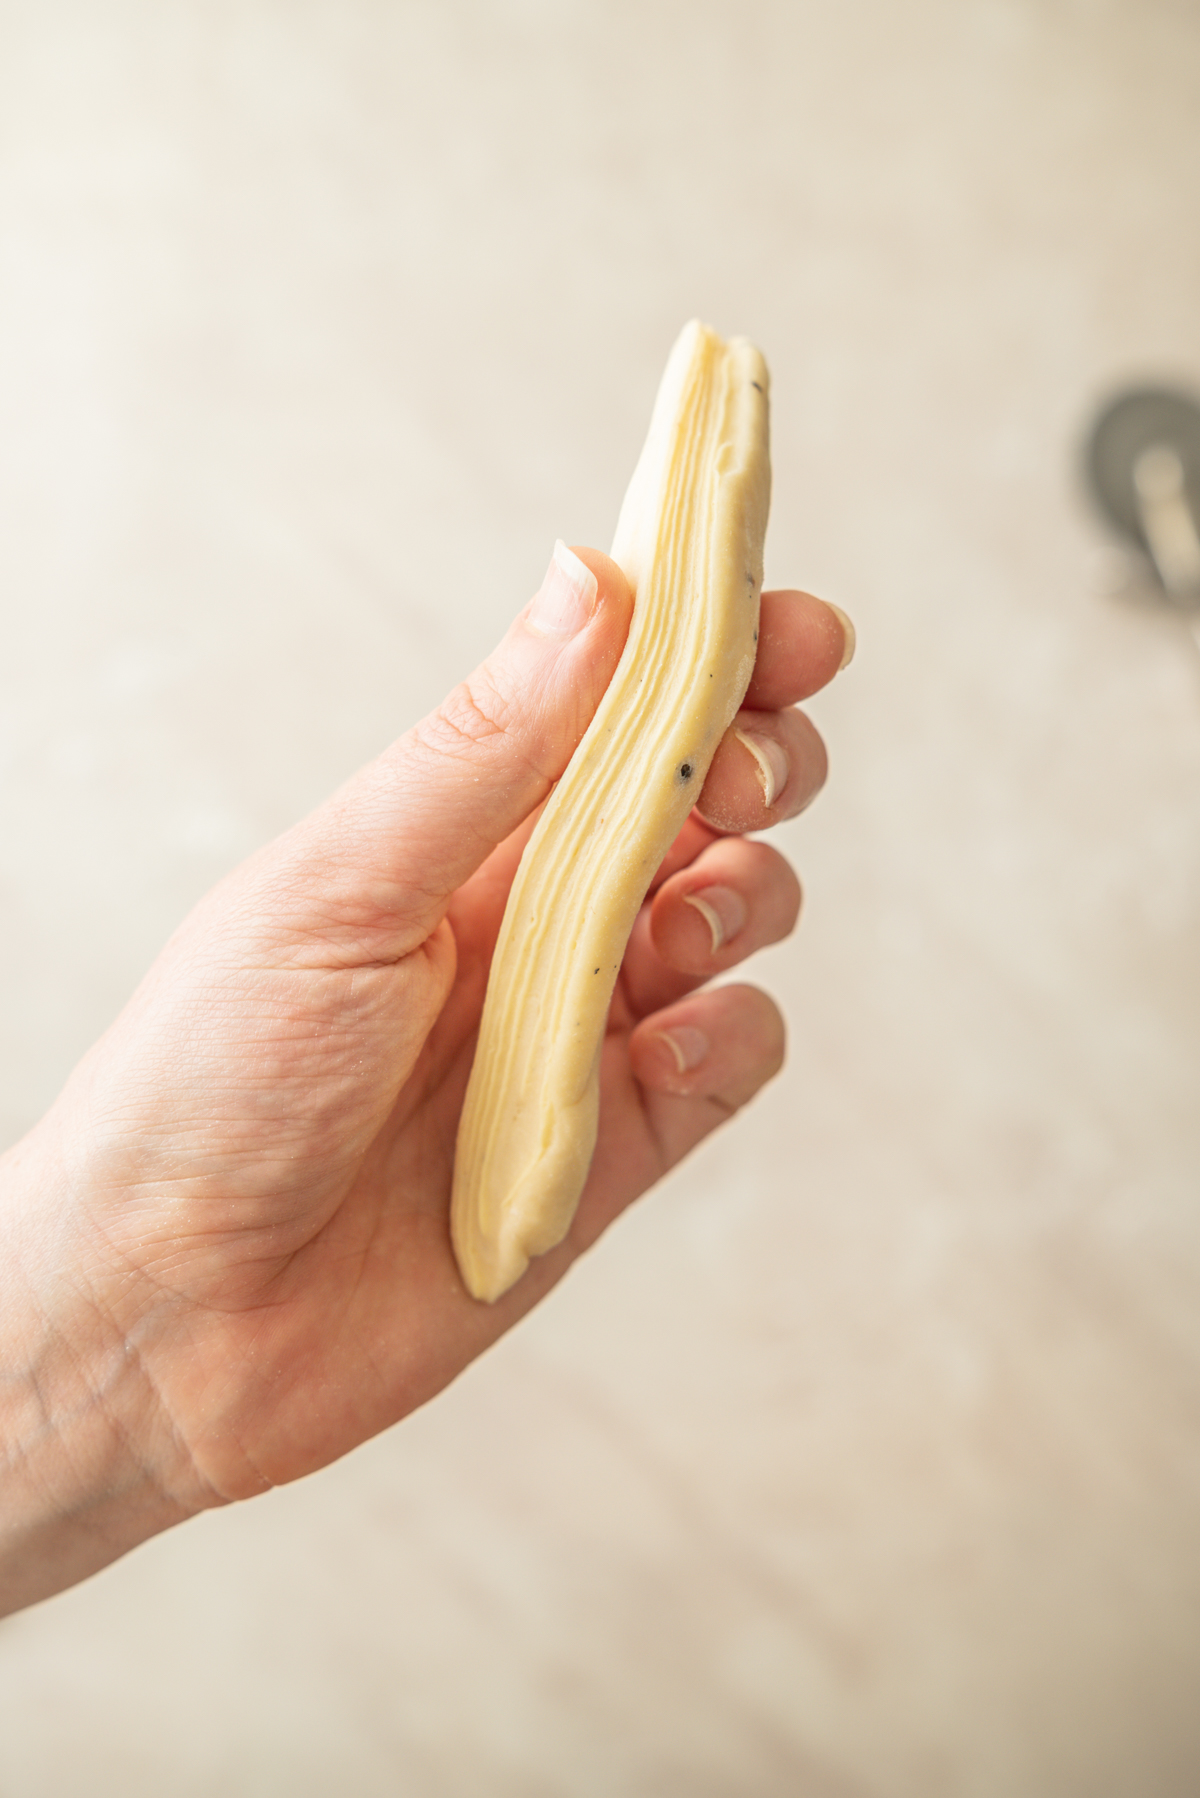
I make the butter packet by cutting the butter into four slices and arranging them in a two-by-two grid, and wrapping them in parchment paper. I then pound and roll the butter until it fills the parchment packet in an even layer.
Pounding cold butter makes it pliable because it redistributes the fat crystals in the butter without warming it as much as it would if you left it to soften at room temperature. Then you can pop this back in the fridge where it will firm up again. When you are going to begin laminating, take it out of the fridge and bash it again with a rolling pin enough times to make it bendy and pliable again.
Butter and dough temperature
Good lamination depends a lot on the consistency of the dough and butter, and you want them to be similar.
If the butter is way colder than the dough, it will crack into pieces when rolled and those broken pieces create patchy layers. If the butter is too warm, it will smear into the dough or squeeze out at the edges. Once the butter is absorbed into the dough you’ve forever lost the layers.
Before rolling, press the dough and butter packet gently with a finger. They should both feel cool and firm, but they should give slightly under pressure. If the butter cracks as you begin rolling, bash it again with the rolling pin repeatedly. Then try bend it again. If the dough becomes sticky or the butter feels soft, wrap it and refrigerate it before continuing.
Method
The dough
- Mix the dough on low speed until it is smooth and strong.
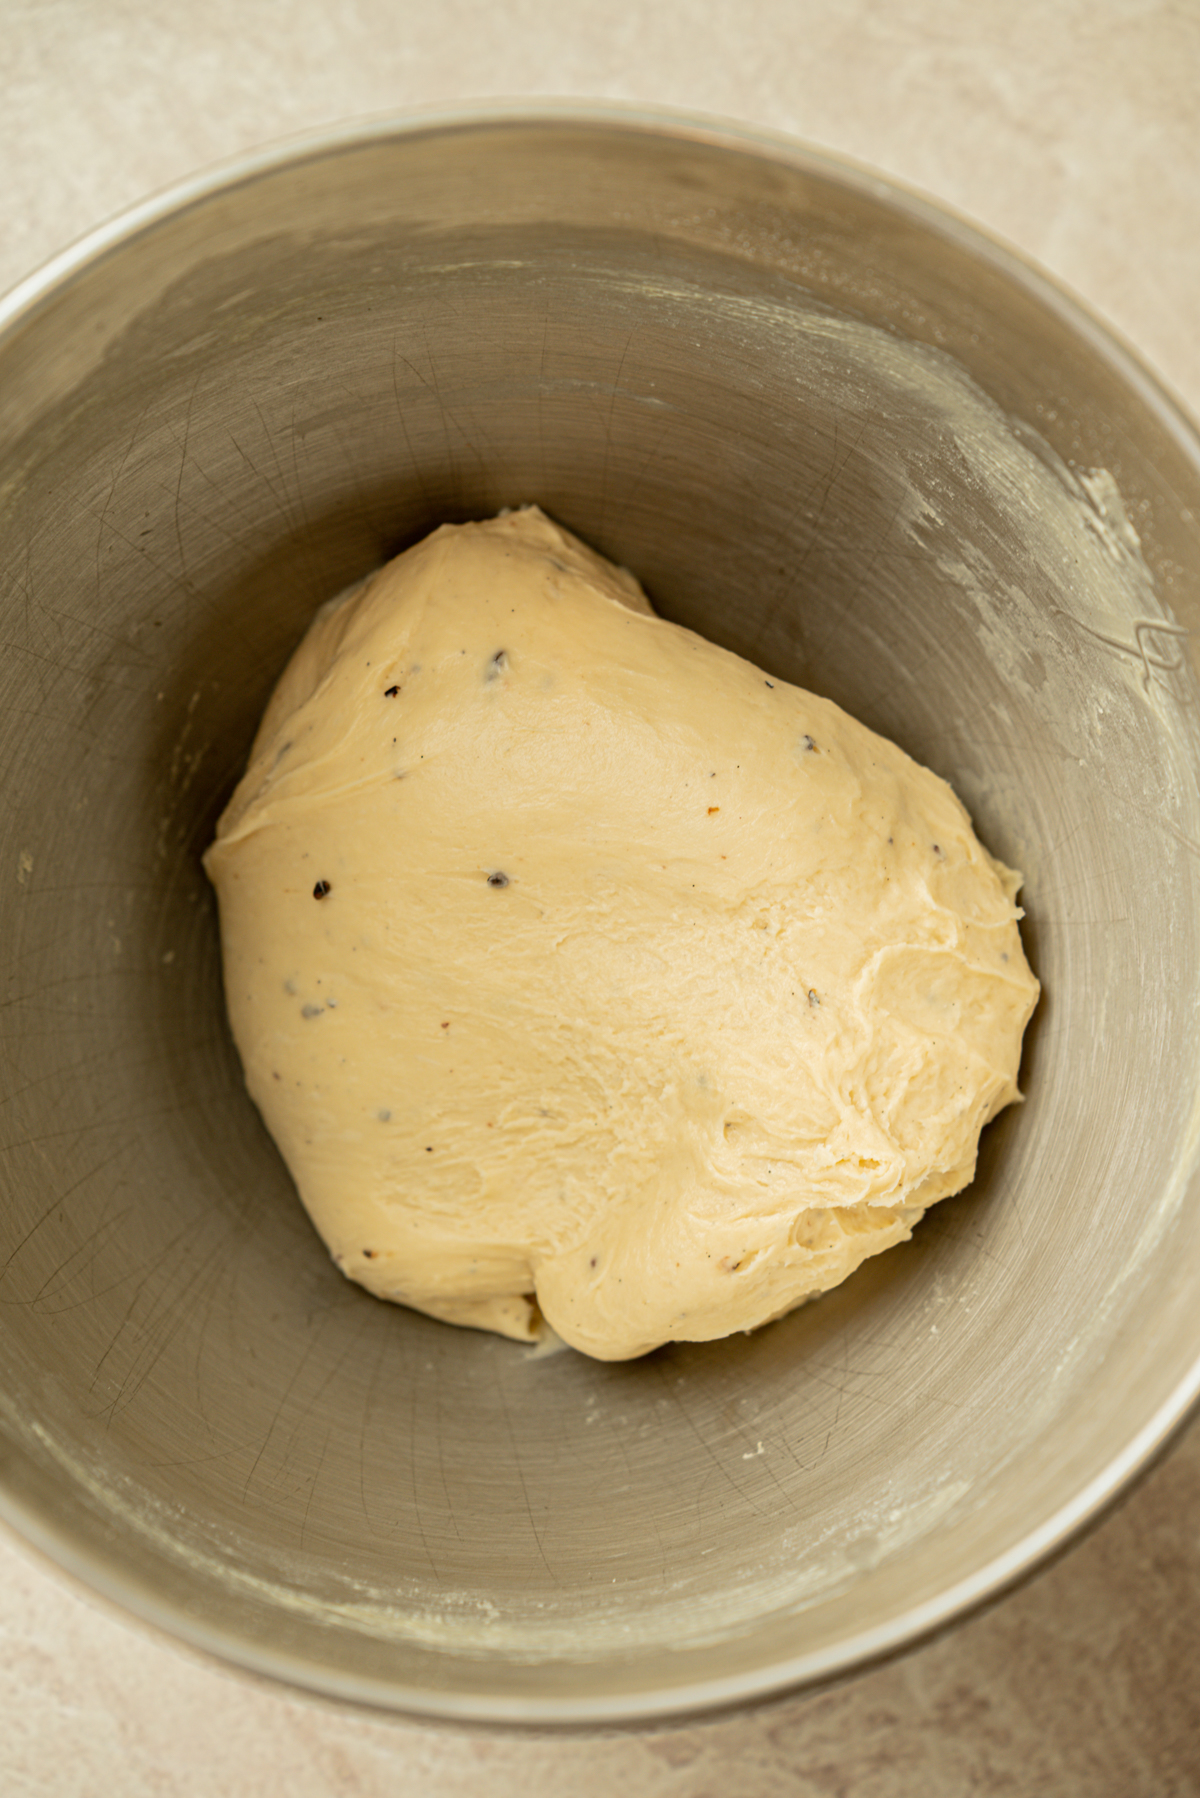
- This is quite a firm dough, so it may not form a very thin windowpane as easy as a wetter dough can. It should still stretch easily.
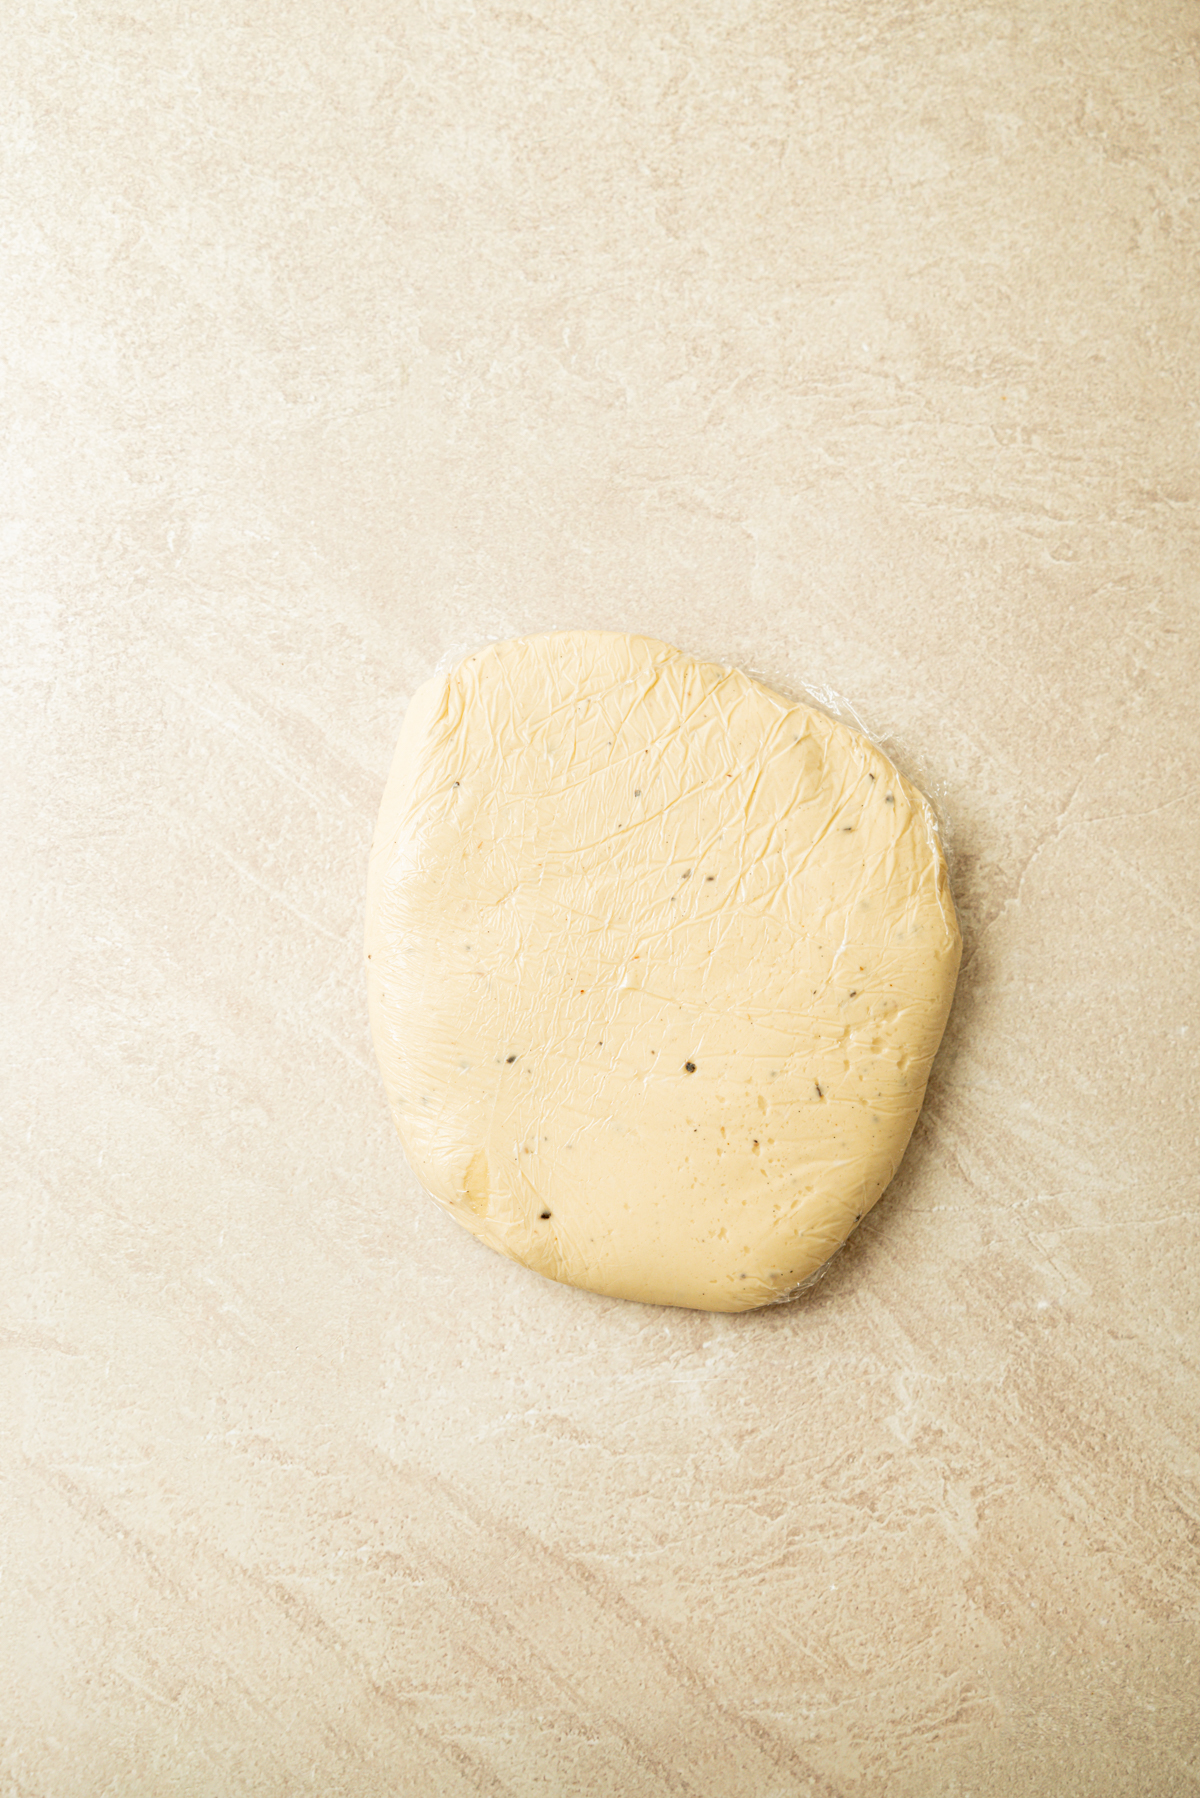
- Shape it into a flat rectangle, wrap it up in plastic wrap or put it in a container that can be sealed airtight and chill it for 2 hours.
The butter packet
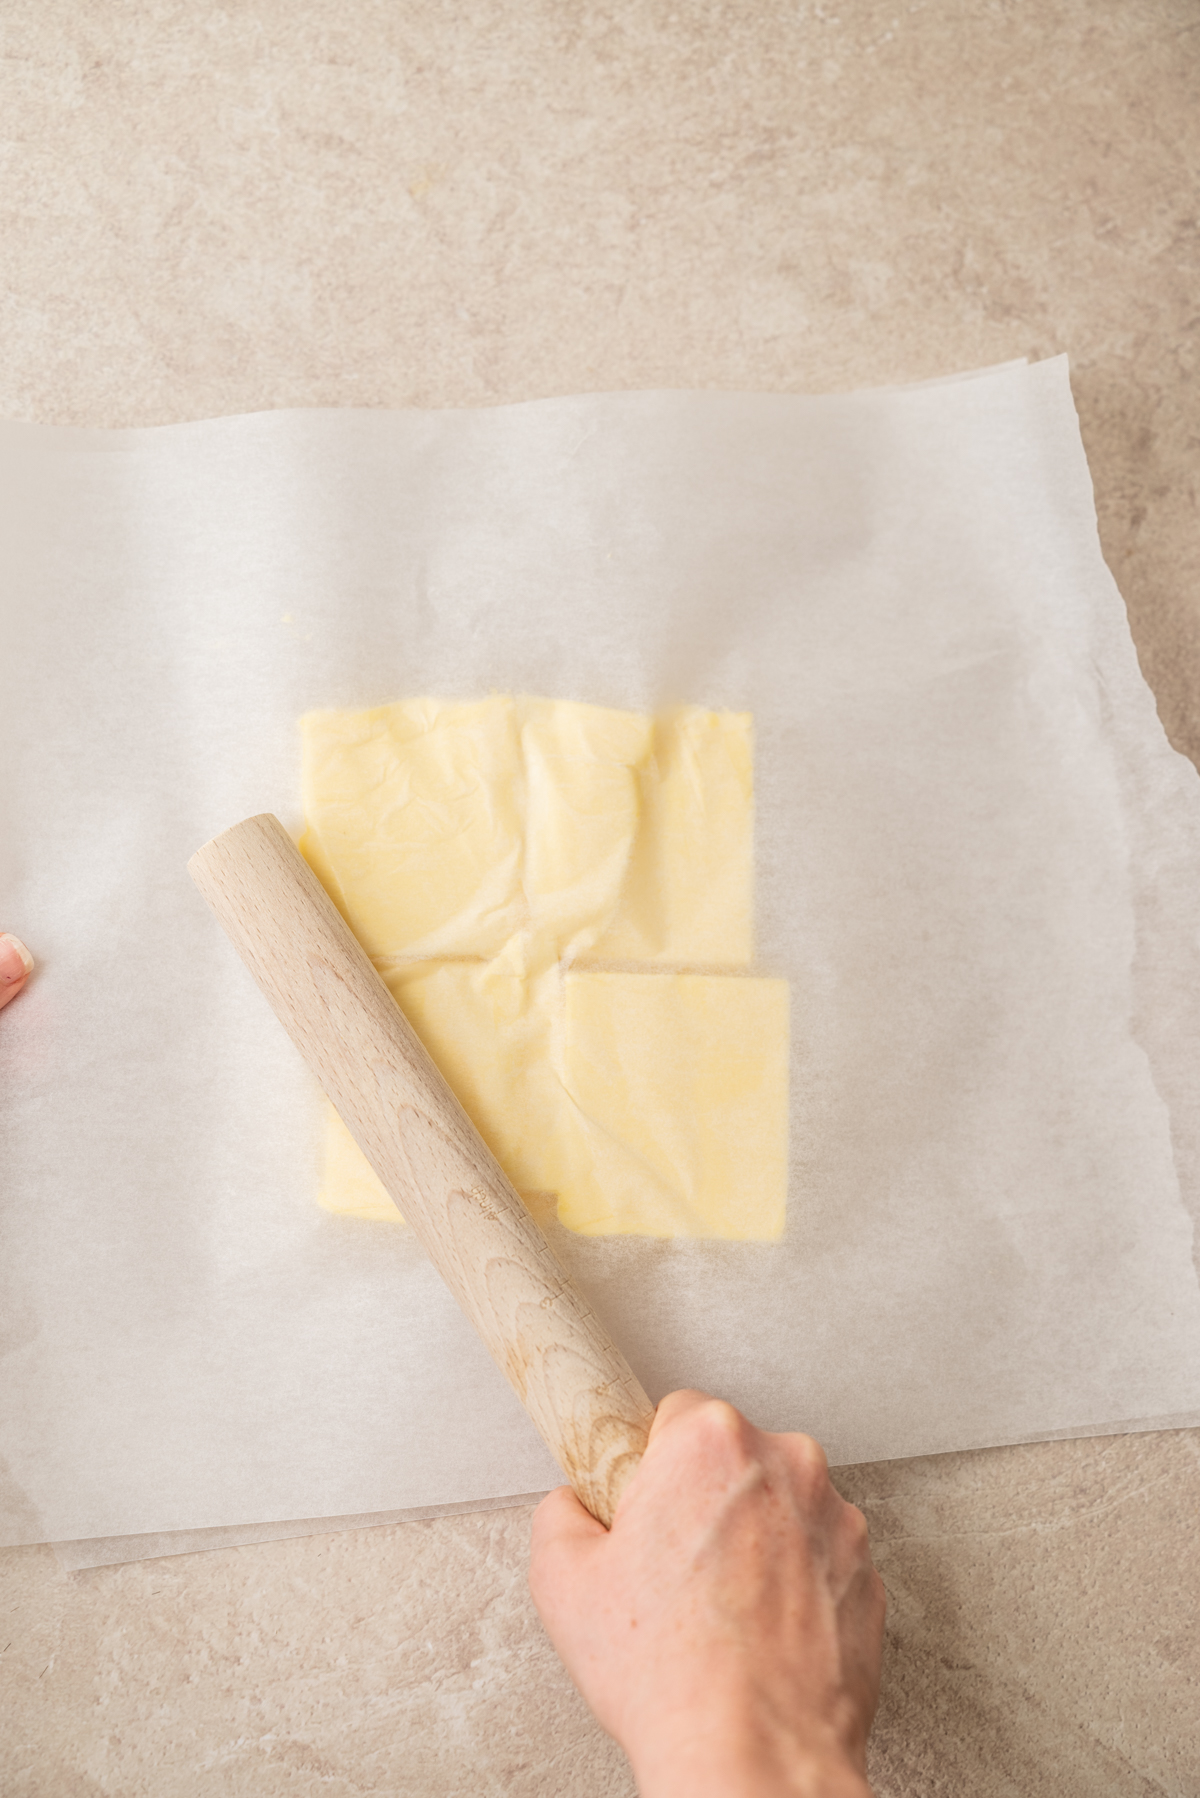
- Lay the butter pieces between parchment paper pound it with a heavy rolling pin to make it pliable.
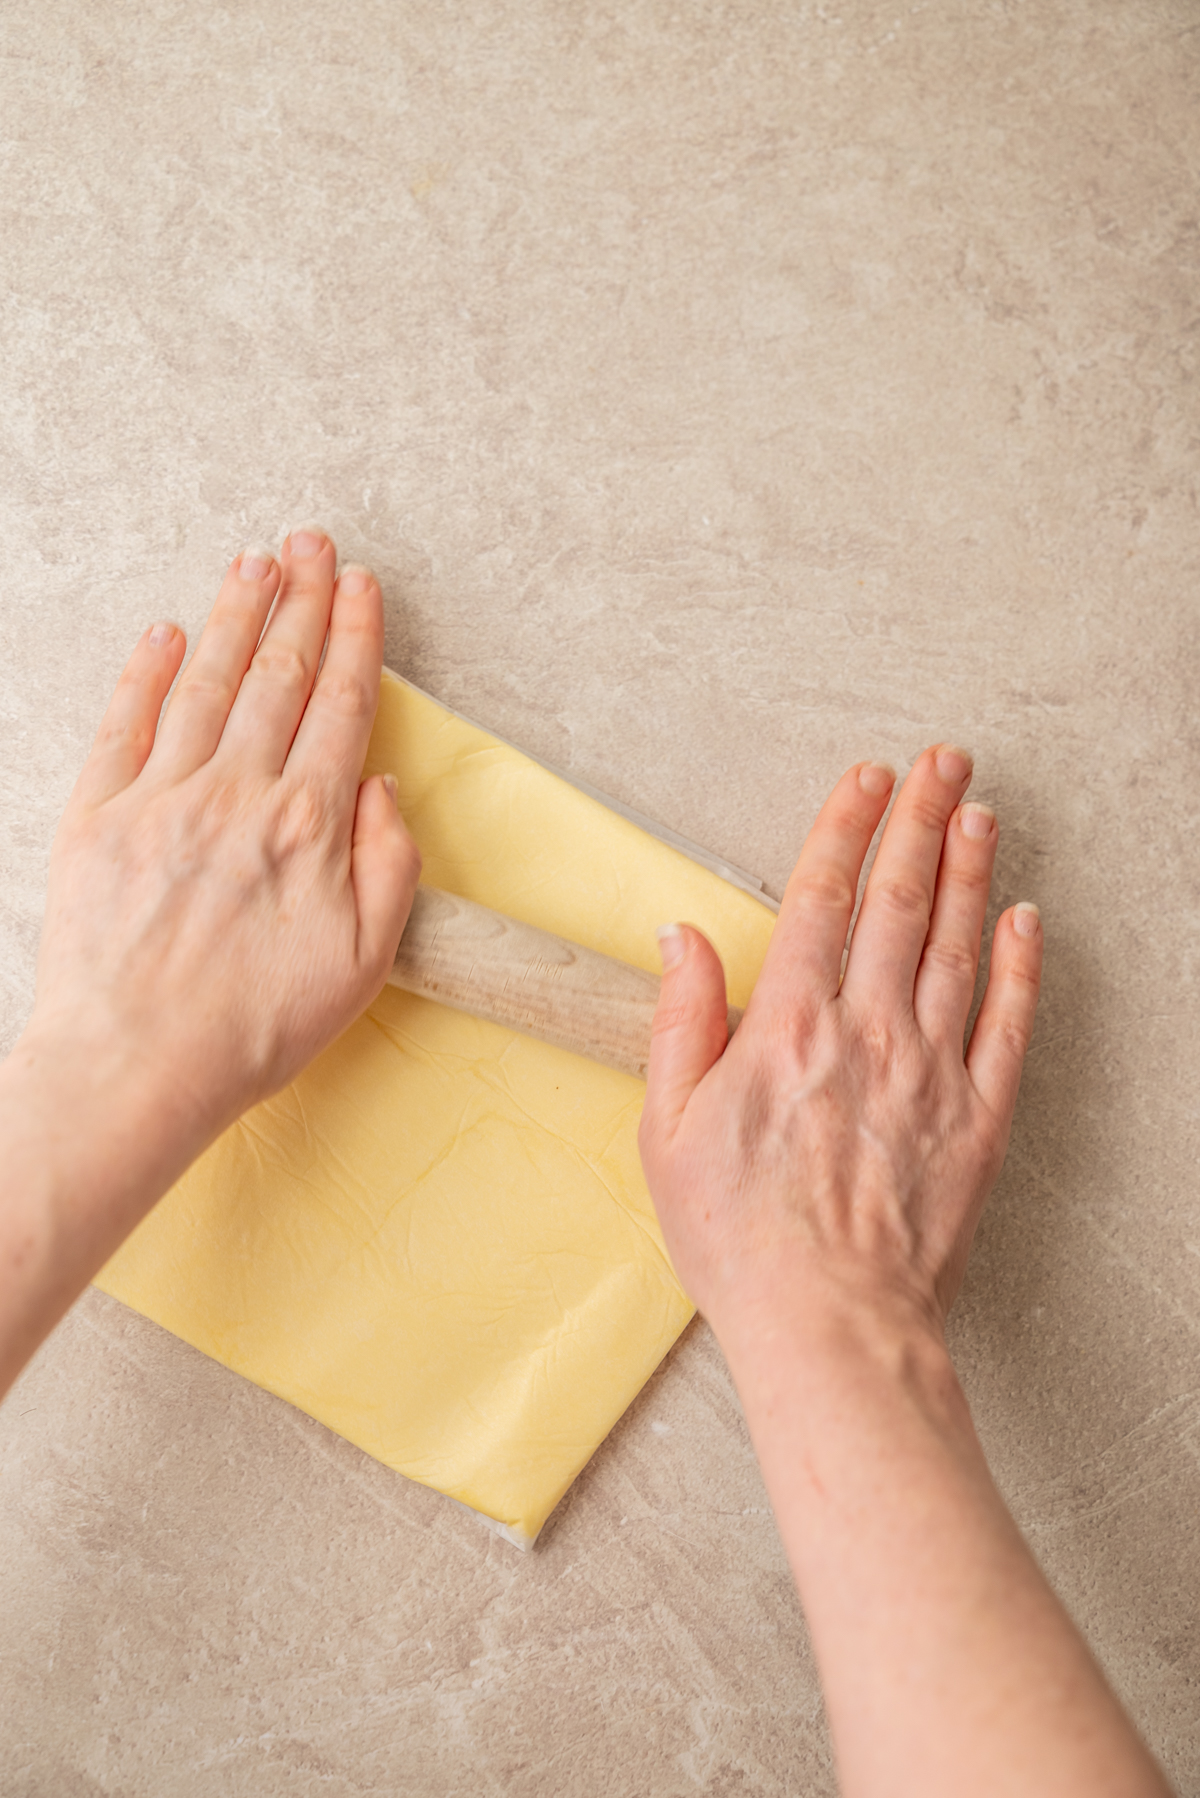
- Fold th parchment paper around the dough to make a square shape, then roll the butter out to fill the square.
Laminate
Roll the chilled dough into a rectangle approximately twice the length of the butter packet.
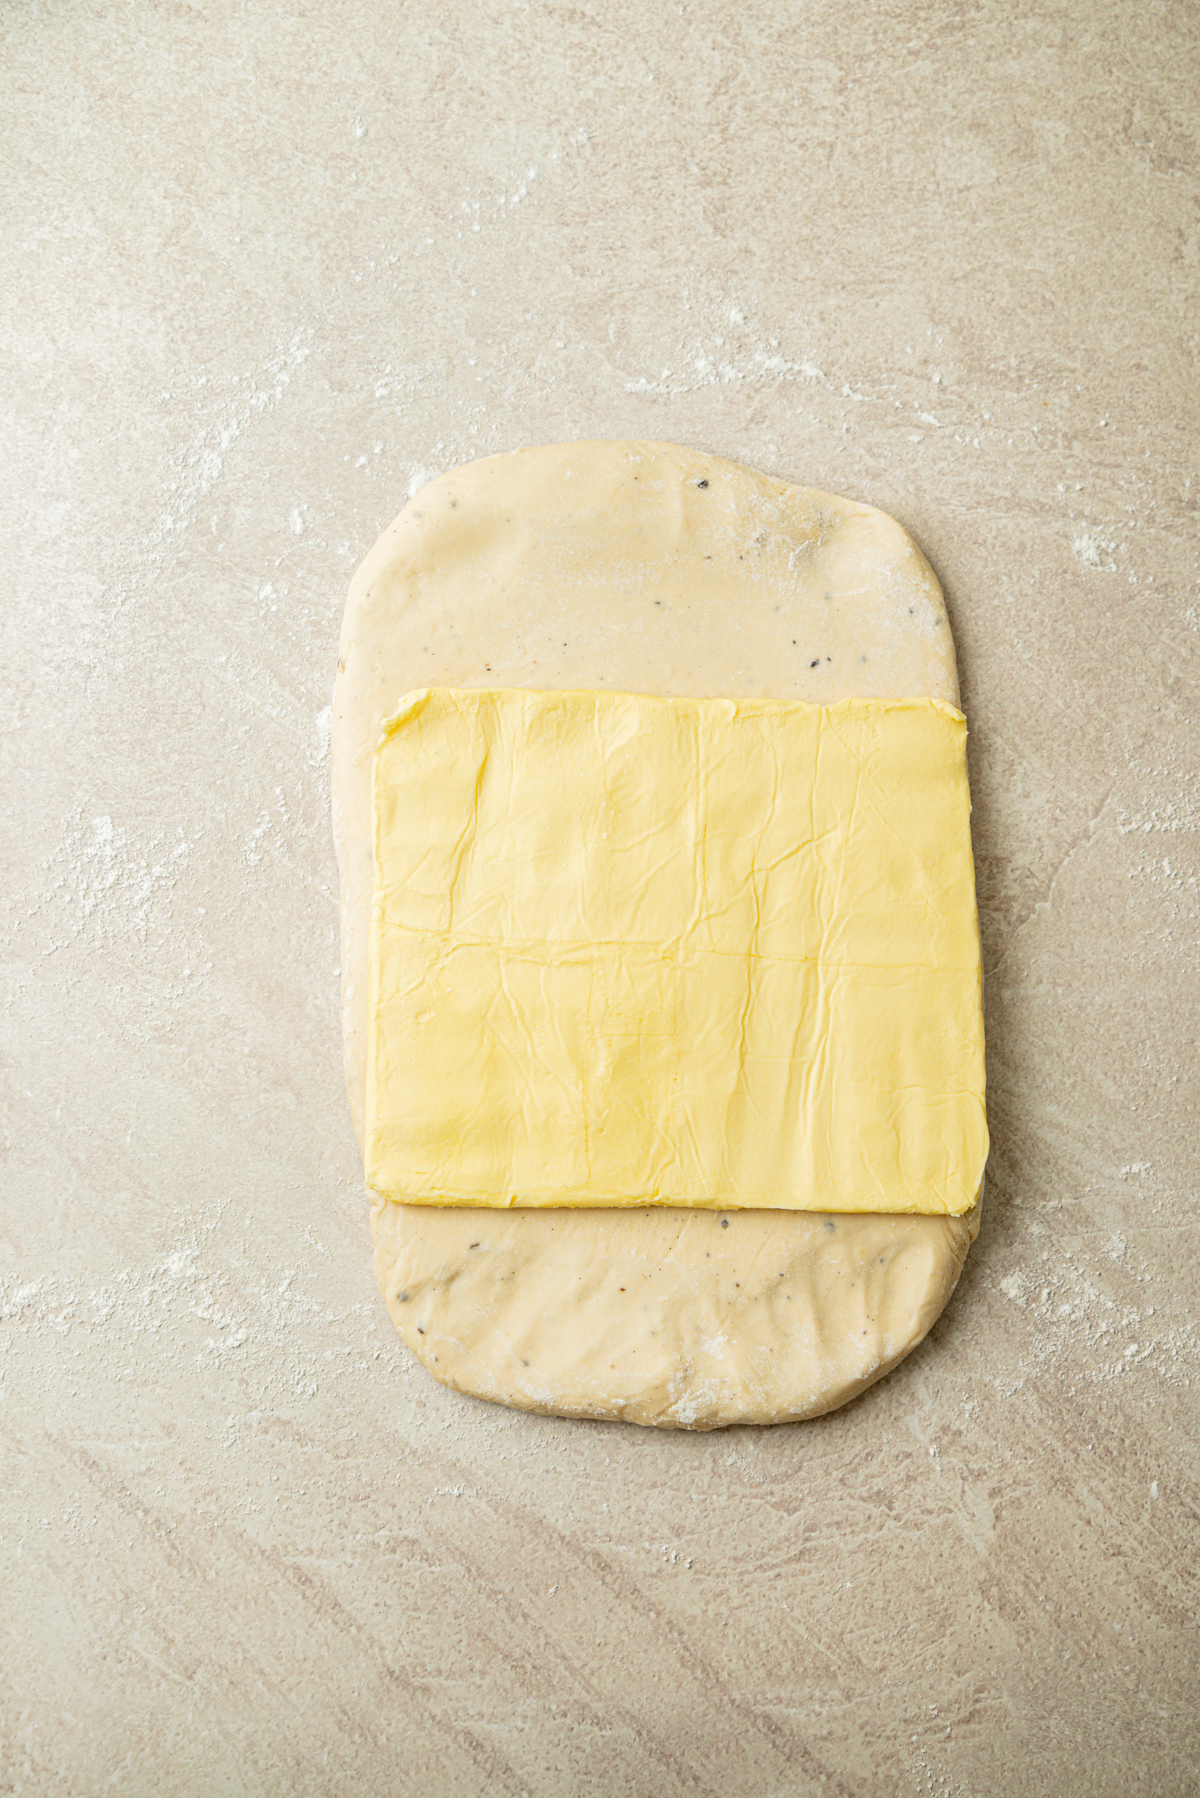
- Check your butter is bendy, then place in the center, leaving enough dough exposed at the top and bottom to cover it.
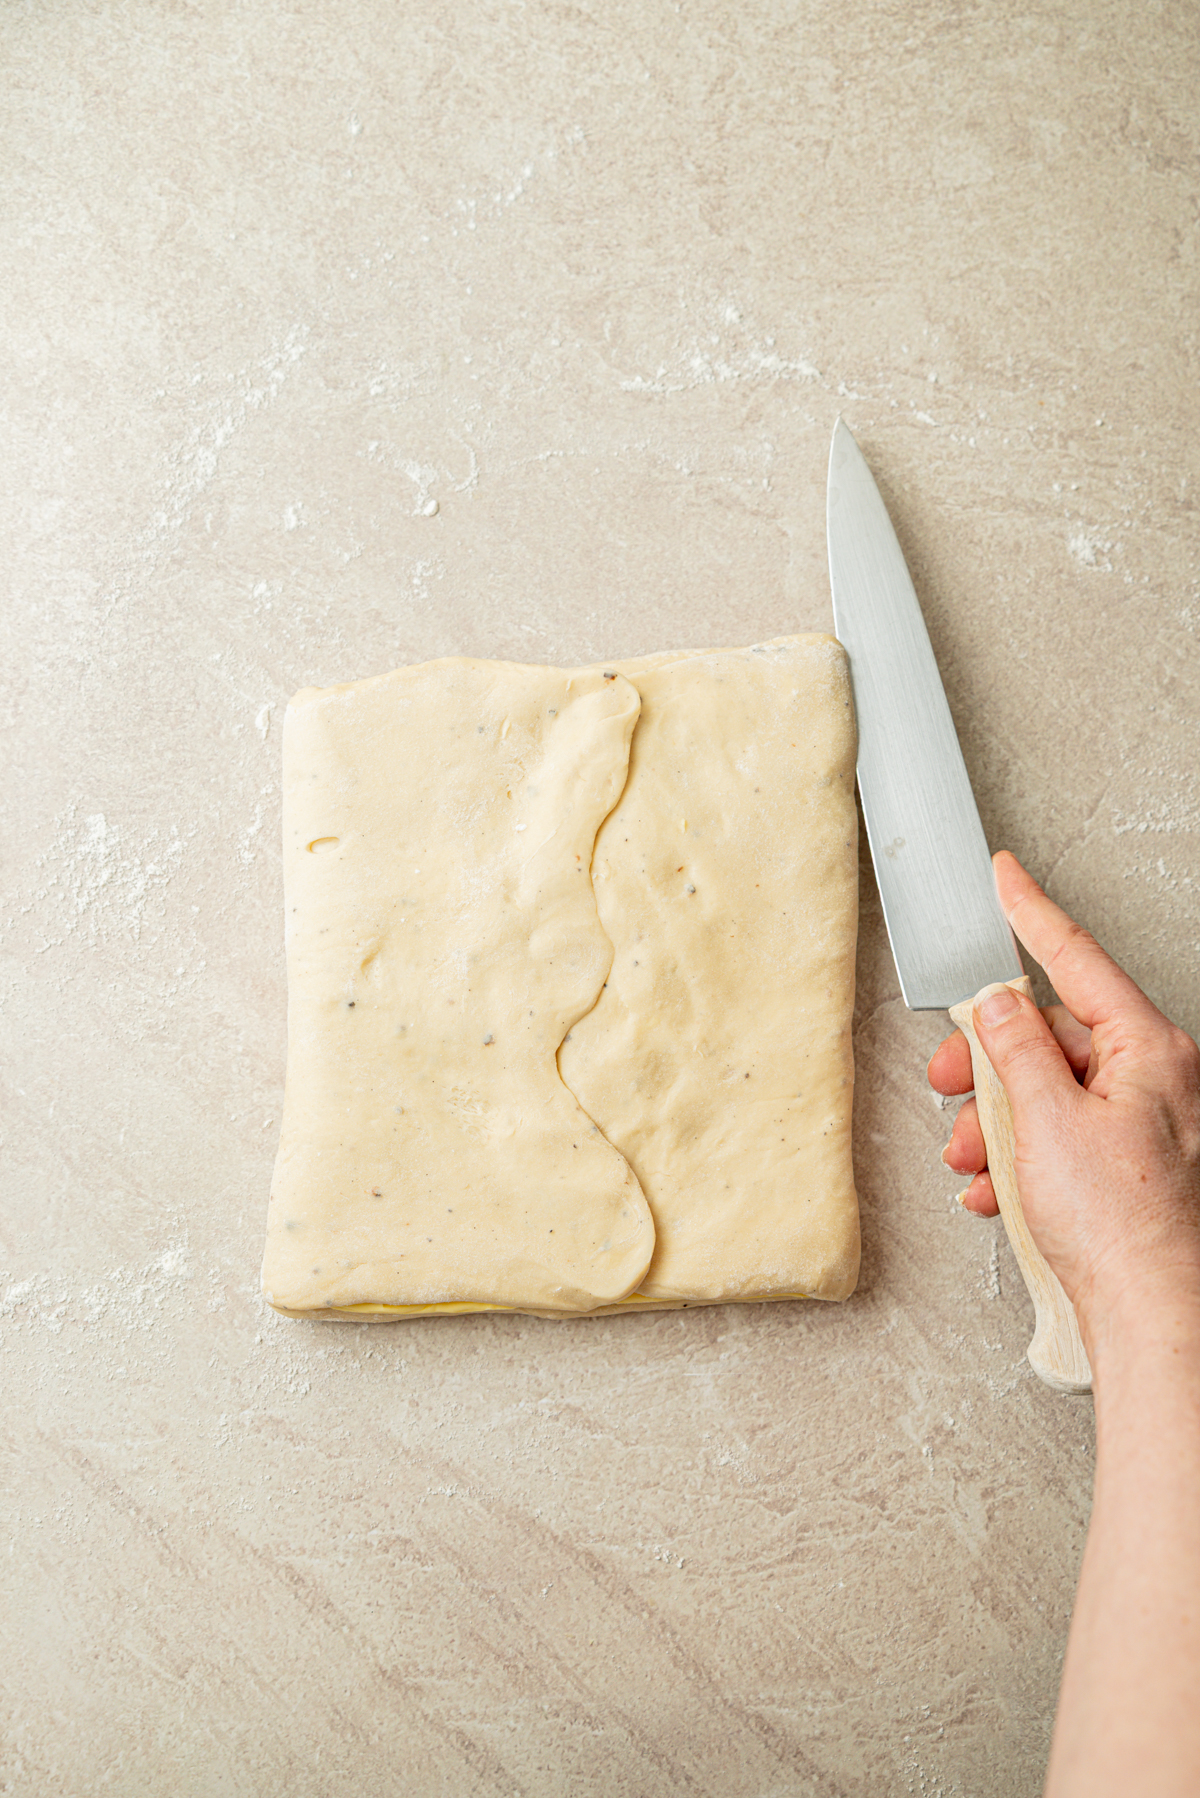
- Fold the top and bottom sections of dough over the butter so they meet in the center. Pinch the center seam together, then turn the dough 90 degrees and slice down the closed sides of the dough to release the tension.
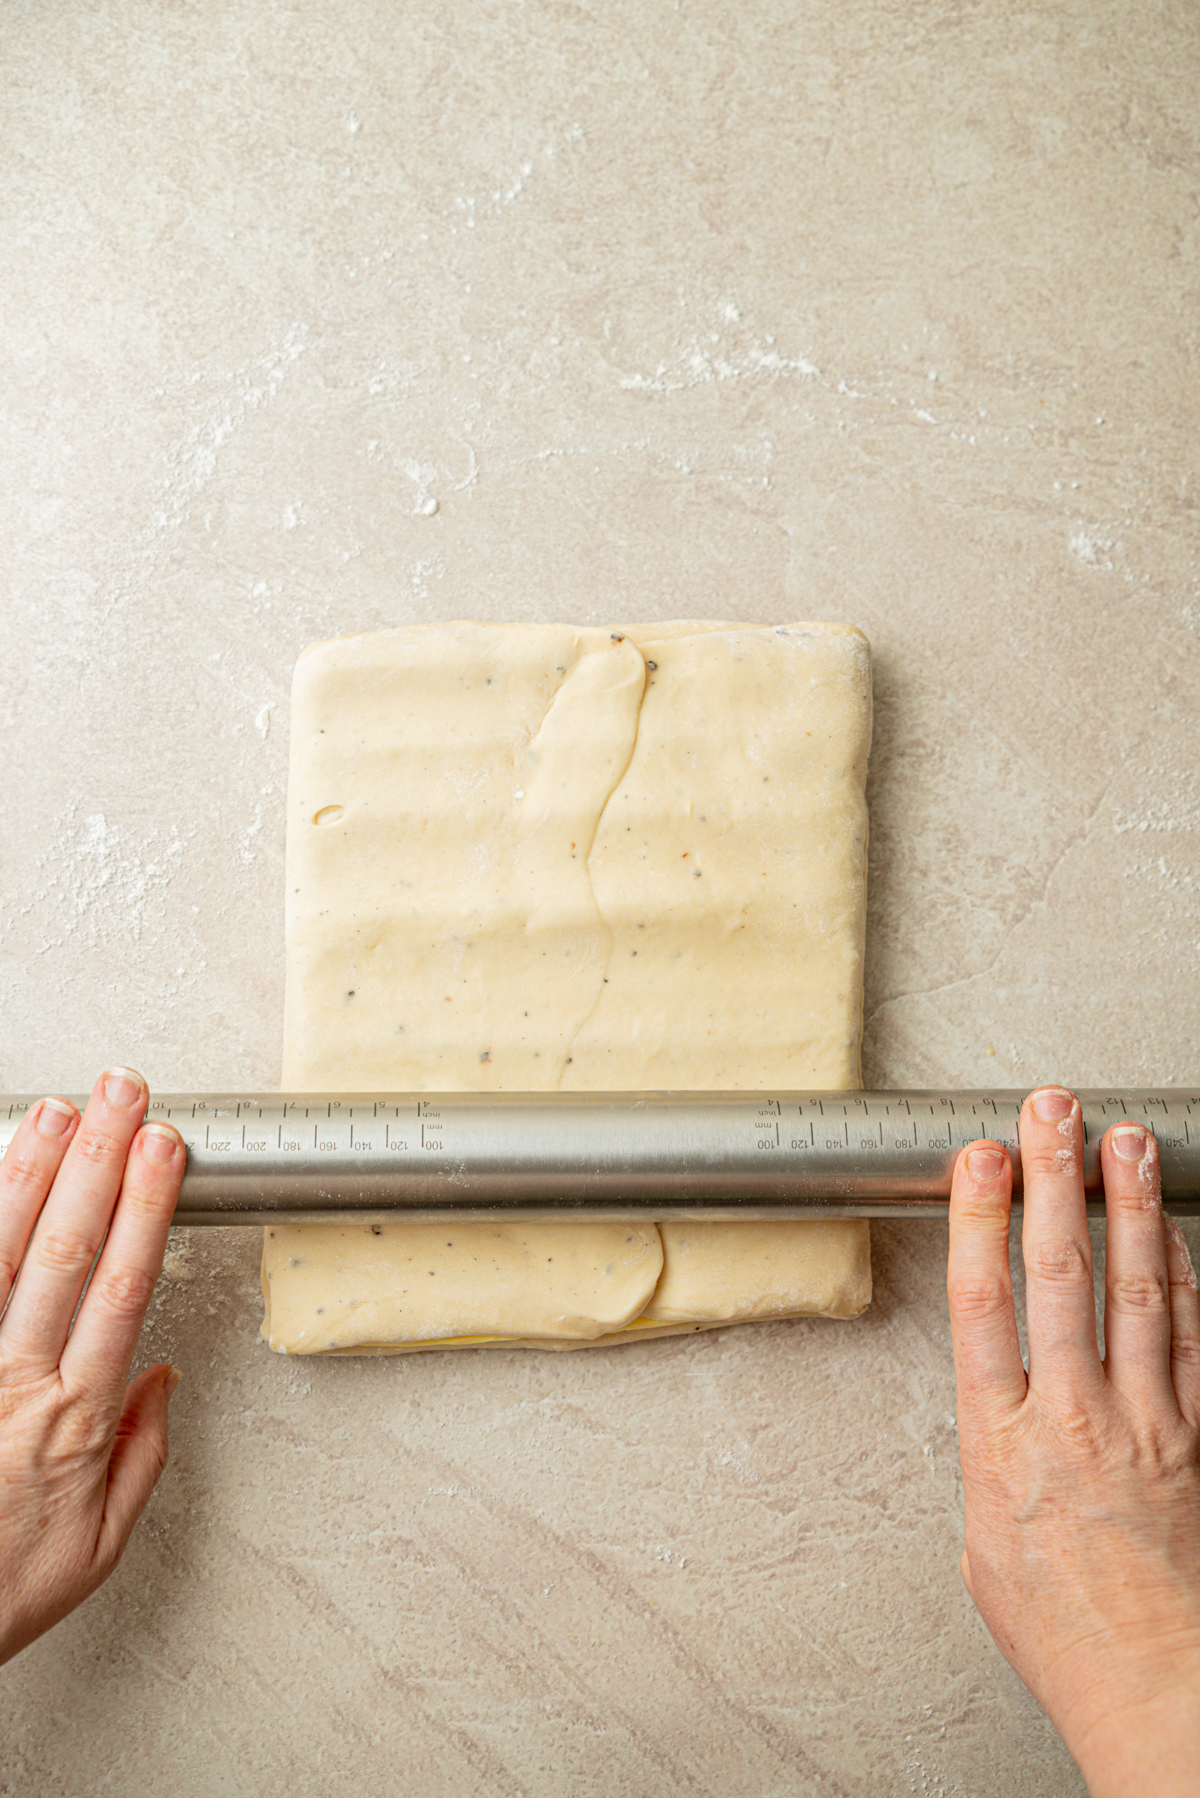
- press the dough gently along the length with the rolling pin to begin flattening the butter evenly.
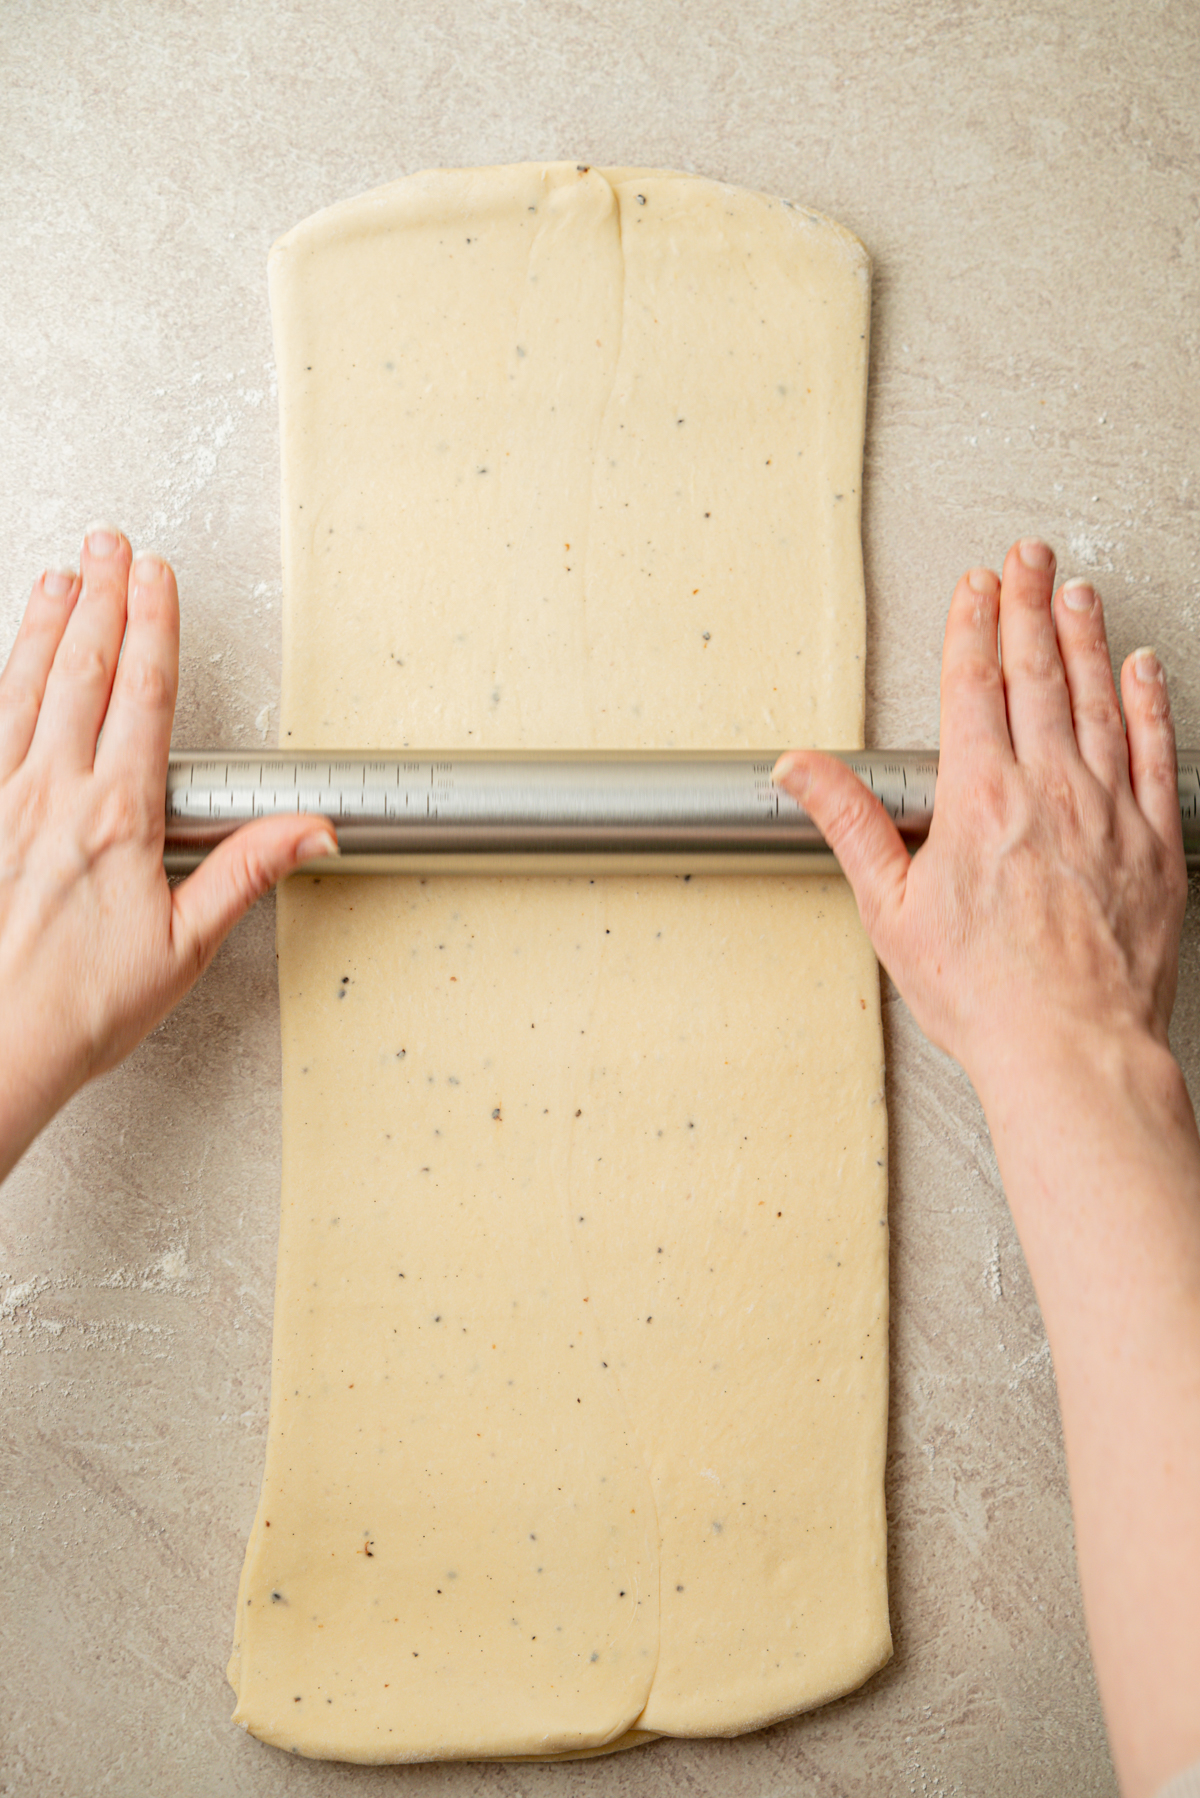
- Roll the dough in one direction from one short end to the other, focusing on length of the dough rather than make it wide. Lift the dough regularly to make sure it is not sticking.
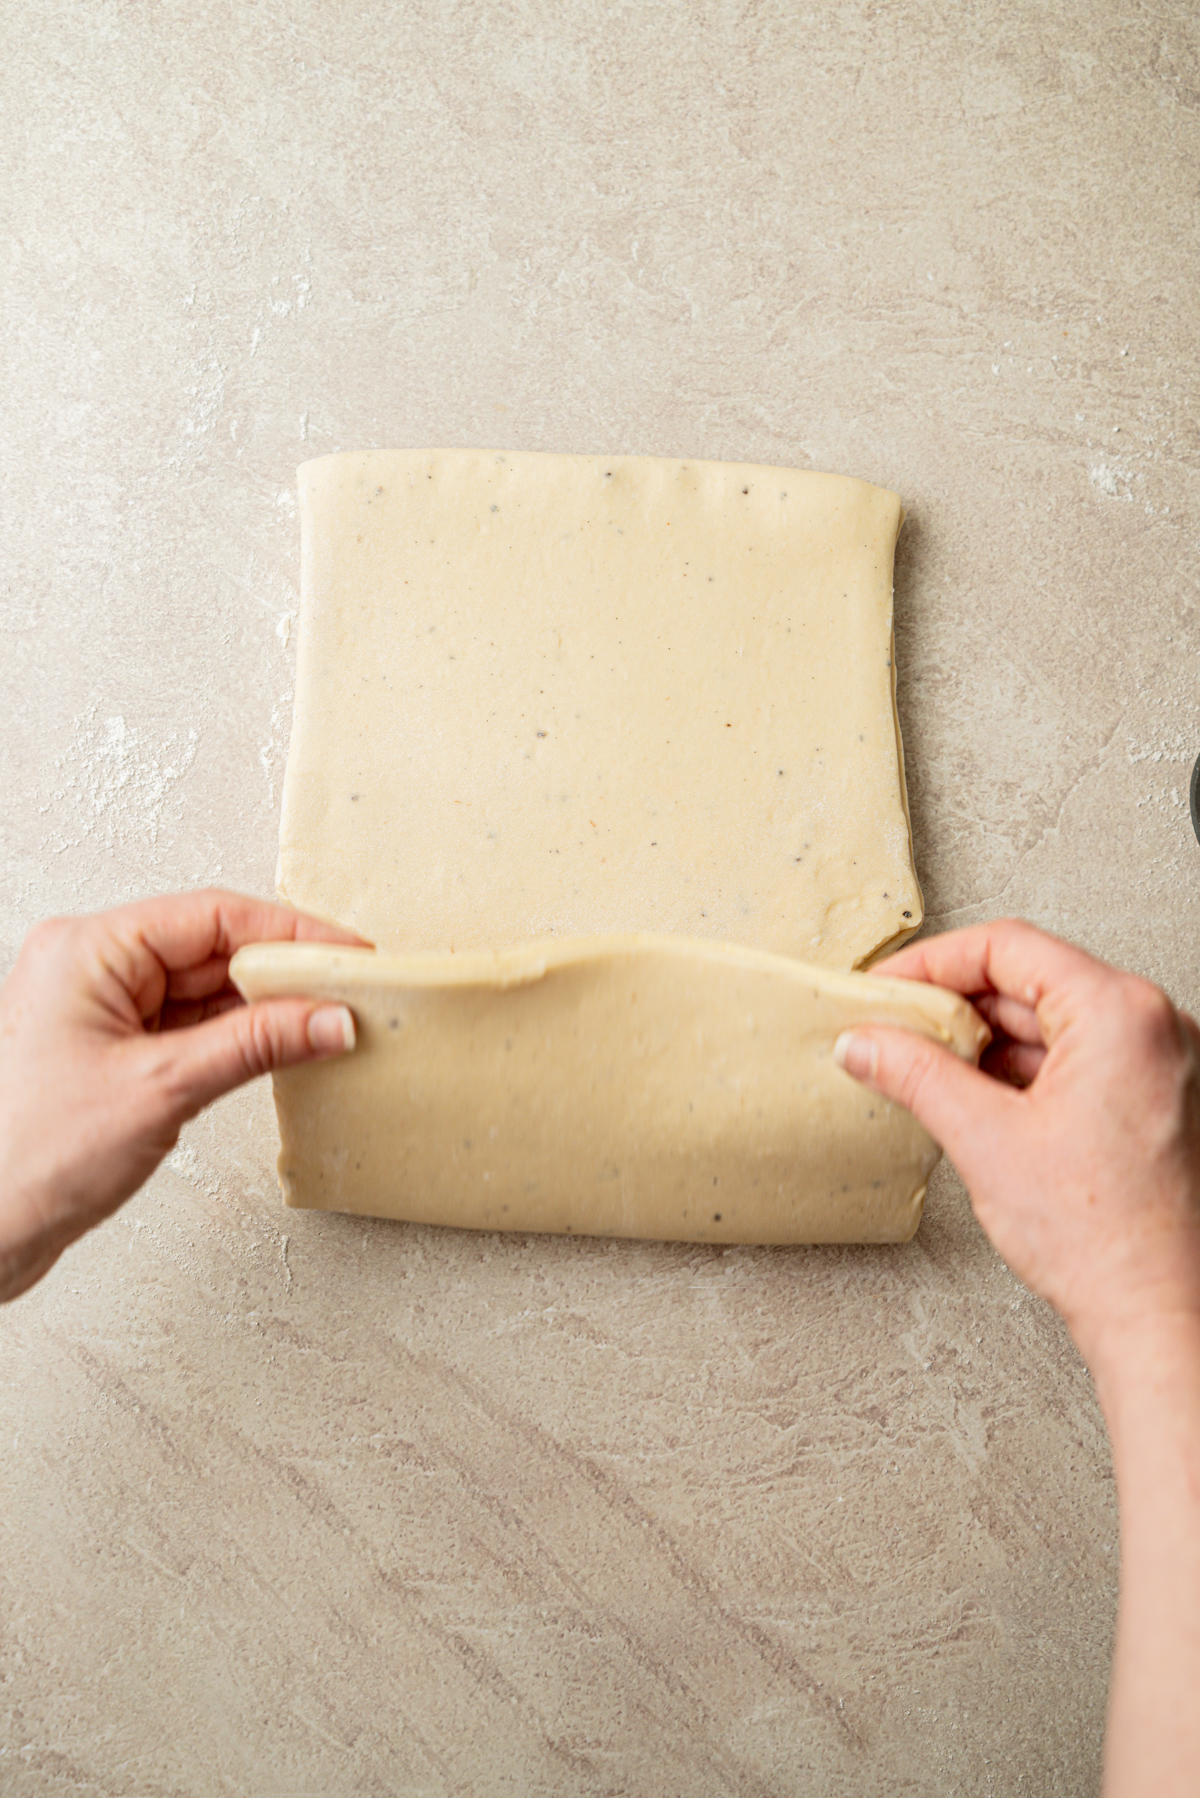
- Roll til it’s around 8mm thick. Neaten up the edges, then fold it into thirds by bringing the top third down to the middle, then bringing the bottom third over top. Wrap and chill. That was fold 1.
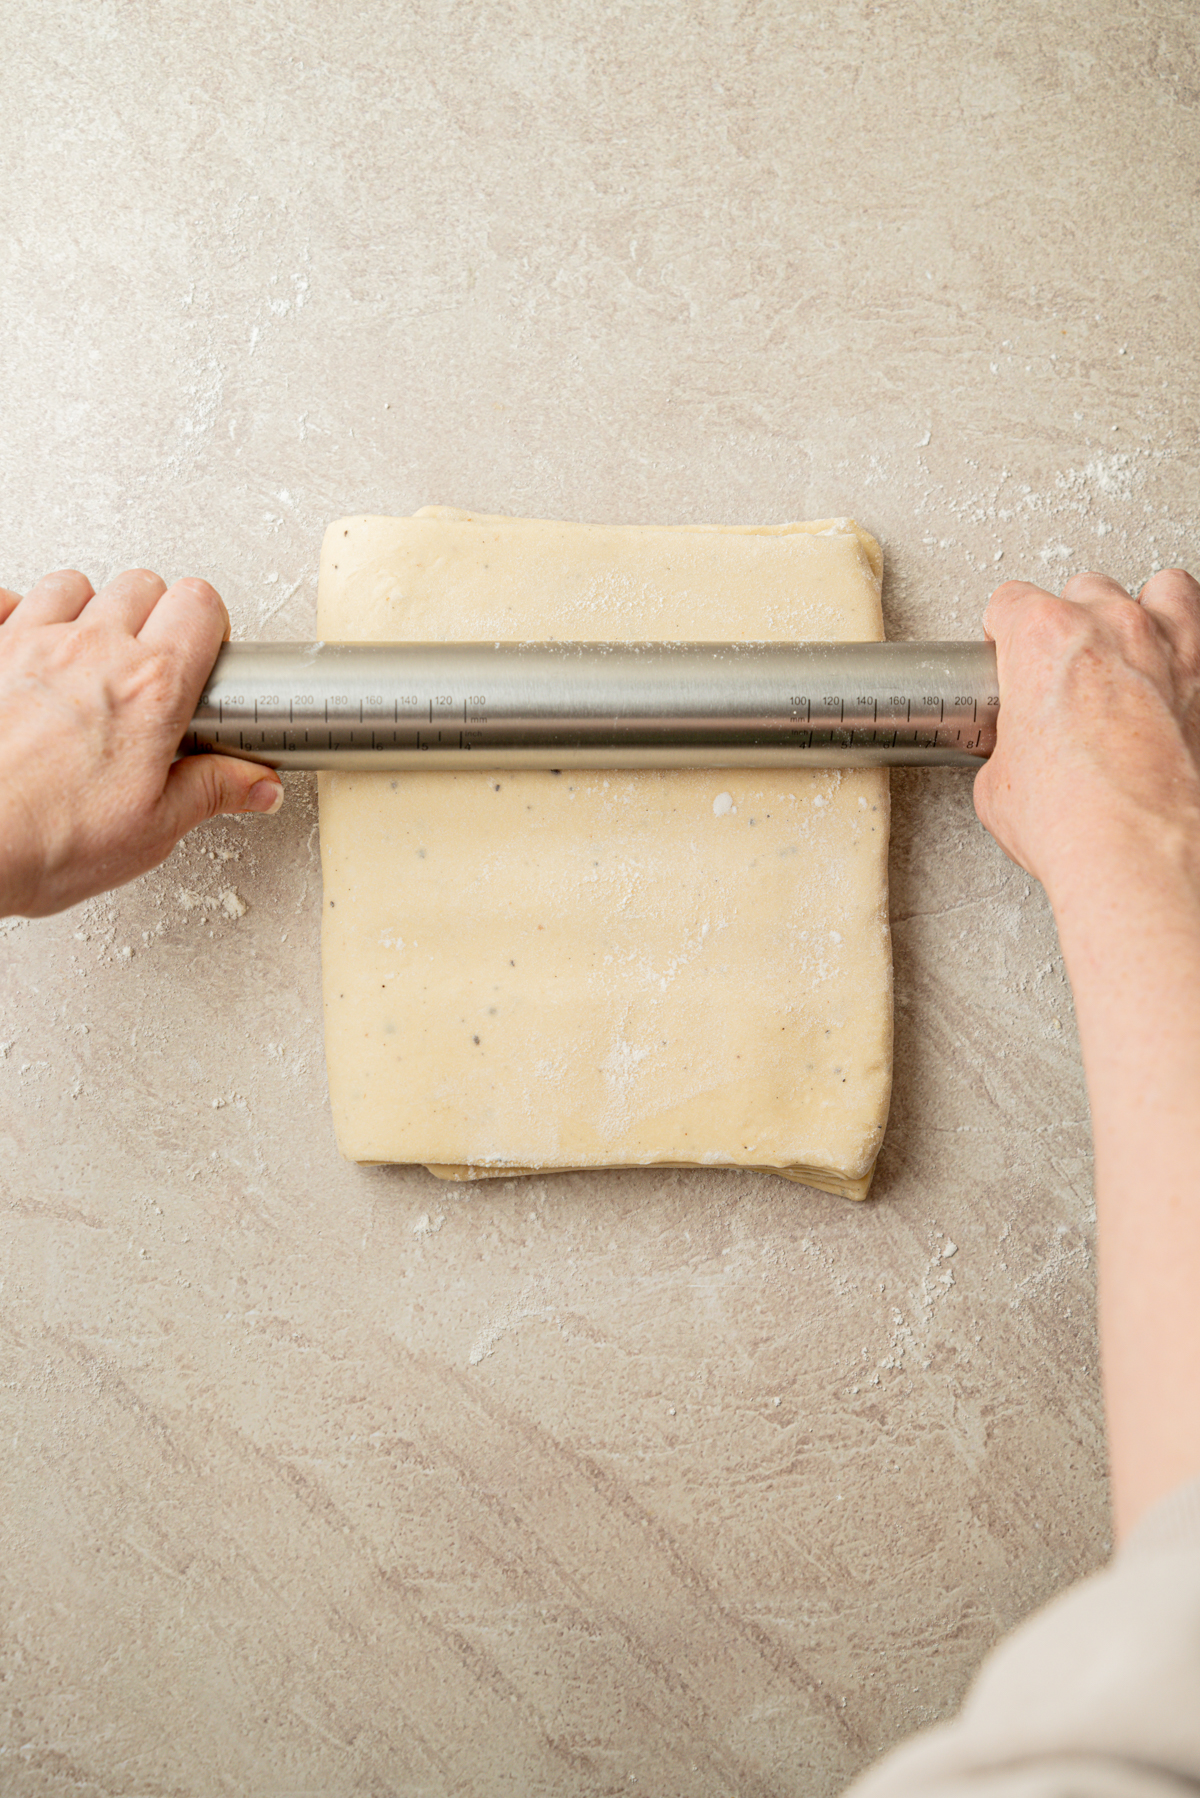
- Place the dough with the folded edge rotated 90 degrees from its previous position. Again press it gently, then roll it out again and fold. That was fold 2.
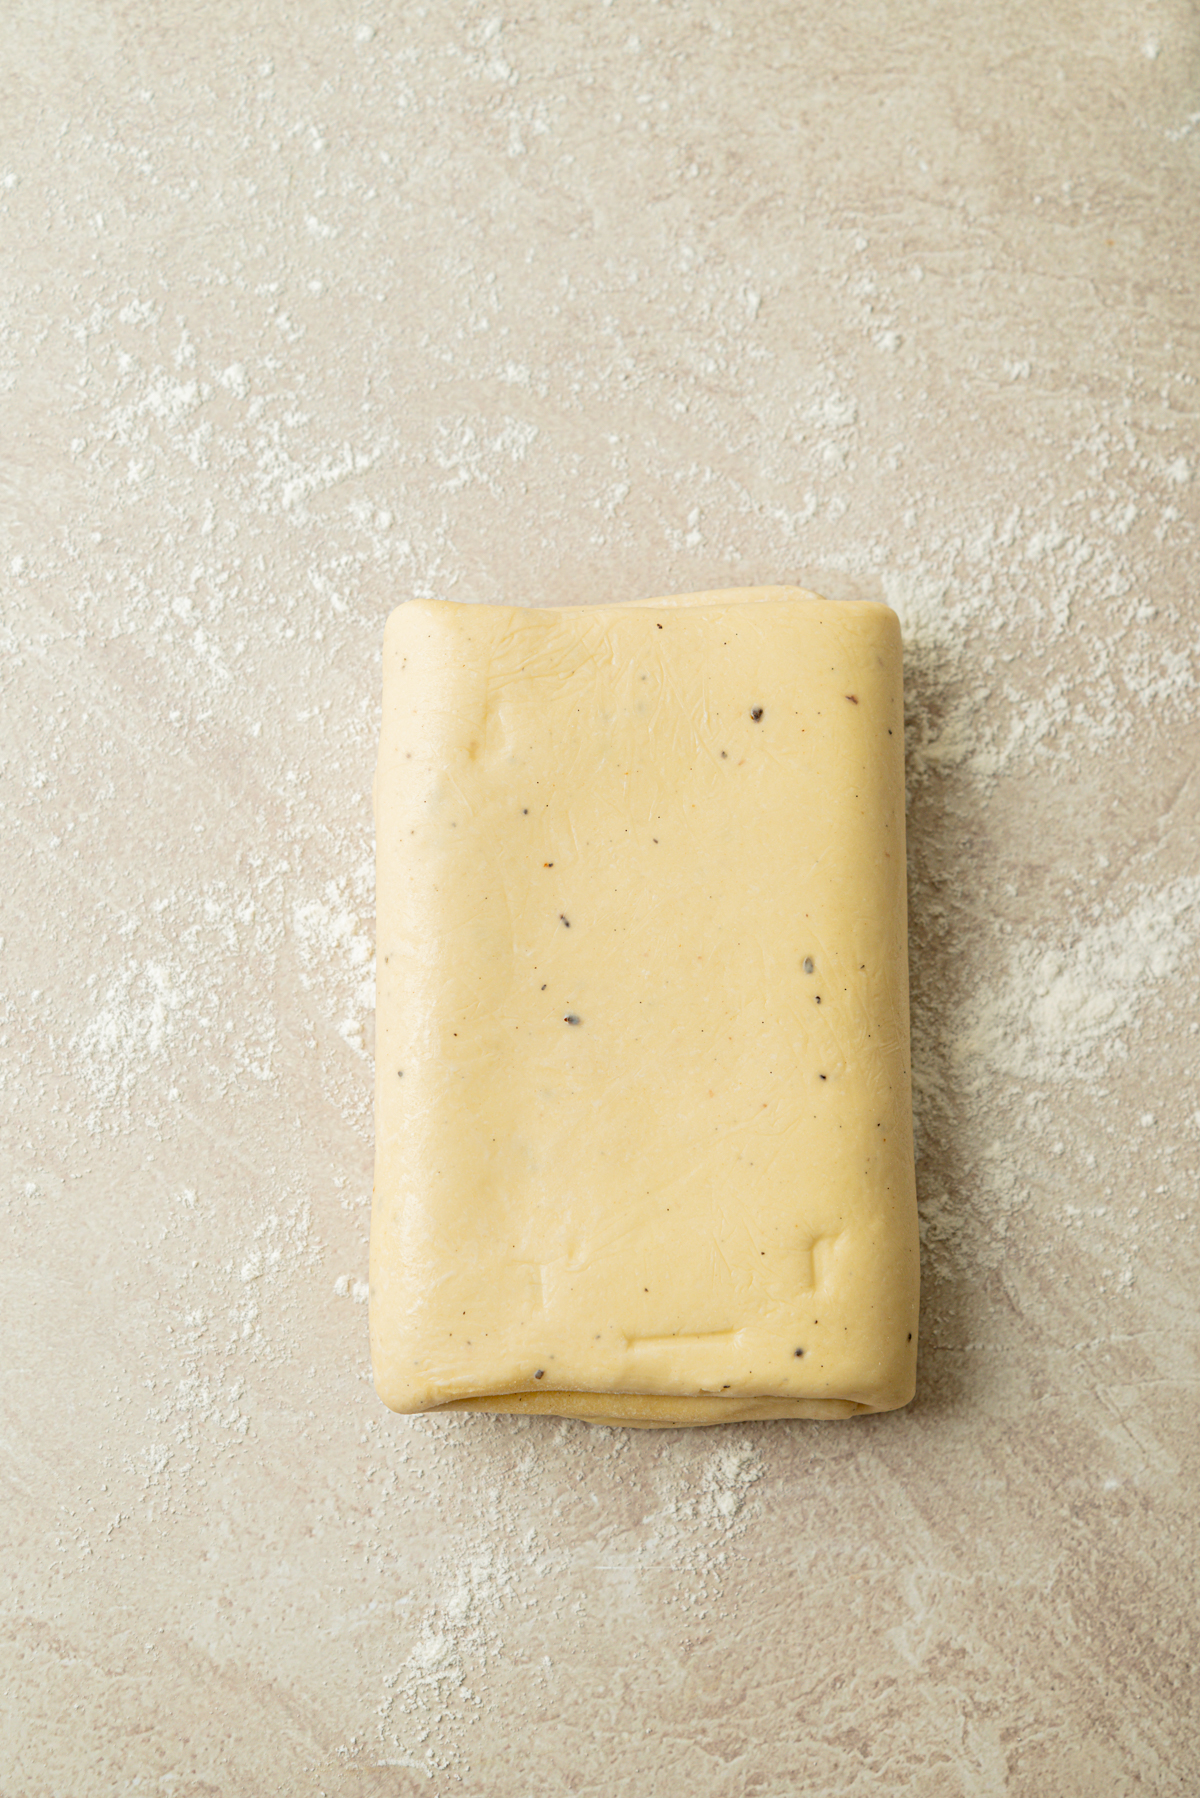
- Chill, then repeat the roll and fold once more for fold 3. After this last roll and fold, chill the dough for at least 2 hours or overnight.
Roll, shape and proof
Roll the dough to the dimensions for whatever your chosen recipe is. Shape the pastries, then cover and proof until visibly puffy and airy. Don’t place them anywhere warmer than 79°F/ 26°C or the butter will melt.
Baker’s schedule
Two-day schedule
Day 1: Mix the dough, chill for 2 hours, make the butter packet and complete all three folds. Refrigerate the laminated dough overnight.
Day 2: Roll, shape and proof the pastries.
Same-day schedule
Mix the dough early in the day. Chill for 2 hours, complete the folds with 30-minute rests, then chill for at least 1 hour after the final fold. Allow approximately 2 hours for shaping and proofing before baking.
How to tell when Danish pastry is proofed
Properly proofed Danish should:
- Look noticeably thicker and puffier
- You start seeing the separation of the layers along the edges of the pastries.
- Look a bit jiggly and airy

Troubleshooting Danish pastry dough
Danish pastry filling ideas
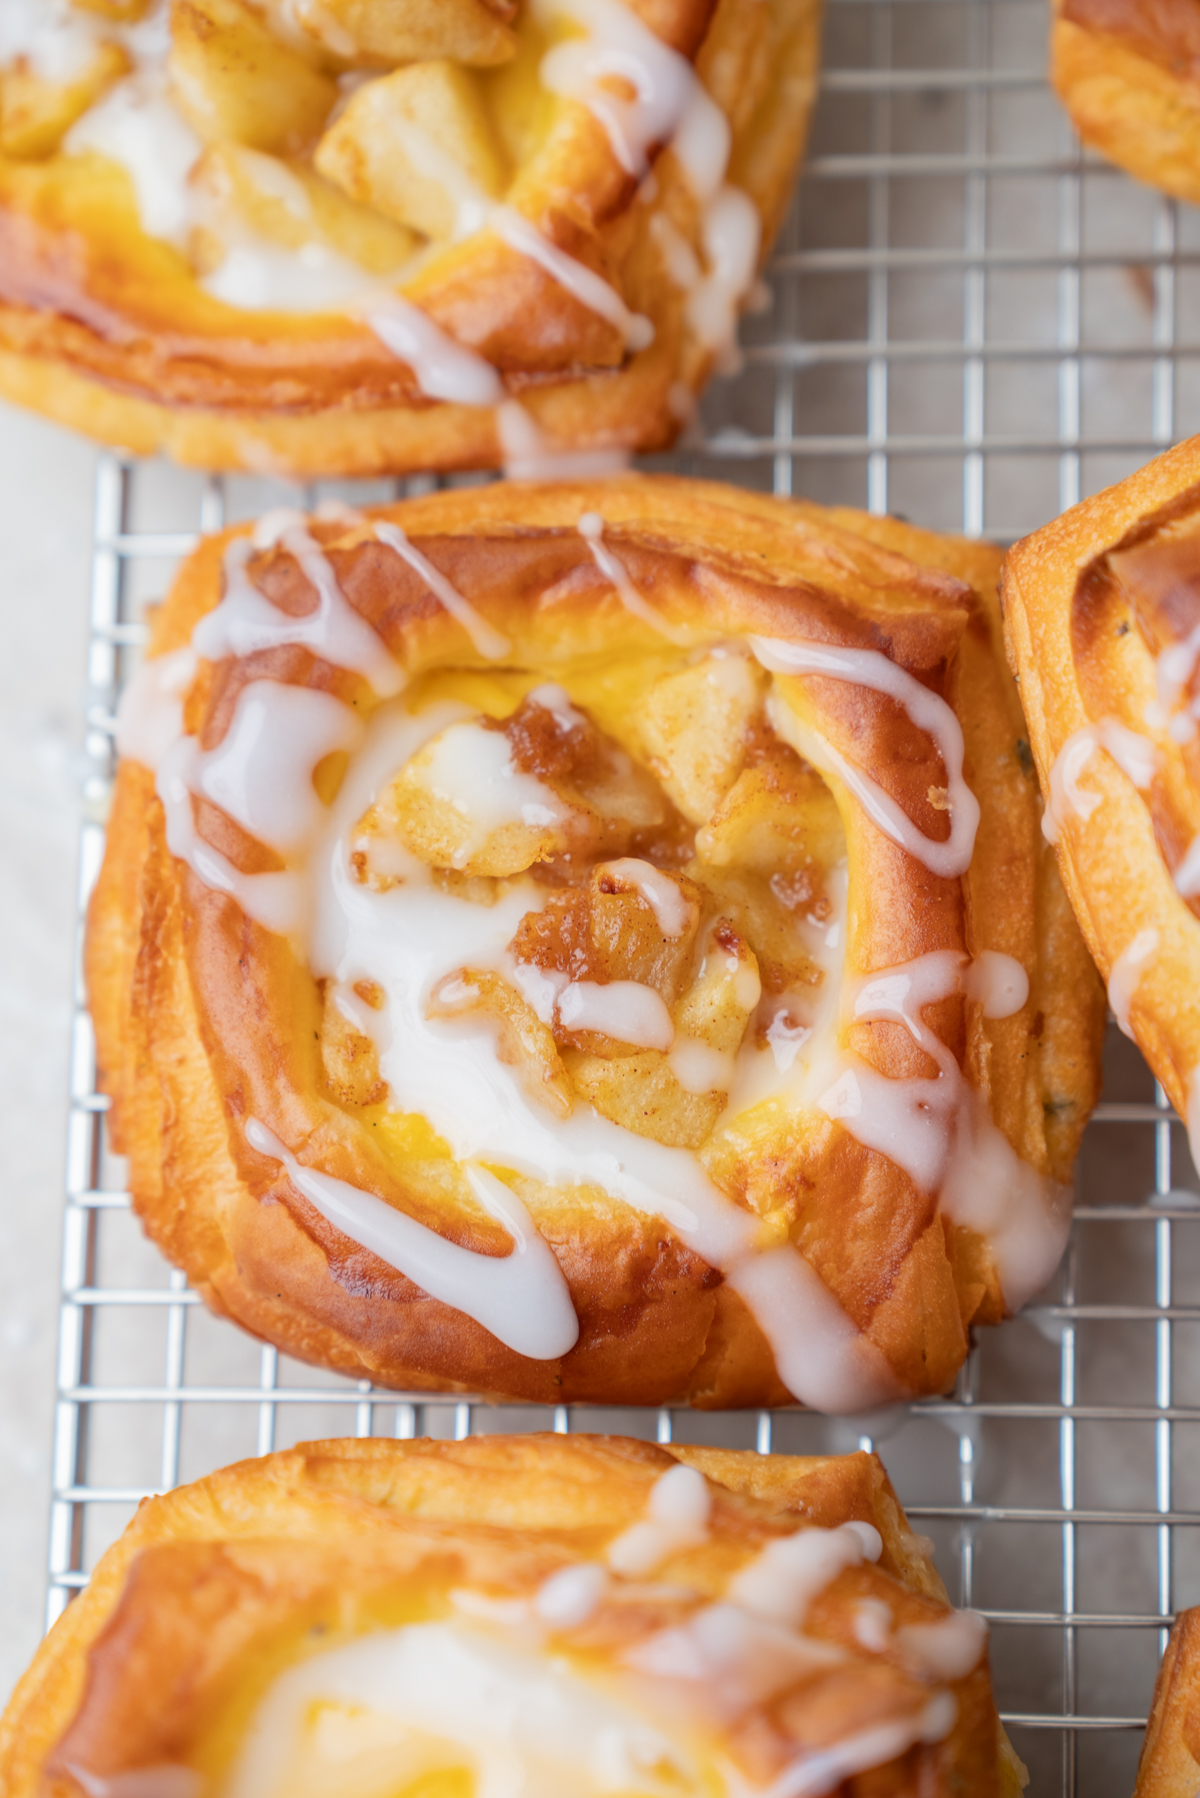
This dough can be shaped and filled in lots of different ways. Try my apple Danish pastries, strawberry cream cheese Danish pastries or custard Danish pastries. Other filling ideas include:
- Custard topped with blueberries, raspberries, sliced peaches or apricots
- Cream cheese filling with lemon curd or fruit preserves
- Cinnamon sugar, rolled and sliced like cinnamon rolls
- Almond filling topped with sliced almonds
- Chocolate batons or chopped dark chocolate
- Thick cherry, blueberry, raspberry or apricot filling
- Thinly sliced pear with almond filling
- Stewed rhubarb with vanilla custard
Homemade Danish Pastry Dough
Equipment
- Stand mixer with dough hook
- Rolling Pin
- Parchment paper
Ingredients
Base dough
- 120 g whole milk cold
- 80 g water cold
- 7 g instant or active dry yeast
- 440 g all-purpose flour with at least 11% protein
- 50 g granulated sugar
- 3/4 teaspoon fine salt
- 1 teaspoon vanilla bean paste or vanilla extract
- 30 g butter room temperature
- 1/4 teaspoon ground cardamom freshly ground, optional
- 1 large egg
Butter packet
- 226 g butter cold
For finishing shaped pastries
- 1 large egg
- 15 g water
Instructions
Mix the base dough
- Add the cold milk, water, yeast, flour, sugar, salt, vanilla, softened butter, cardamom and egg to the bowl of a stand mixer fitted with a dough hook.
- Mix on low speed until the ingredients form a firm dough and no dry flour remains. Scrape down the bowl if needed.
- Continue kneading on low speed for around 10 to 15 minutes. The dough should become smooth, strong and elastic and pull cleanly away from the sides of the bowl. A small piece should stretch without tearing easily, but you do not need to achieve a perfect, paper-thin windowpane.
- Press the dough into a flat rectangle. Wrap it tightly and refrigerate for 2 hours.
Make the butter packet
- Cut the 226 g butter into four even slabs. Arrange them in a two-by-two grid in the center of a large sheet of parchment paper.
- Fold the parchment into a neat square 15×20 cm / 6×8 rectangle frame around the butter. Turn the packet seam-side down.
- Pound the butter firmly with a rolling pin to flatten and soften it, it might take quite a few whacks, then roll it toward the corners of the packet. Continue until it forms one even sheet without gaps.
- Refrigerate the butter packet while the dough chills. Before laminating, remove the butter from the fridge and bash it again with a rolling pin to make it very pliable.
Enclose the butter
- Unwrap the chilled dough and place it on a lightly floured surface. Roll it into a rectangle approximately twice the length of the butter packet, with enough width to fit the butter inside.
- Brush any excess flour from the dough. Remove the parchment from the butter and place the butter in the center of the rectangle, leaving enough dough exposed at the top and bottom to cover it.
- Fold the top and bottom sections of dough over the butter so their edges meet in the center without overlapping. Pinch the center seam together, then press the open edges firmly closed so the butter is completely enclosed.
- Use a sharp knife to slice down the folded edge opposite the center seam, cutting it open to release tension in the dough.
First fold
- Place the dough seam-side up on a lightly floured surface. Tap it gently along its length with the rolling pin to begin flattening the butter evenly.
- Roll in one direction from one short end to the other, focusing on lengthening the dough rather than widening it. Lift the dough regularly to make sure it is not sticking. Keep the edges straight and the corners as square as possible, and roll it into a long rectangle about 8 mm thick.
- Brush all loose flour from the surface. Fold the top third down over the center, then fold the bottom third up over it, as though folding a business letter.
- Wrap the dough and refrigerate it for 30 minutes.
Second fold
- Place the dough with the folded edge rotated 90 degrees from its previous position. This keeps the rolling direction alternating between folds.
- Lightly flour the surface, then roll the dough into another long rectangle about 8 mm thick. If the dough resists or shrinks, cover and chill it for another 15 minutes.
- Brush away the loose flour and repeat the business-letter fold.
- Wrap and refrigerate for 30 minutes.
Third fold
- Rotate the dough 90 degrees again. Roll it into a long 8 mm-thick rectangle, maintaining straight sides and even pressure.
- Brush away all loose flour and complete the third business-letter fold.
- Wrap the dough tightly and refrigerate it for at least 2 hours or overnight before shaping.
Shape, proof and bake
- Roll and shape the chilled dough according to your chosen filling recipe.
- Arrange the shaped pastries on parchment-lined baking sheets, leaving space between them. Cover loosely.
- Proof until visibly puffy and airy. At approximately 75°F / 24°C, this takes around 2 hours. In a cooler room, it may take 2 1/2 to 3 hours or longer. The pastries should wobble slightly when the tray is moved, and a light press should spring back slowly.
- Whisk together the egg and water. Brush the exposed dough lightly with egg wash, avoiding the cut edges where possible. For open-centered Danish, press the centers after proofing and add the chilled filling immediately before baking.
- Bake according to the individual recipe. Most small Danish bake at 200°C (400°F) conventional for approximately 18 minutes, until deeply golden.
Notes
Danish pastry filling ideas
This dough can be shaped and filled in lots of different ways. Try my apple Danish pastries, strawberry cream cheese Danish pastries or custard Danish pastries. Other filling ideas include:- Custard topped with blueberries, raspberries, sliced peaches or apricots
- Cream cheese filling with lemon curd or fruit preserves
- Cinnamon sugar, rolled and sliced like cinnamon rolls
- Almond filling topped with sliced almonds
- Chocolate batons or chopped dark chocolate
- Thick cherry, blueberry, raspberry or apricot filling
- Thinly sliced pear with almond filling
- Stewed rhubarb with vanilla custard