

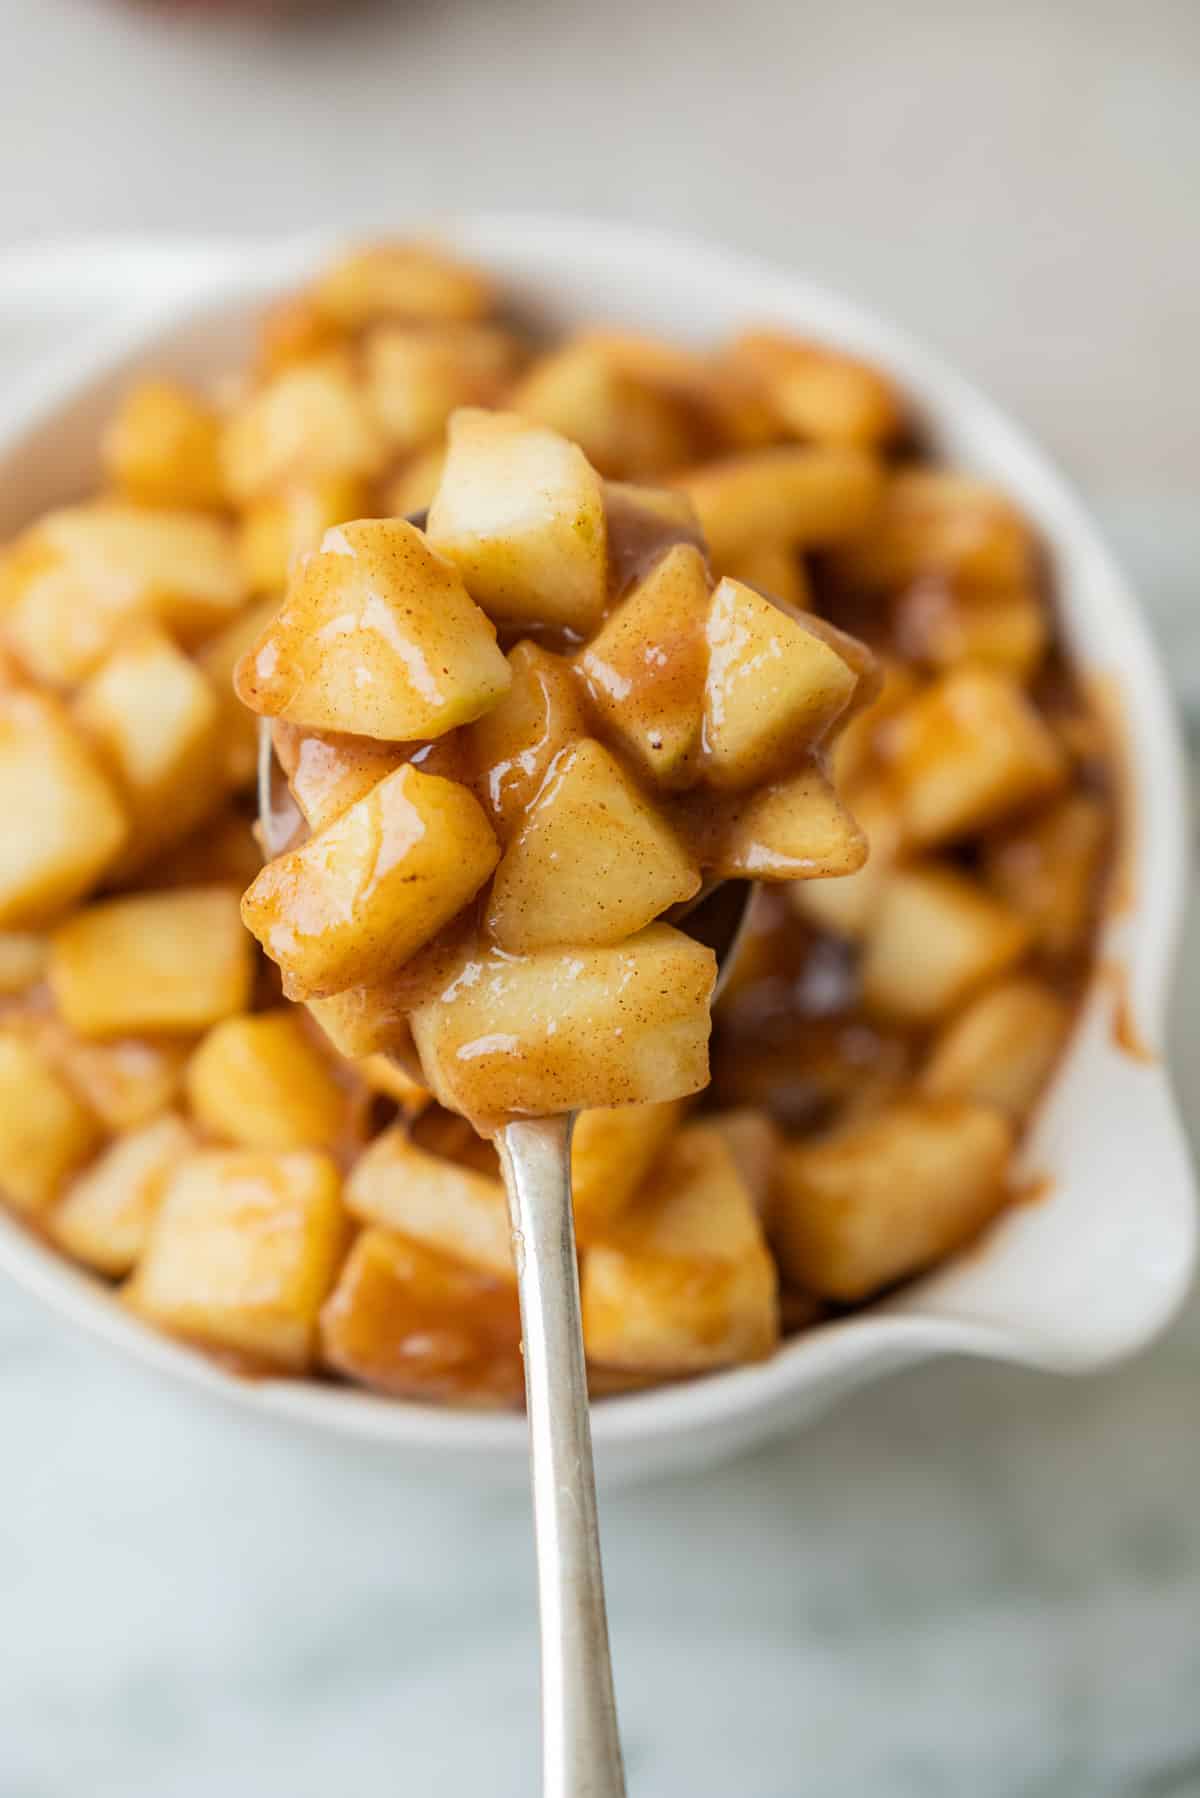

This homemade apple pie filling is made with juicy apples, brown sugar, a little cinnamon and nutmeg, and lovely brown butter flavor. It’s thick and saucy, with soft pieces of apple that still hold their shape. You can make a batch ahead of time and keep it in the fridge or freezer for whenever you need it!
About this apple pie filling
I love having some cooked apple filling ready to go because there are so many things you can use it for. Apple turnovers, hand pies, Danish pastries, or even just spooned warm over pancakes or waffles.
The brown butter is my favorite part of this recipe. It’s only a small extra step but it adds a almost caramely flavor that goes so well with apples. You don’t need to add loads of spices either. I’ve kept it pretty simple with cinnamon and a little nutmeg so the brown butter flavor can really come through. And while this is called apple pie filling, you definitely don’t have to use it in an actual apple pie! I usually make the filling as part of my regular apple pie recipes, but this one is especially handy for smaller pastries and desserts
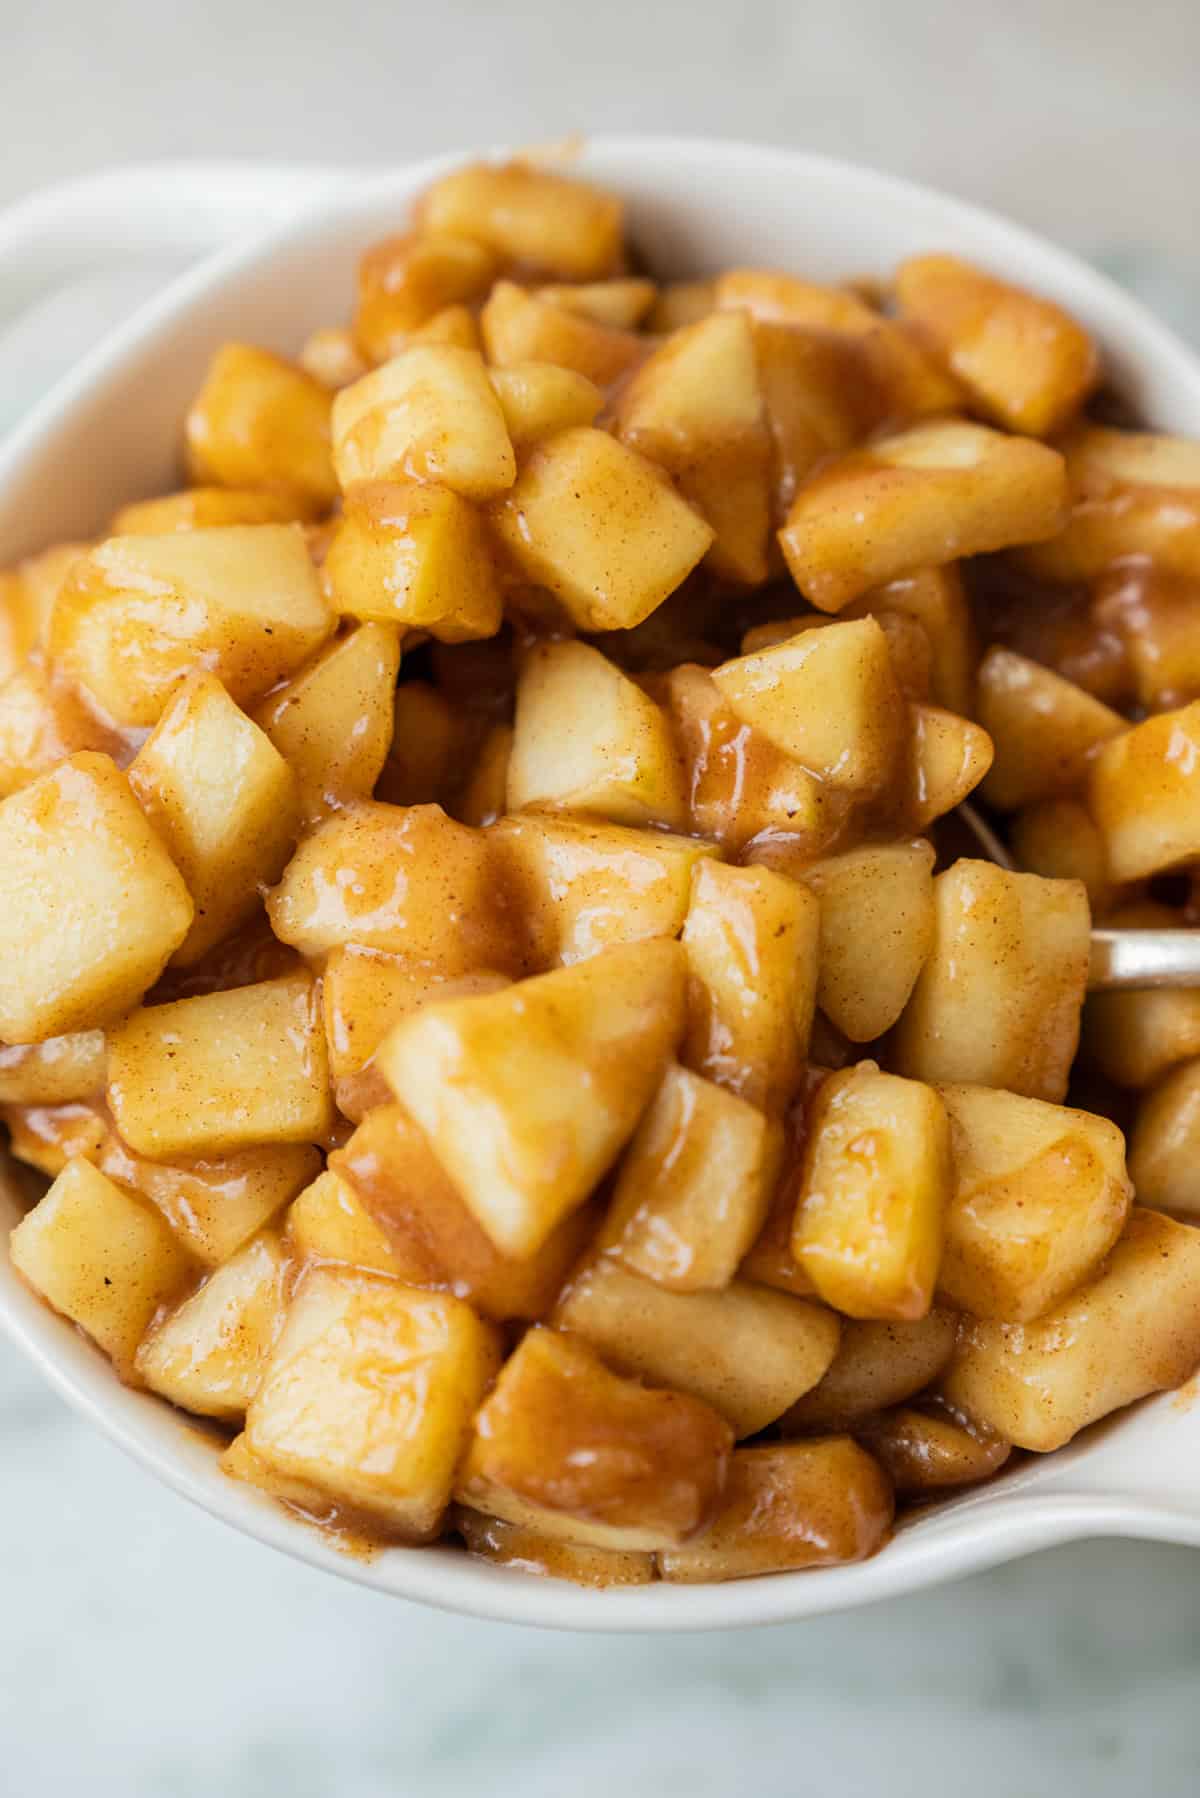
Why I love this recipe
- It’s really versatile. Use it in all sorts of pastries, cakes and desserts, or simply warm it up and spoon it over ice cream.
- You can make it ahead. It’s lovely having a batch in the fridge when you want to make something quickly.
- It freezes well. Portion it into smaller containers so you can thaw just what you need.
- The brown butter adds perfect flavor for only one tiny extra step! It gives the filling a lovely toasted flavor without having to make caramel.
Ingredients and substitutions
You can find the full amounts in the recipe card below, but here are a few notes on what I’m using.
- Apples: I like Granny Smith, Braeburn or Pink Lady apples for this. Granny Smith apples are tart and hold their shape well, while Braeburn and Pink Lady are a little sweeter. You can also use a mixture. I peel my apples for this filling because I prefer the softer texture, especially when using it in pastries.
- Butter: I use salted butter, though you can use unsalted and brown it before adding the apples. Browning the butter gives it a lovely nutty flavor, and those little golden brown bits at the bottom of the pan are full of flavor, so make sure you keep them! I only brown it to a light amber brown, a little less far than usual, since it will keep cooking when you add the apples.
- Light brown sugar: This adds sweetness and a little caramel flavor that works really well with the brown butter.
- Lemon juice: Just a tablespoon to balance the sweetness and brighten up the apples.
- Cinnamon and nutmeg: I’ve kept the spices quite simple here. There’s enough to give the filling that classic apple pie flavor without covering up the brown butter.
- All-purpose flour: This thickens the juices released by the apples so you end up with a lovely sauce rather than lots of liquid at the bottom of the pan. I use flour instead of cornstarch because I also want this filling to freeze well.
- Vanilla: A little vanilla rounds everything out.
- Toasted milk powder (optional): If you’ve made my toasted milk powder before, this is another lovely place to use it! It adds even more of that lovely toasted flavor you get from brown butter. You only need a little, and I’ll explain how to add it below.
How to make brown butter apple pie filling
- Peel, core and chop the apples into small pieces. I usually go for pieces around ½ inch (1.3 cm), but you can cut them a little smaller if you’re planning to use the filling in things like hand pies or doughnuts.
The 900 g (2 lb) of apples in this recipe is the weight after peeling and coring, so you’ll need to start with a little more than that.
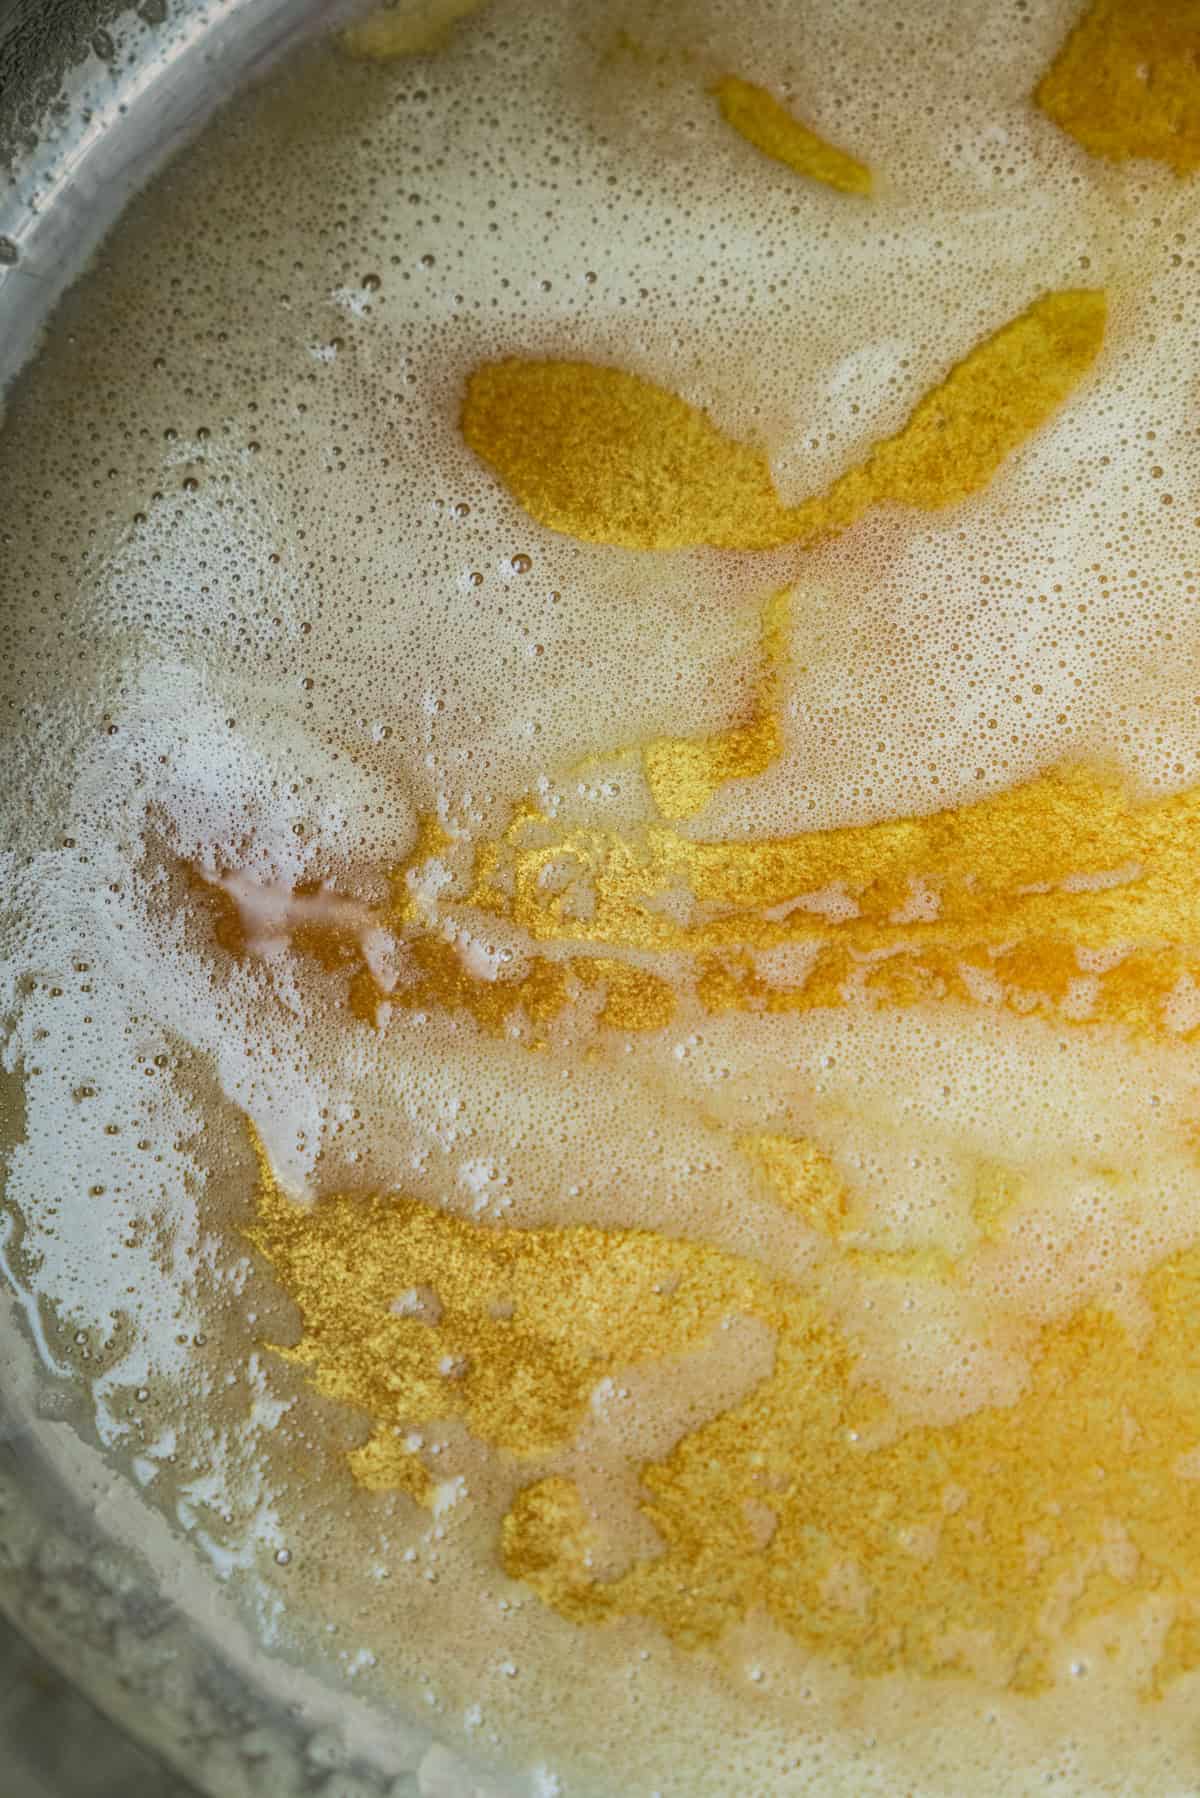
- Add the butter to a large saucepan over medium heat and let it melt. It will start bubbling and foaming as the water cooks off. Keep stirring or swirling the pan, and after a few minutes you’ll see little golden brown bits forming at the bottom.
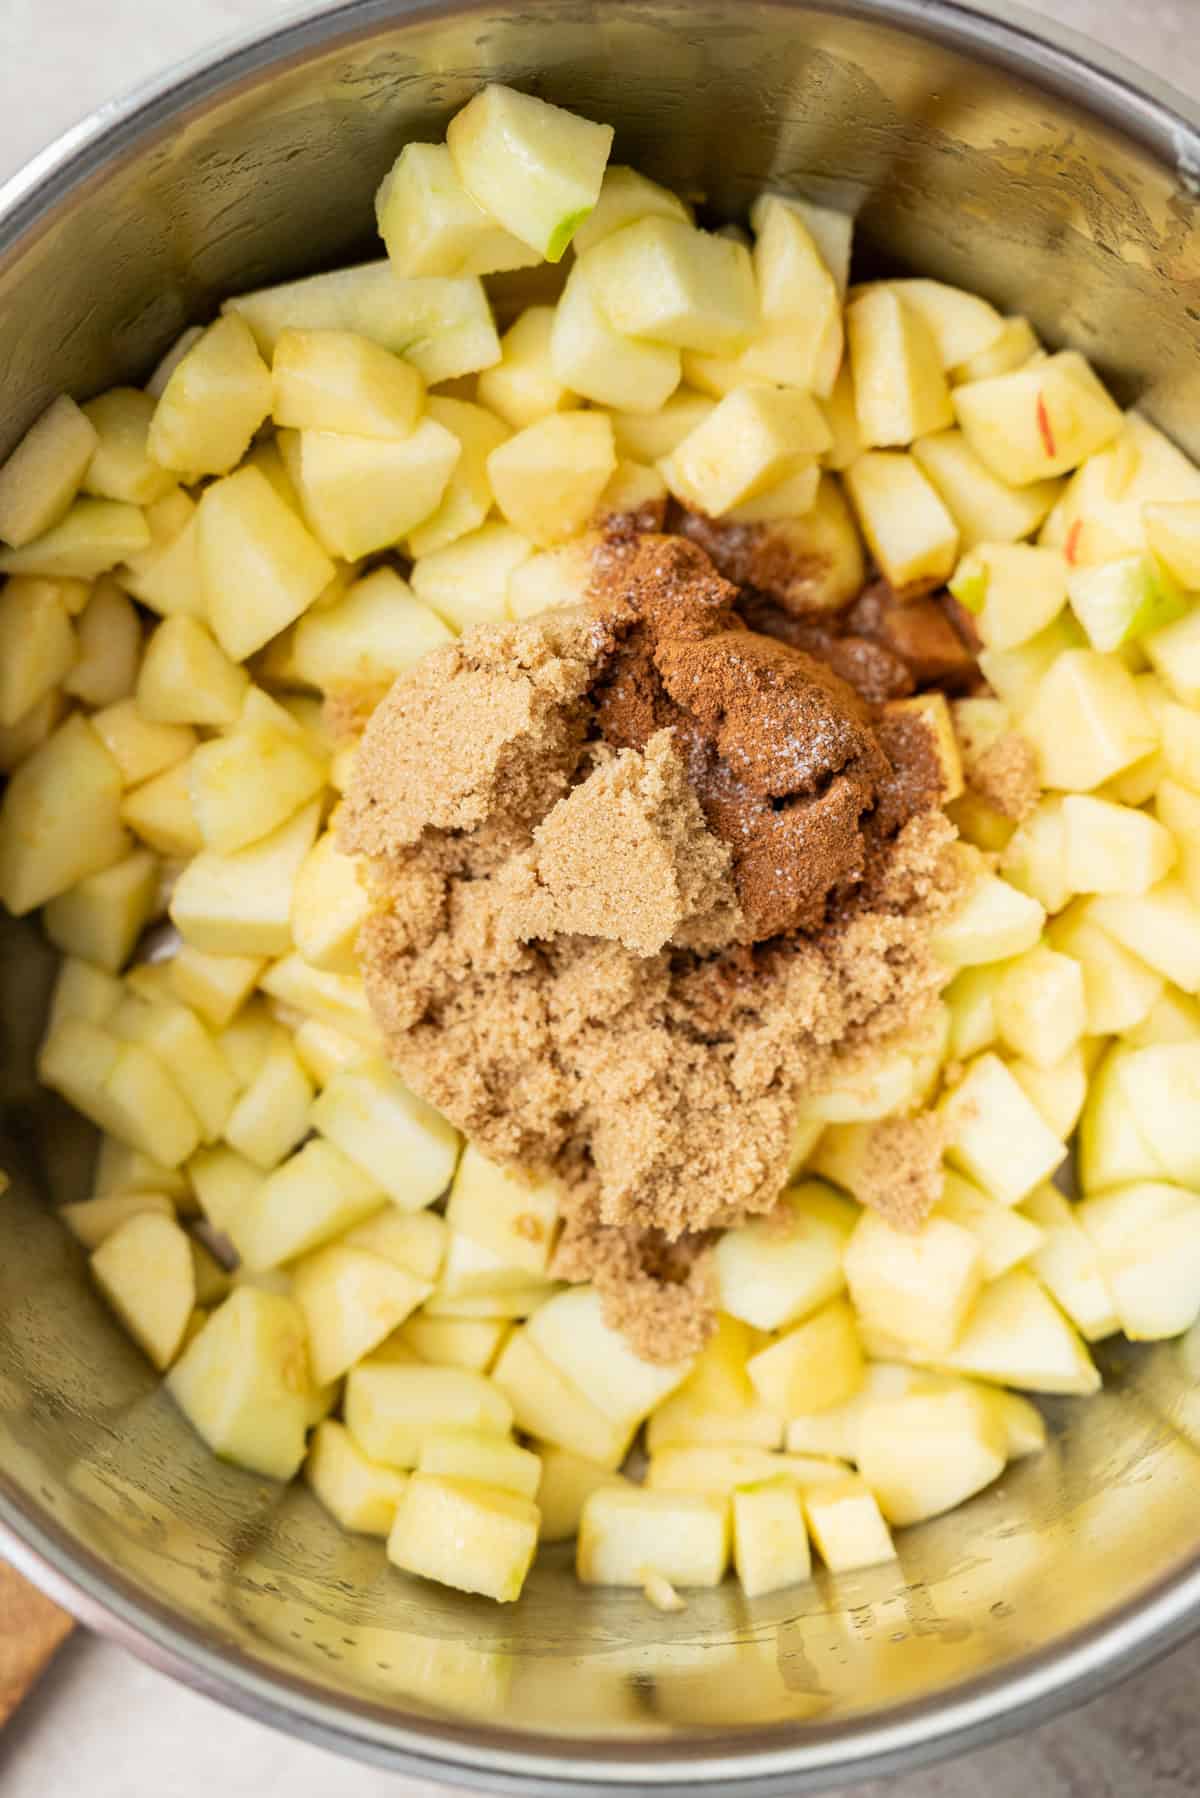
- Once the butter smells nutty and the milk solids are a lovely amber color, add the apples straight away. They’ll cool the pan down and stop the butter from browning any further. Add the brown sugar, lemon juice, cinnamon, nutmeg and salt, then stir everything together.
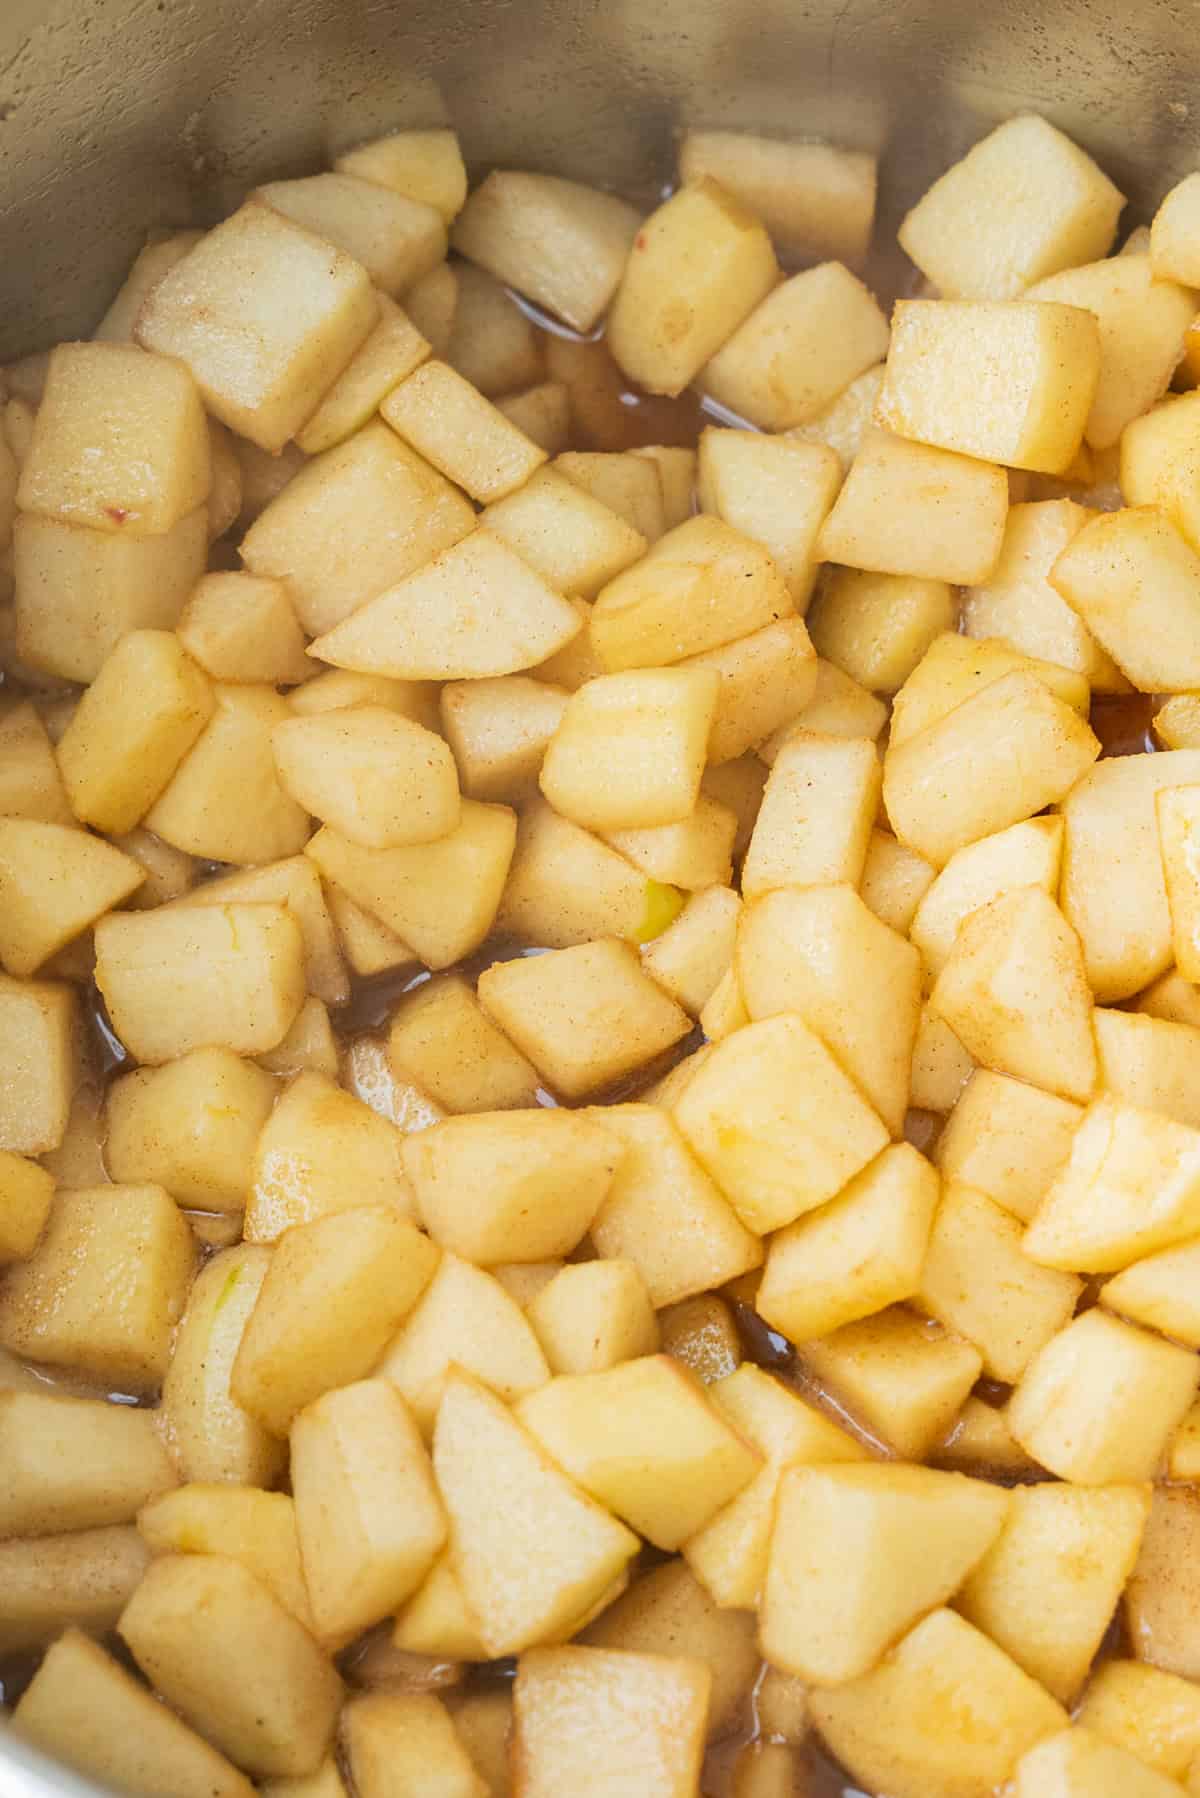
- Cook over medium heat for around 6-8 minutes, stirring occasionally. The apples will start releasing their juices and softening a little, but you don’t want them to turn mushy.
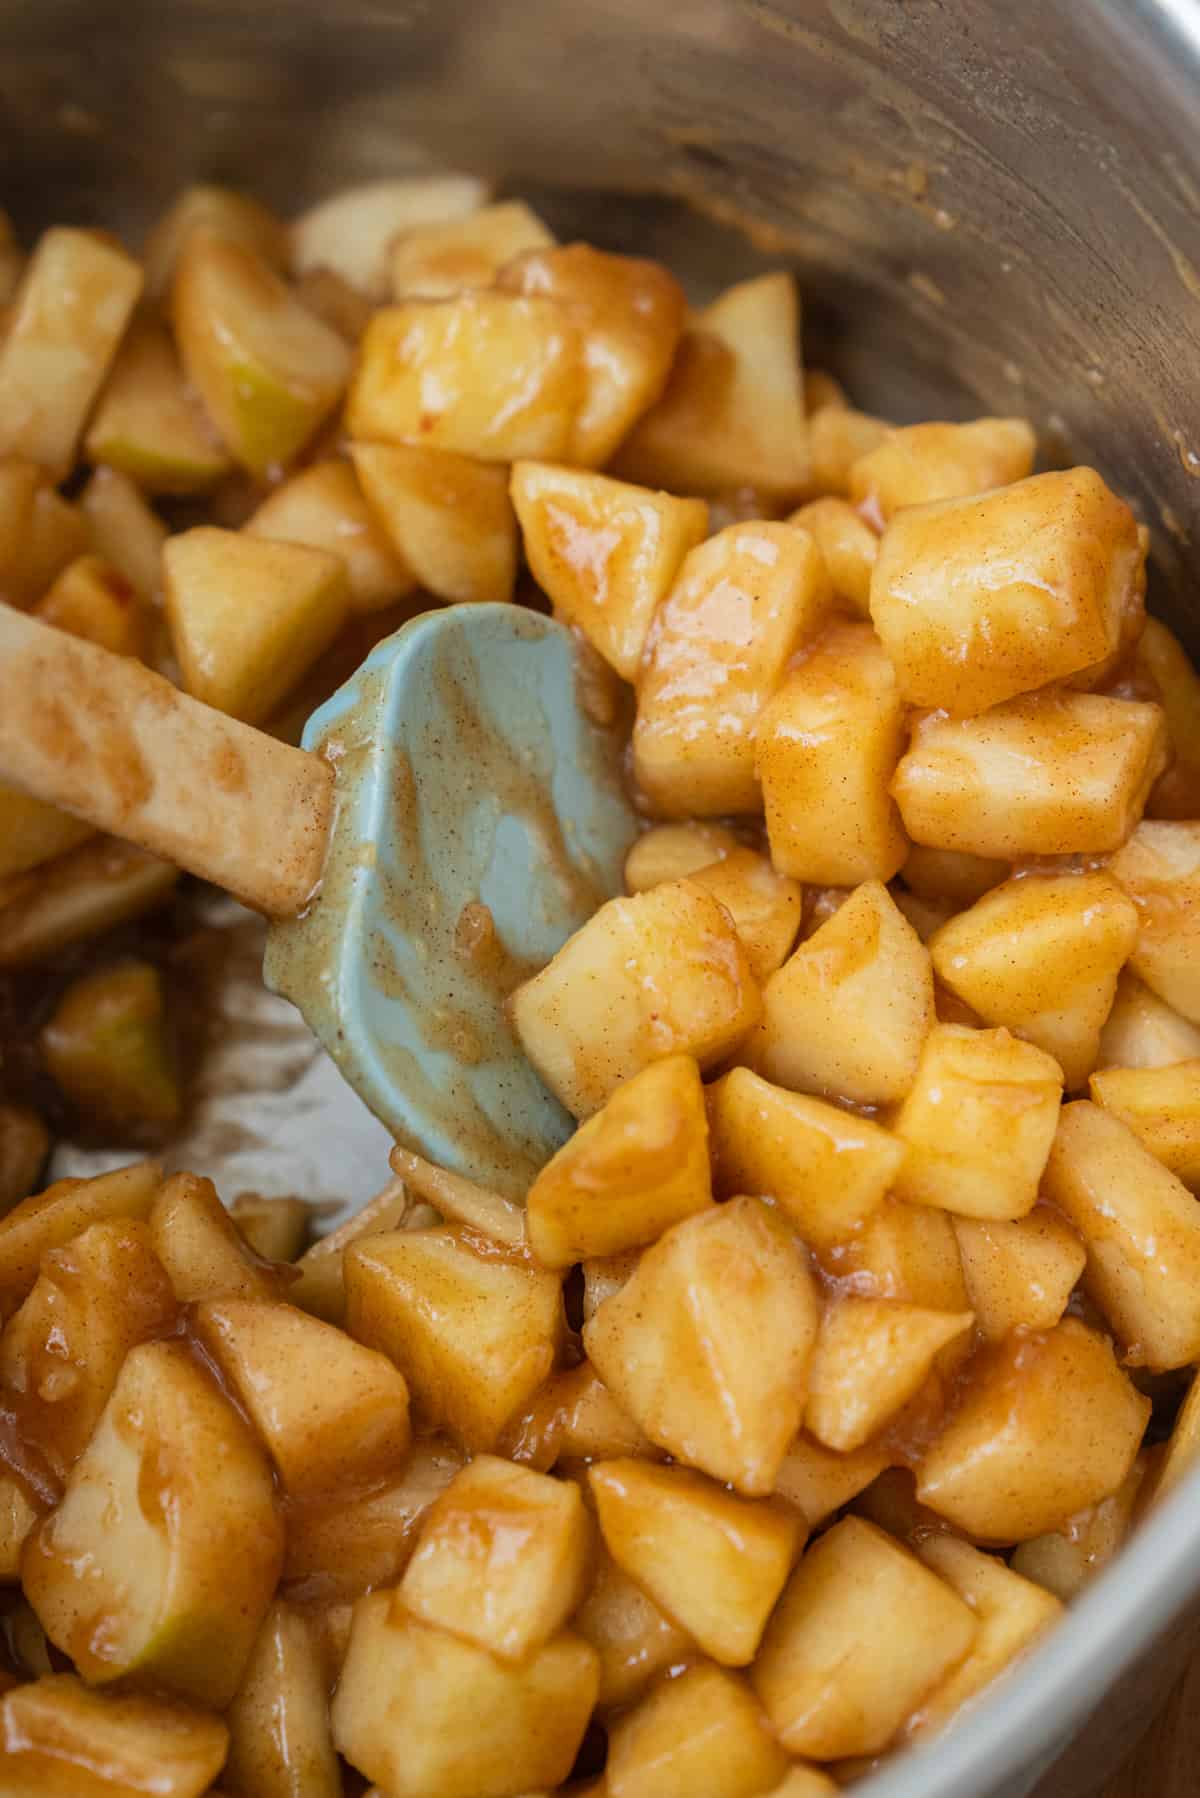
- Sprinkle the flour evenly over the apples and stir it through well. Let everything cook for another 2 to 3 minutes, stirring regularly, until the juices have thickened and the flour is cooked through.
- Take the pan off the heat and stir through the vanilla. If you’re adding toasted milk powder, this is a good time to stir it in too. I add around a tablespoon.
- Let the filling cool before using it in pastries, or transfer it to a container to store for later.
Tips for the best apple pie filling
Don’t cook the apples until they’re completely soft. This is especially important if you’re using the filling in something that’s going to be baked again, like apple turnovers or Danish pastries. The apples will soften more during baking, so it’s better if they still have a little bite when you take the filling off the heat. If you’re making it just to spoon over pancakes or ice cream, you can cook the apples longer if you prefer them really soft.
Don’t worry if the apples release lots of juice. Some apple varieties release much more liquid than others, and the sugar will draw out extra moisture too. The flour will thicken what’s left into a sauce.
Let the filling cool before using it in pastry. Warm apple filling will soften the butter in puff pastry and pie dough, making it harder to work with. Refrigerate the filling until it’s properly cold before using it in turnovers or hand pies.
Ways to use homemade apple pie filling
There are so many things you can make with a batch of this filling!
- Apple turnovers: Spoon the cold filling onto puff pastry squares, fold them into triangles and bake until golden.
- Apple Hand Pies with Puff Pastry: Use a few spoonfuls of filling between pieces of pie dough or puff pastry. Just be careful not to overfill them.
- Danish pastries with apple filling: Add a little filling to the center of shaped Danish dough before baking.
- Apple crumble bars: Spread the filling over a buttery shortbread base, add a crumble topping and bake.
- Cinnamon apple focaccia: fluffy and light, with moist pockets of sweet apple,
- Cinnamon rolls with apples: Chop the apples fairly small and spread a thin layer of filling over the dough before rolling it up.
- Apple pie doughnuts: Pipe the cooled filling into fluffy fried doughnuts.
- Pancakes and waffles: Warm the filling gently and spoon it over the top. It’s especially good with a little whipped cream.
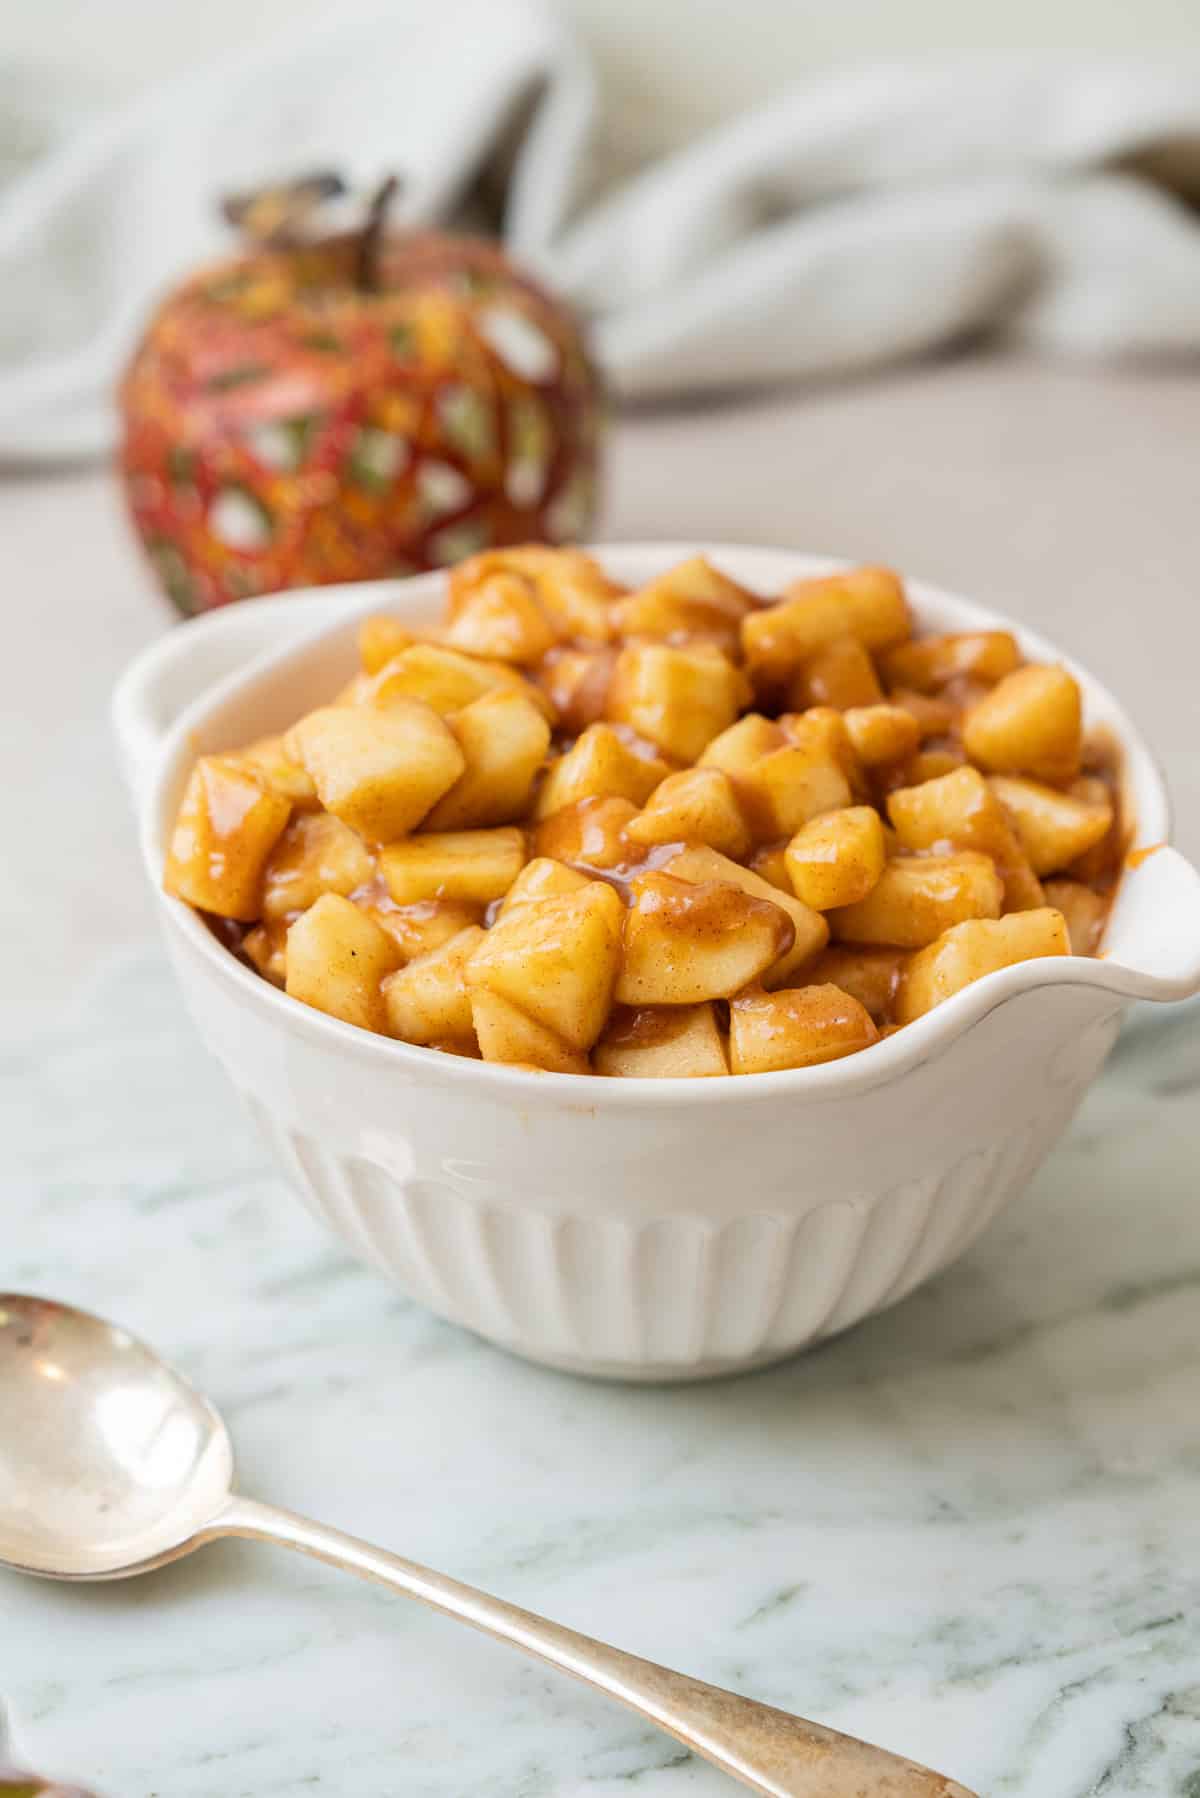
Can I use this filling in a regular apple pie?
Yes! This filling works in a regular apple pie too. Because the apples are partially cooked, they won’t shrink as much in the oven, and the juices are already thickened, so there’s less chance of ending up with a watery pie.
You’ll probably need a larger batch for a full-sized pie, depending on the depth of your pie dish. Let the filling cool completely before adding it to the pastry, then bake until the crust is golden and cooked through.
Storing and freezing
One of my favorite things about this recipe is that you can make a batch and keep it for later.
In the fridge: Let the filling cool, then transfer it to an airtight container and refrigerate for up to 4 days.
In the freezer: Once cooled, divide the filling into freezer-safe containers or bags. Freeze for up to 3 months for best quality.
I like freezing it in smaller portions because you don’t always need a whole batch, especially when making hand pies or Danish pastries.
To thaw: Leave the filling in the fridge overnight. Give it a stir before using. If it has released a little liquid, you can warm it gently in a saucepan to bring everything back together, then cool it again before adding it to pastry.
More apple recipes
If you’ve got plenty of apples to use up, here are a few more recipes to try:
- Apple Bread with Cinnamon Glaze
- Apple Hand Pies with Puff Pastry
- Apple Puff Pastry Galette
- Dutch Apple Pie
Brown Butter Apple Pie Filling
Equipment
- Large saucepan
Ingredients
- 900 g apples peeled, cored and chopped; weighed after chopping. Granny Smith, Braeburn or Pink Lady
- 45 g butter salted or unsalted
- 130 g light brown sugar
- 1 tbsp fresh lemon juice
- 3/4 tsp ground cinnamon
- 1/8 tsp ground nutmeg
- 1/4 tsp fine salt adjust to taste if using salted butter
- 30 g all-purpose flour
- 1 tsp vanilla extract
- 1 tbsp toasted milk powder optional, stir straight into filling at the end
Instructions
- Peel, core and chop the apples into approximately 1/2-inch (1.3 cm) pieces. Weigh 900 g (2 lb) after preparing. 900 g apples
- Melt the butter in a large saucepan over medium heat. Cook, stirring or swirling, until the milk solids are light amber and the butter smells nutty. 45 g butter
- Add the apples straight away and stir to coat them in the butter. Stir in the brown sugar, lemon juice, cinnamon, nutmeg and salt. 130 g light brown sugar, 1 tbsp fresh lemon juice, 3/4 tsp ground cinnamon, 1/8 tsp ground nutmeg, 1/4 tsp fine salt
- Cook over medium heat for around 6-8 minutes, stirring occasionally, until the apples start to soften and release their juices. They should still hold their shape. There is no need to reduce all the liquid.
- Sprinkle the flour evenly over the apples and stir well. Cook for another 2 to 3 minutes, stirring regularly, until the juices thicken into a sauce and the flour is cooked through. 30 g all-purpose flour
- Remove from the heat and stir in the vanilla and the toasted milk powder, if using. Stir the milk powder directly into the filling. 1 tsp vanilla extract, 1 tbsp toasted milk powder
- Cool the filling before using it in pastry.



I hope you love this recipe as much as I do! 🙂