

Homemade Sourdough Bread
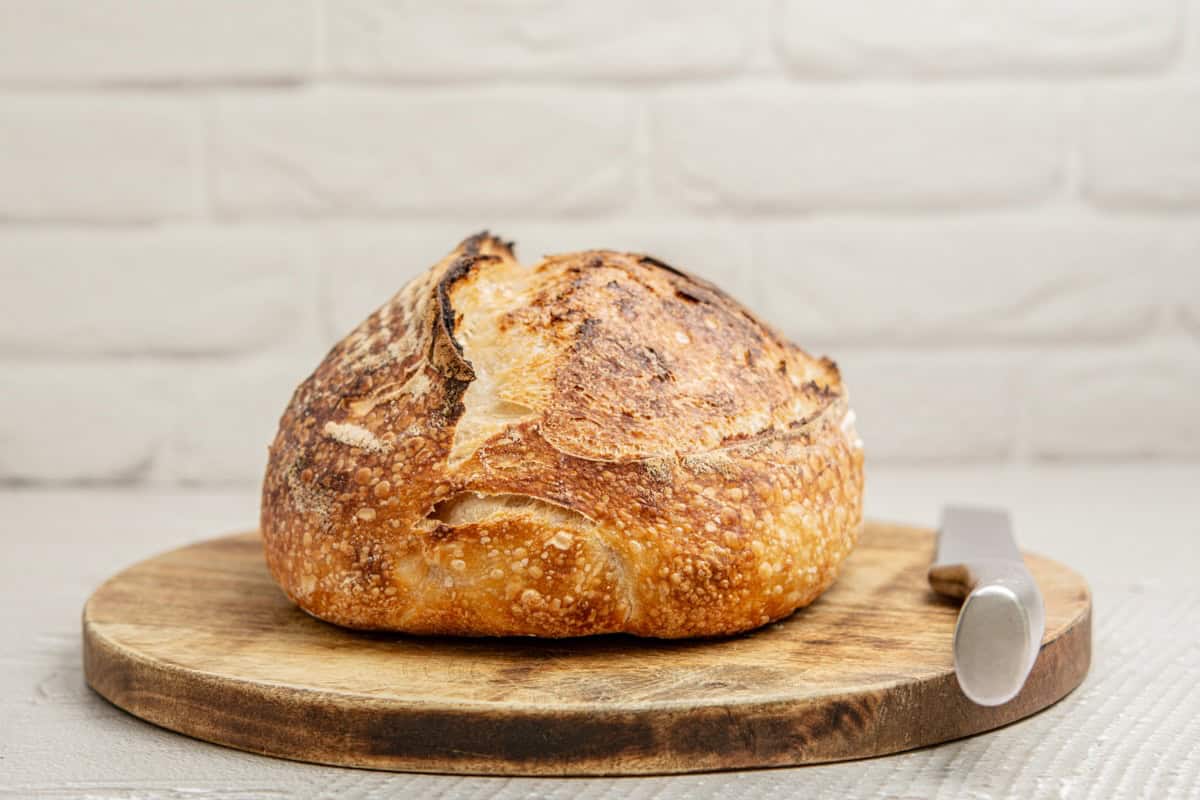
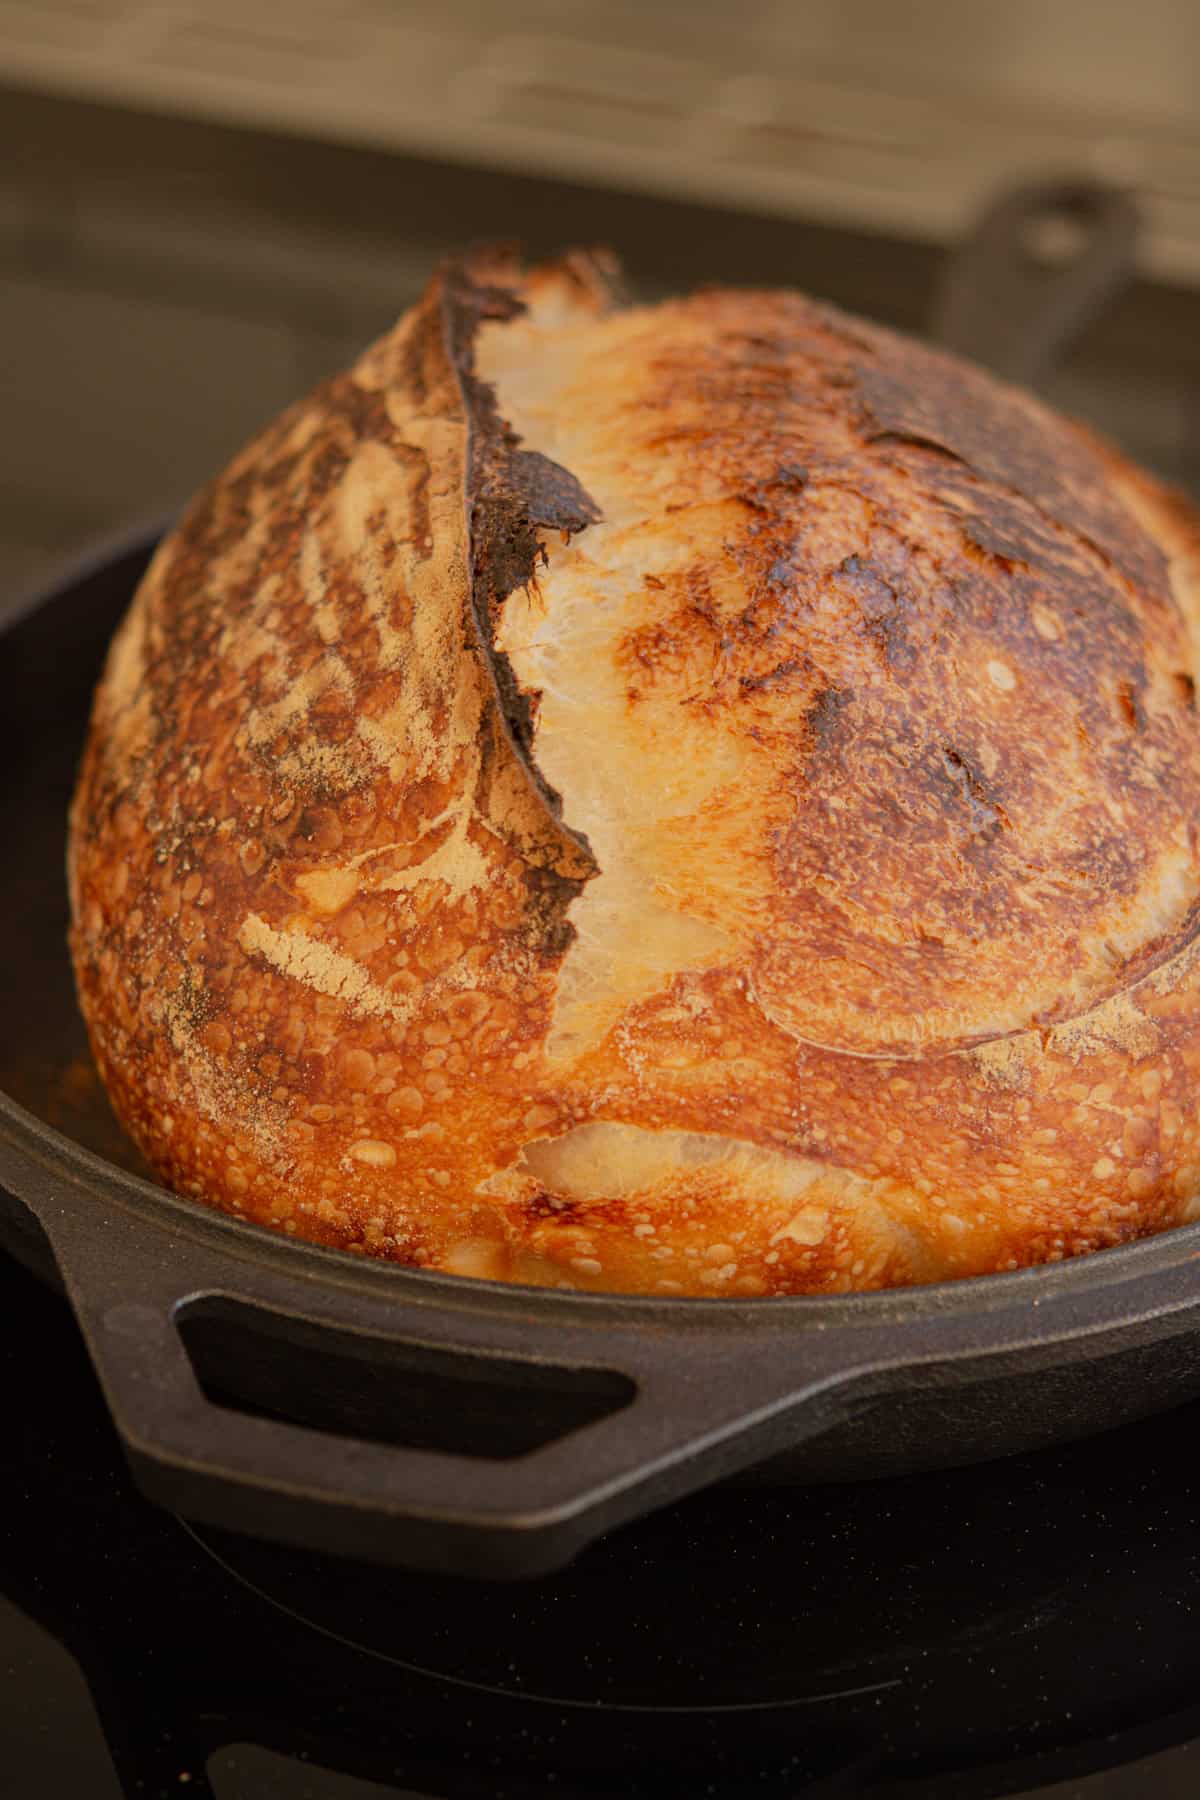
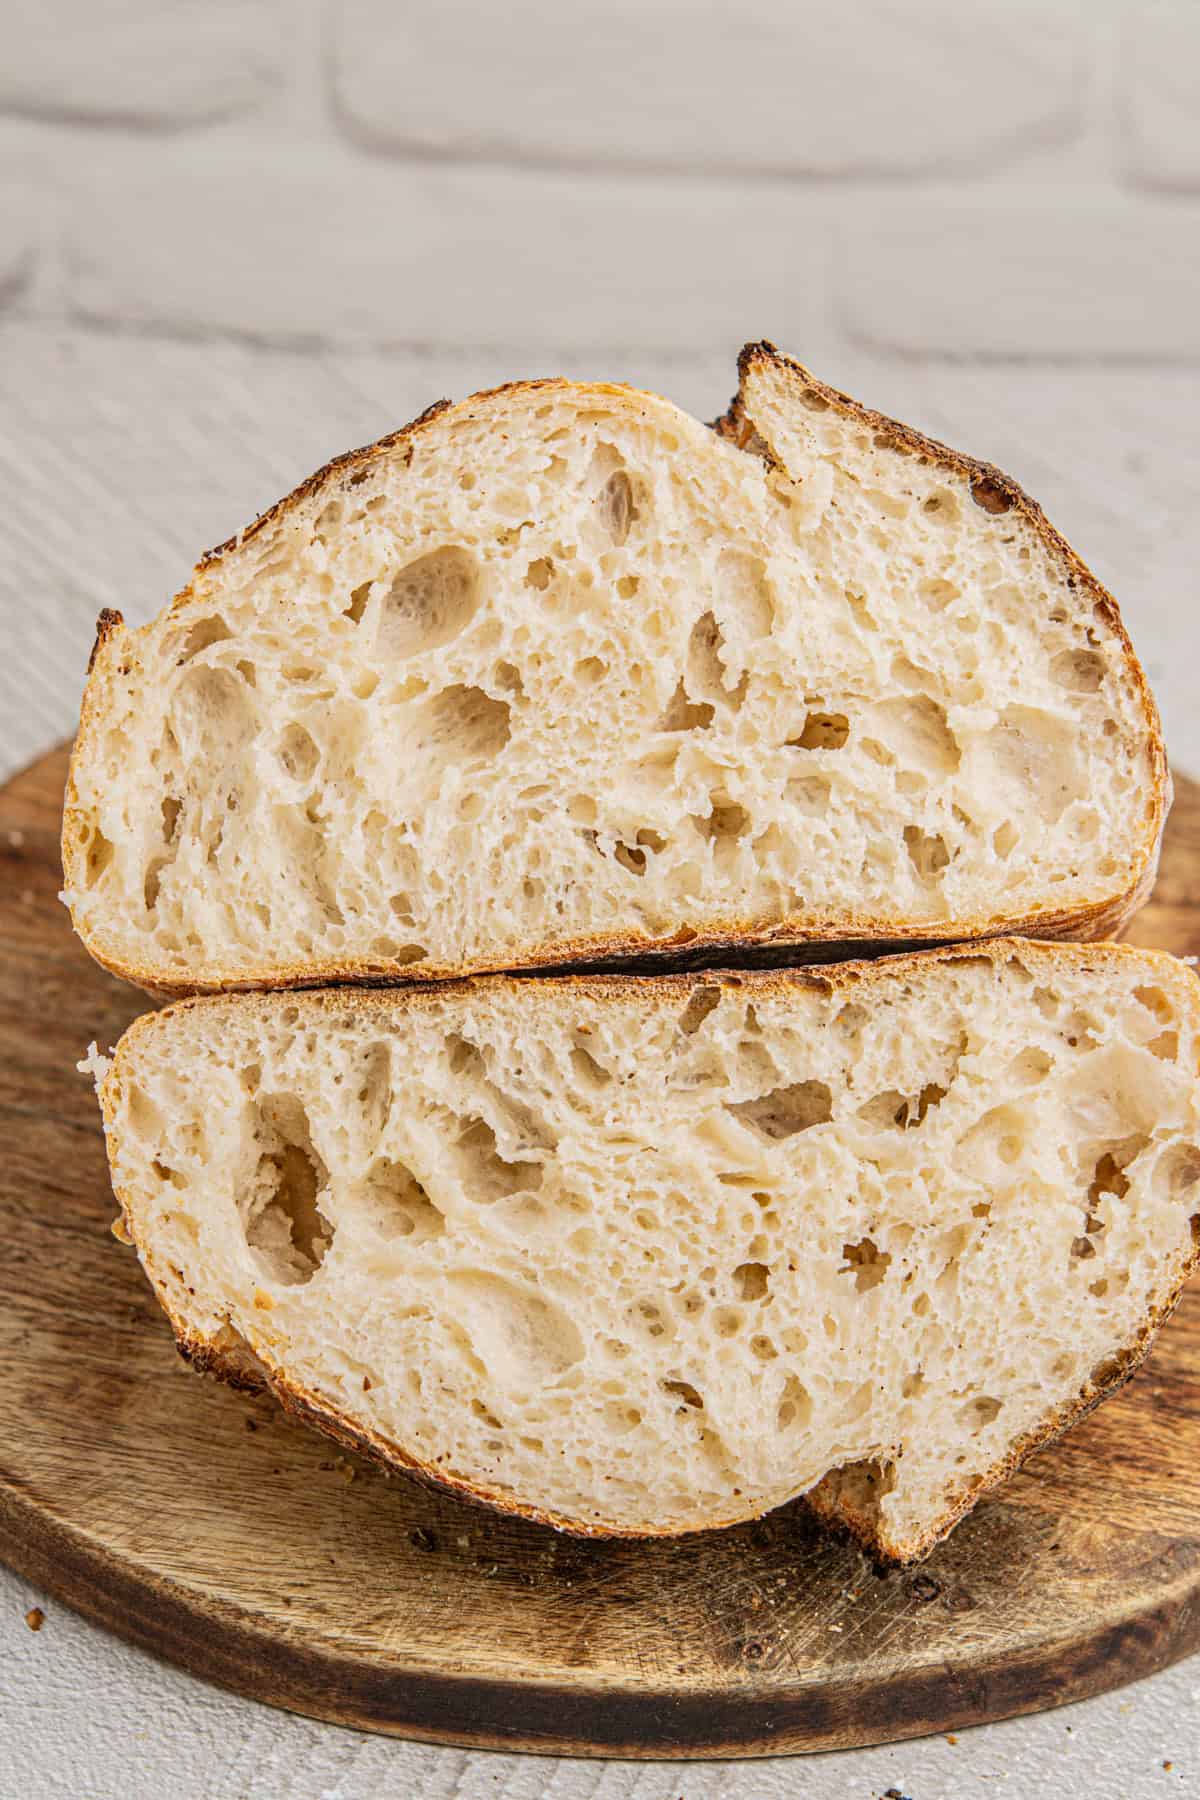
Homemade sourdough bread is worth all the fuss if you make it right. The crisp, crackly crust, the soft and airy crumb, and that light tangy flavor. If it’s your first time making it, it’s not as complicated as you might think! This recipe will guide you through creating a delicious, naturally leavened loaf.
About this bread
- No commercial yeast needed – Just flour, water, salt, and wild yeast from your starter.
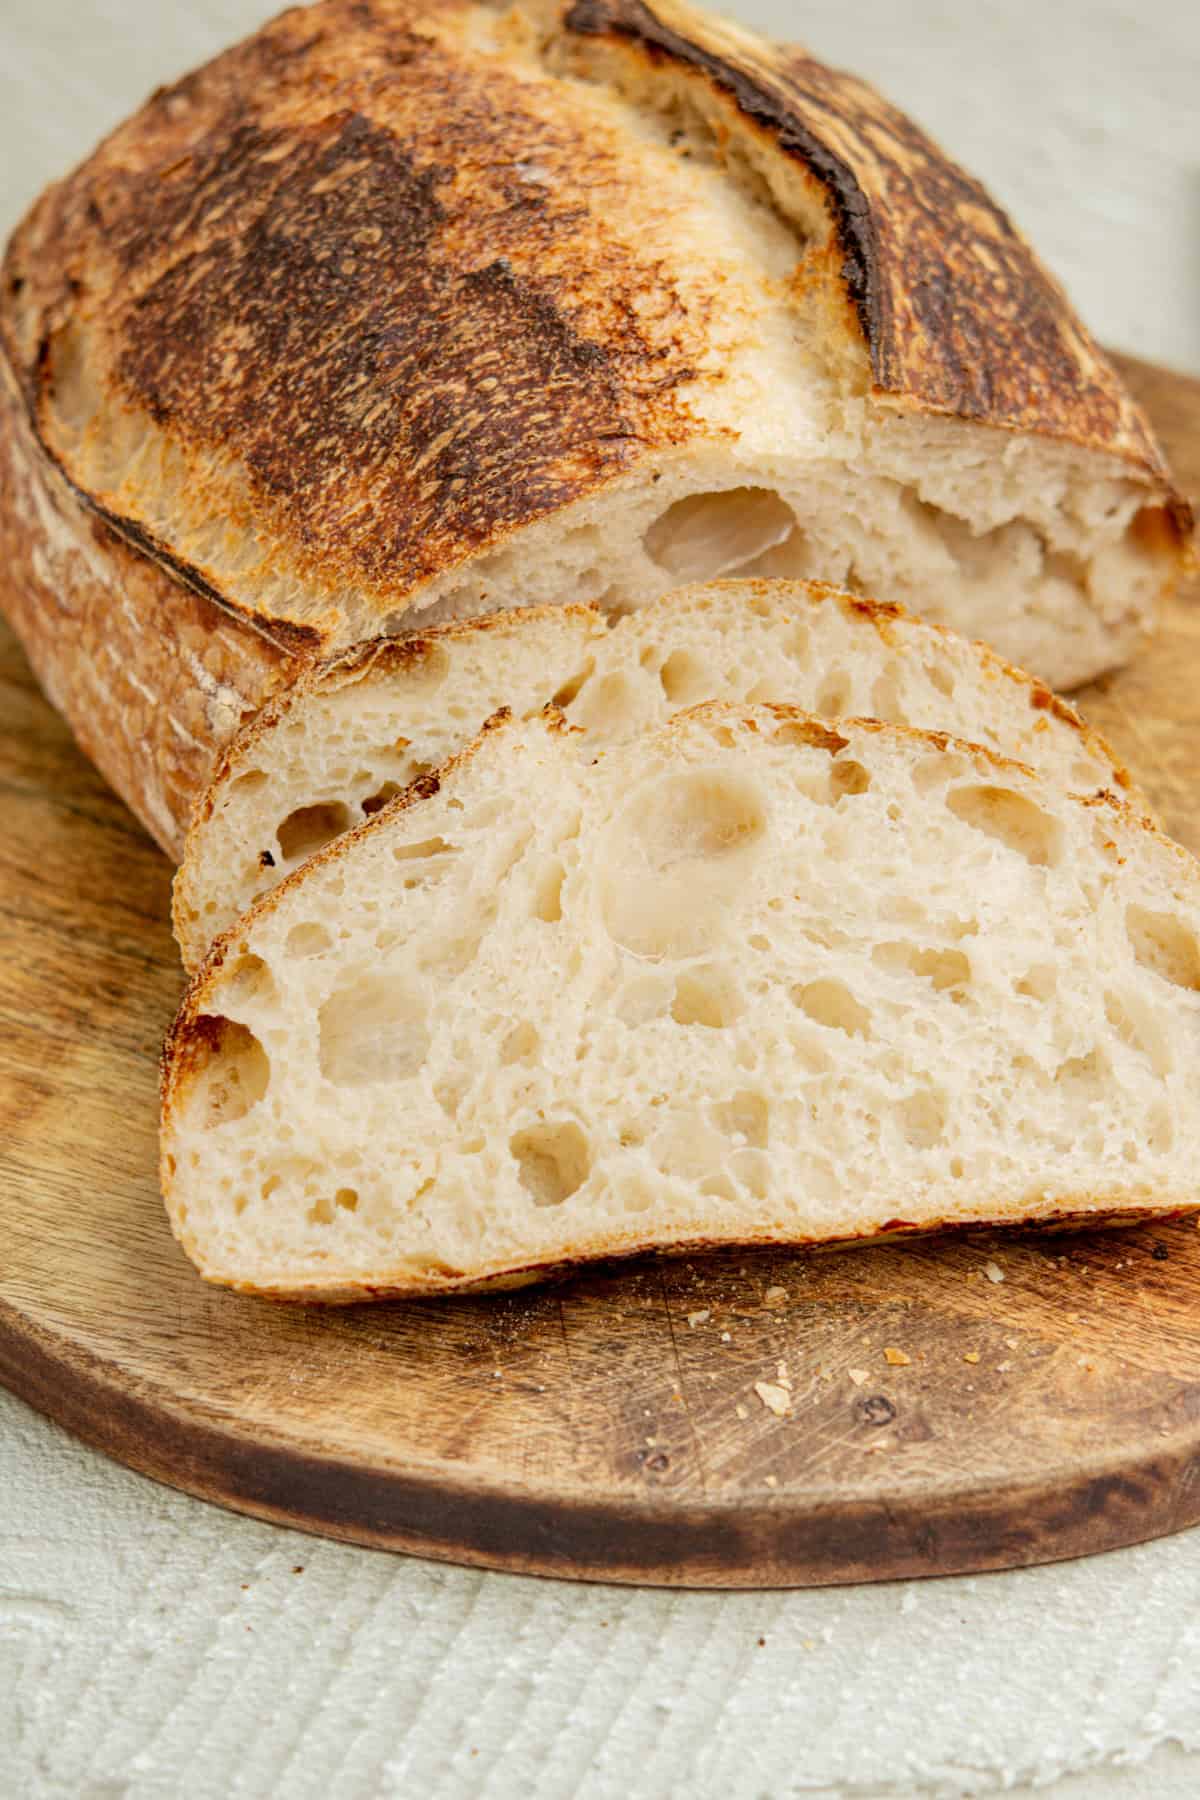
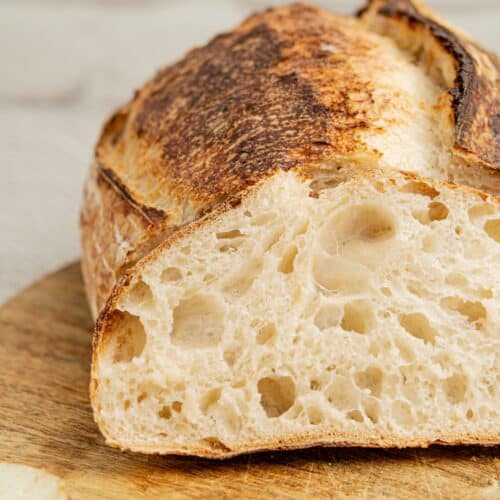
- Incredible texture – A crisp crust with an open, airy crumb.
- Deep flavor – Fermentation develops complex, tangy notes you can’t get from store-bought bread.
- Flexible timing – You can cold-proof overnight or longer to fit your schedule.
This bread has a hydration level of around 74.5%, meaning that for every 100g of flour, there are 74.5g of water. Hydration affects how sticky and extensible the dough is, but it’s not something to stress over too much. If your dough has slightly more or less water, it will still work.
The most important part of sourdough is fermentation, not exact ingredient amounts. Slightly more water will make the dough softer and stickier, while slightly less will make it firmer and easier to handle. But as long as your fermentation is strong and your dough develops good gluten structure, your bread will turn out great.

What you need
Ingredients
- Flour – Strong white bread flour. Because this is a beginner recipe, we are keeping the ingredients super basic, so you can practice!
- Water – Hydrates the flour and activates fermentation.
- Salt – Enhances flavor and strengthens gluten.
- Sourdough starter – A well-fed, active starter is the key to a great rise.
Tools
- Mixing bowl – For combining ingredients.
- Bench scraper – Helps with shaping.
- Dutch oven or baking stone – Retains steam for a better crust.
- Lame or sharp knife – For scoring the dough before baking.
- Banneton or bowl with a towel – Supports the dough while it proofs.
Keeping a low-waste sourdough starter
You don’t need to maintain a huge sourdough starter or throw away lots of discard to keep it healthy. A little goes a long way! I keep only a small amount, just a few tablespoons in a jar in the fridge.
When I bake, I make a separate levain using a portion of my starter. This levain will be fully used in the dough, so there’s no waste. After making the levain, I feed whatever starter is left in the jar and pop it back in the fridge until next time. Even if it’s only a teaspoonful, it’s enough to feed and keep it active.
Keeping a small starter prevents it from becoming too acidic since you’re always refreshing it with fresh flour and water instead of letting it sit for long periods. Plus, you never have to deal with big batches of discard or constant feedings. It’s an easy, no-fuss way to maintain a sourdough starter while keeping it strong and ready to bake whenever needed.How much starter to use in a recipe Want to know exactly how much flour and water to feed your sourdough starter? Check out my sourdough starter calculator!
The Process
1. Mix the dough
Combine the flour and water, then let it rest (autolyse) to hydrate the flour. After 30 minutes, add the sourdough starter and salt, mixing until fully incorporated.
2. Bulk fermentation
Let the dough rise at room temperature for several hours, performing stretch and folds every 30 or so minutes to develop strength.
3. Shaping
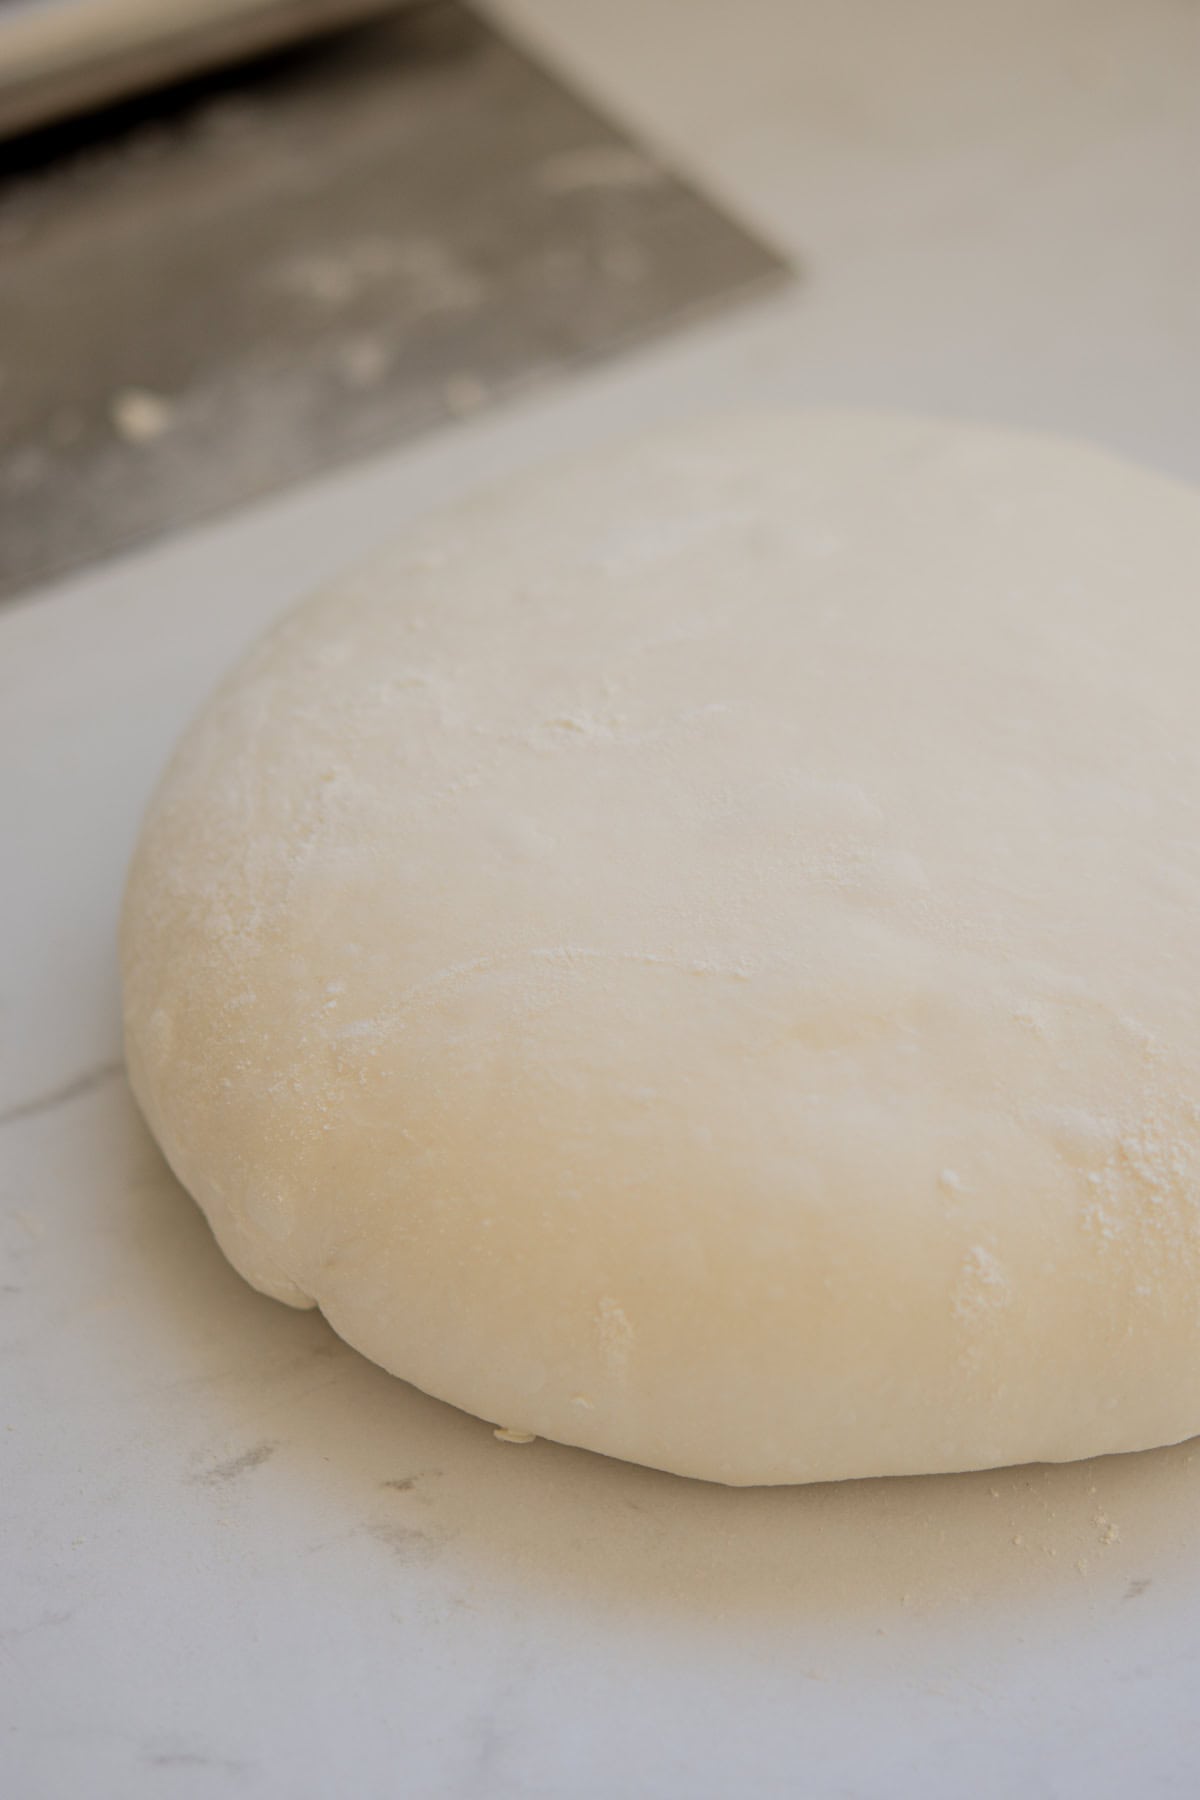
Lightly flour a surface, then shape the dough into a round. Let it rest for 20 minutes, then shape it into a round (boule) or oval (bâtard) for structure.
Shaping a bâtard
- Lightly flour the bench and tip out the dough.
- Preshape into a round and let it rest for 20 minutes.
- Flip it over so the smooth side is down. Gently stretch it into a rectangle.
- Fold the top third down and the bottom third up, like a pamphlet

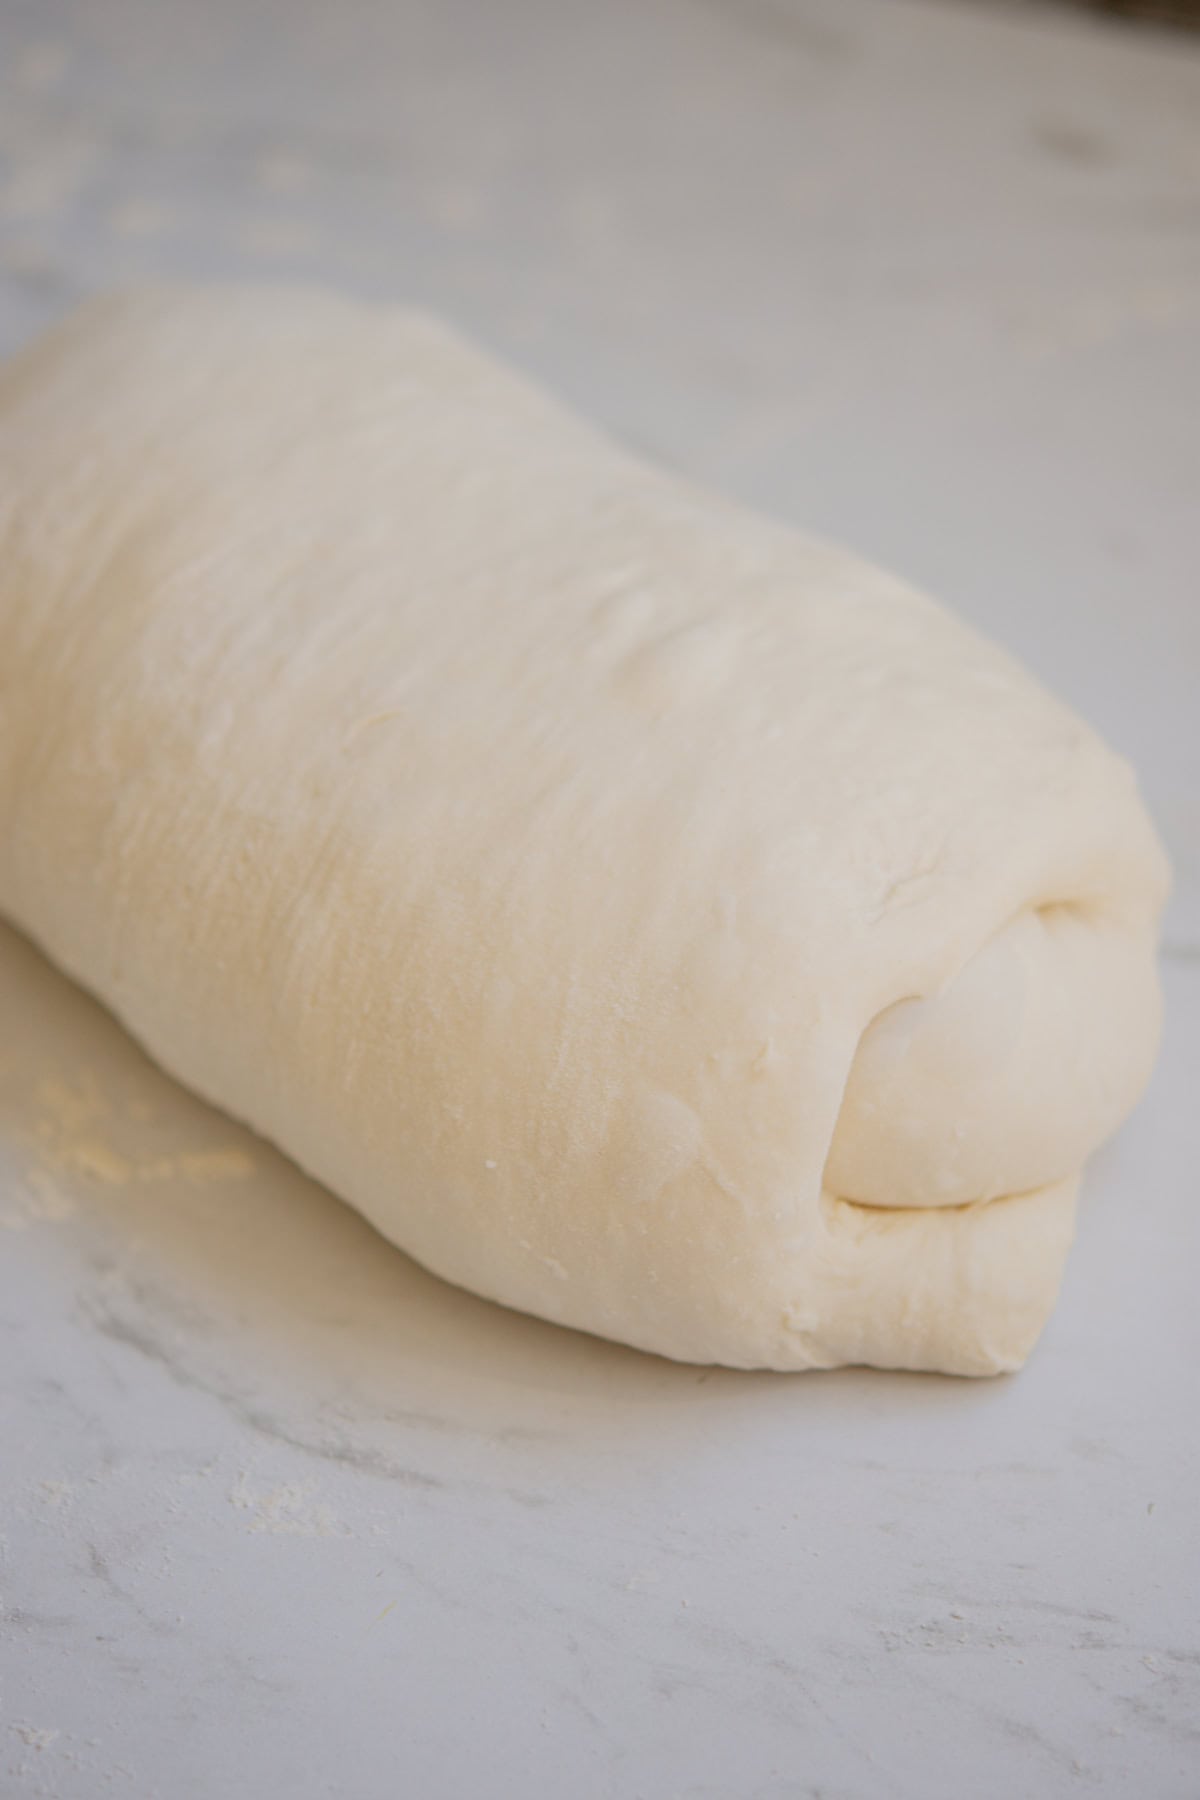
- Starting from the short end, roll it up tightly into a log.
- Pull the dough towards you on the bench to create surface tension.
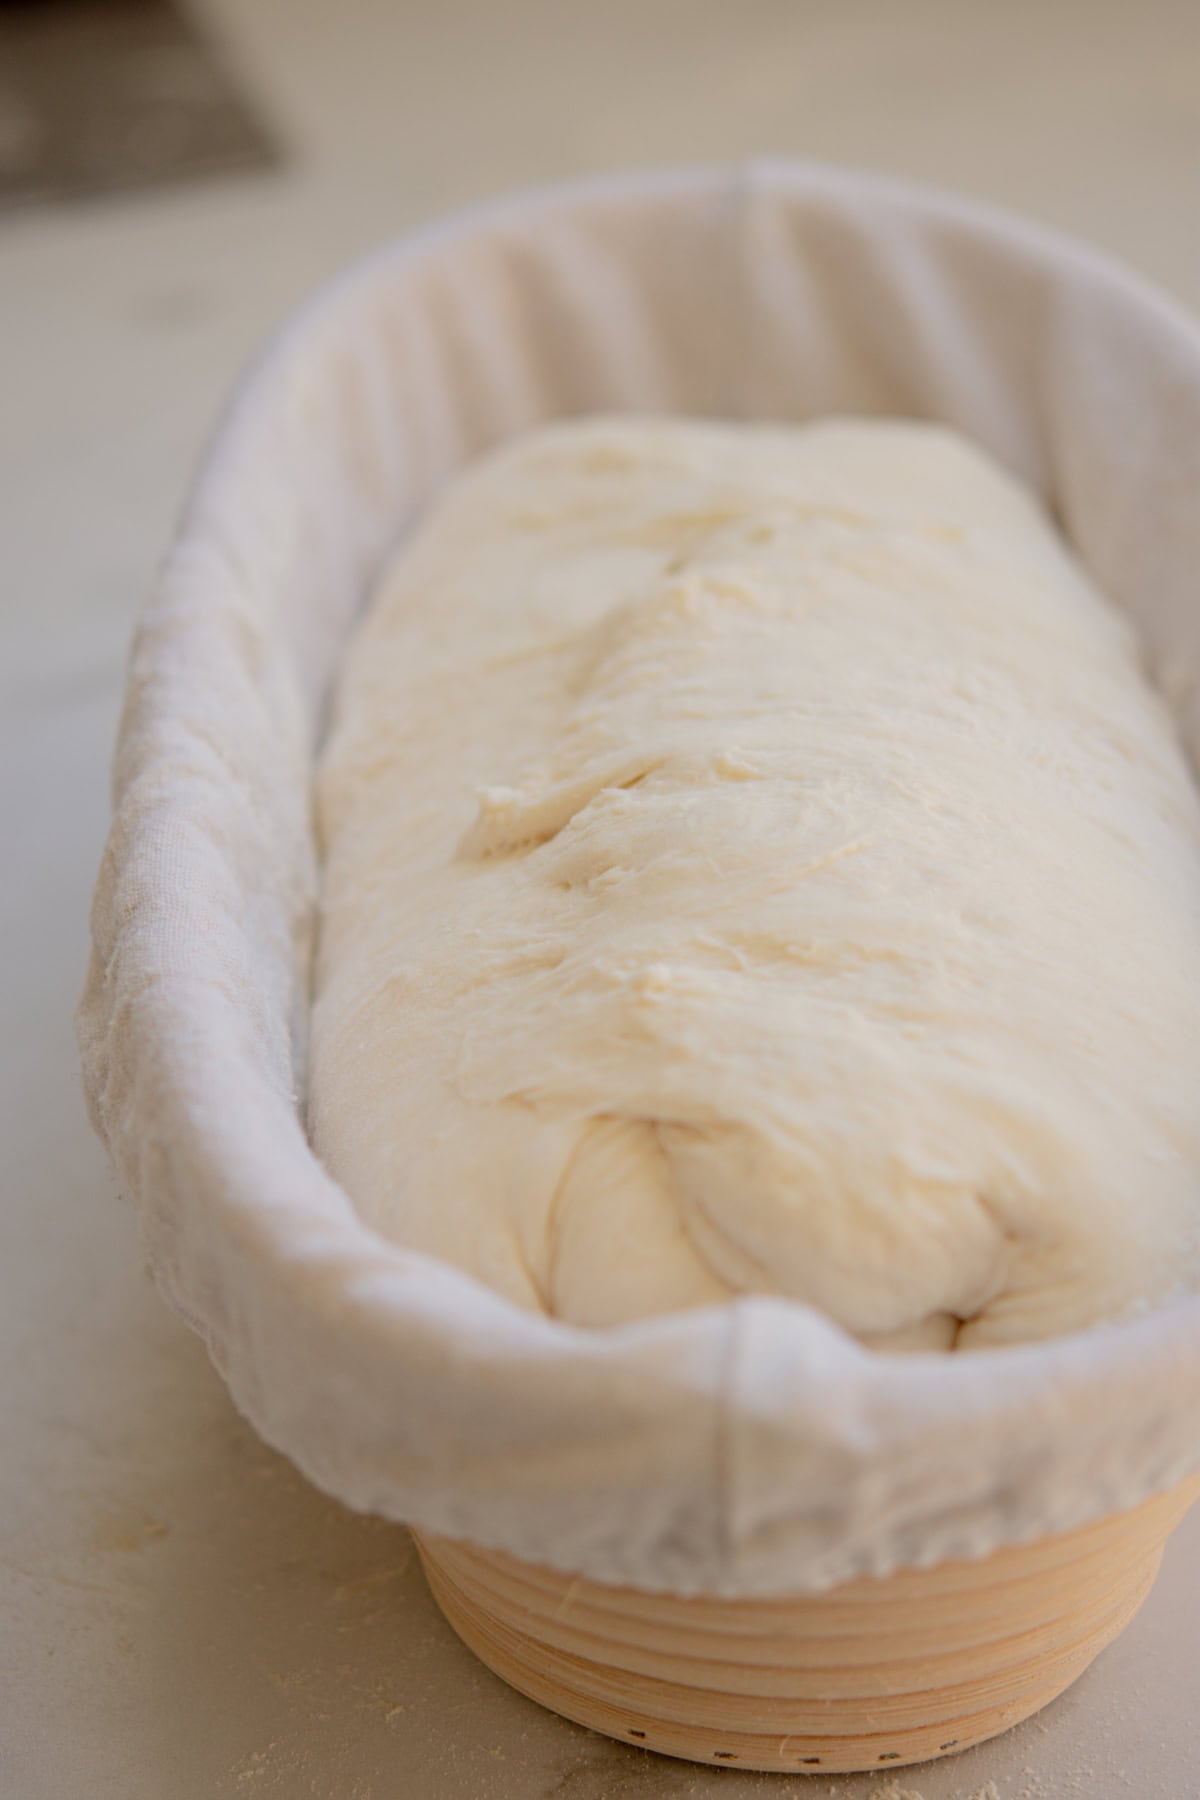
- Place it seam-side up into a floured, lined banneton for the final proof.
4. Cold-proof
For more flavor and better oven spring, refrigerate the dough overnight in a banneton or a towel-lined bowl.
5. Bake
Preheat the oven with a Dutch oven inside. Score the dough, then bake with the lid on for steam, removing it later to allow the crust to brown.

Folding Your Dough
Folding sourdough strengthens gluten, builds structure, and helps with fermentation—but how you do it is totally up to you. There’s no single right method, and you can mix and match based on what feels easiest.
- Stretch and folds: The classic method. Grab a section of dough, stretch it up, then fold it over itself. Rotate the bowl and repeat on all sides.


- Coil folds: A gentler approach. Lift the dough from the center with both hands, allowing the ends to tuck under as you set it back down. Rotate and repeat.
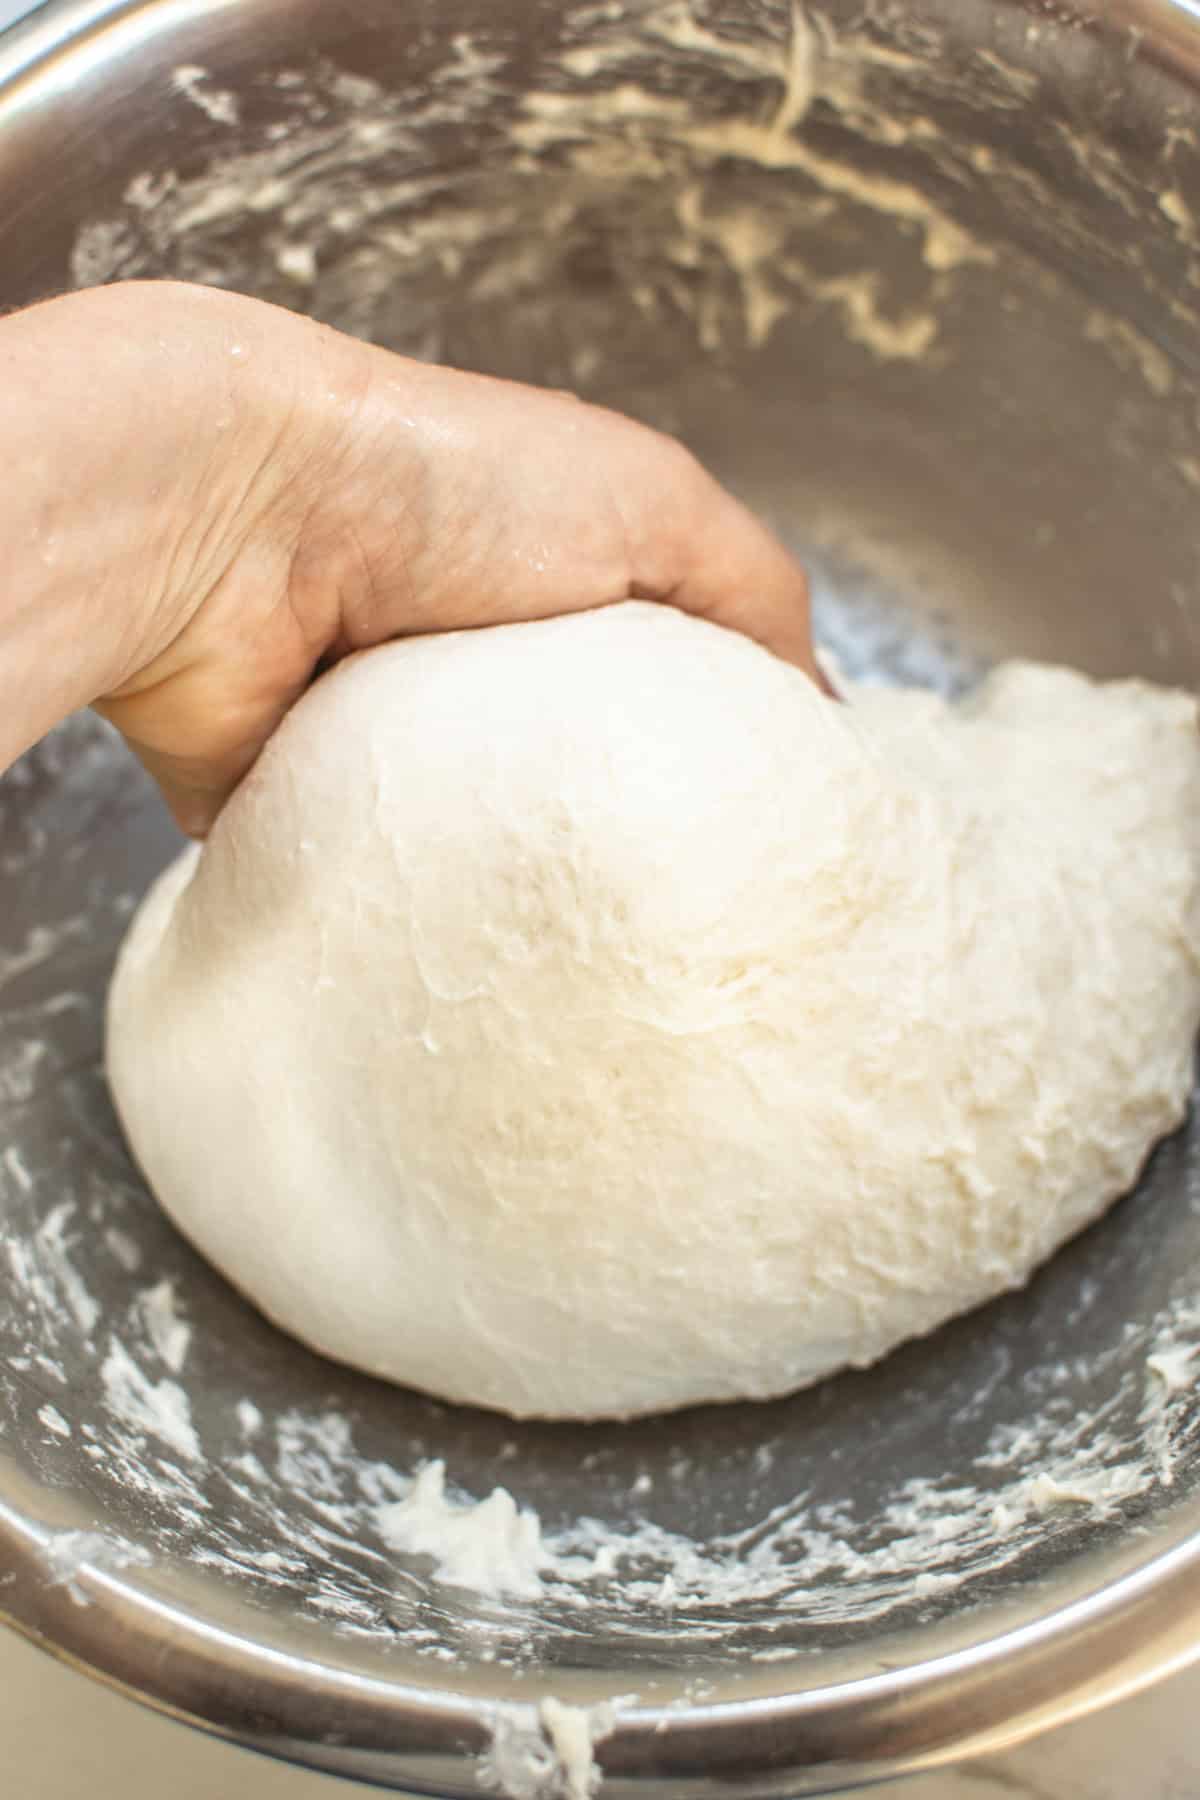
- Slap and fold: This is a great way to bring strength quickly to a wet dough. To perform it, take the dough, lift it, and slap it onto the work surface, then fold it over itself. Repeat this process to build strength. It can also be done in a bowl using a scooping motion to repeatedly stretch and fold the dough.I hold the bowl with one hand, grab the dough with one hand, pull it out of the bowl, fold it in half in one fast motion, and repeat. It forms a ball with a smooth surface. I do this a few times until it starts holding shape.
The goal is always the same—developing strength and elasticity.

Understanding fermented dough: over, under, and just right
Fermentation is the heart of great bread, and knowing how to recognize properly fermented dough is key to achieving the best texture and flavor. Here’s what to look for:
Under-Fermented Dough
Dough without enough time to ferment won’t have developed much gas, leading to a heavy loaf. You can most easily tell it was under-fermented after it has been baked. It might have
- A thick and chewy crust (that is hard to cut)
- A gummy and undercooked texture,
- A dense crumb, a few large sporadic holes
If your dough is under-fermented, it likely needs more time to bulk ferment. If time is an issue, try increasing the temperature slightly or ensuring your starter is strong and active before mixing.
Over-Fermented Dough
Dough that has fermented for too long becomes weak, sticky, and overly gassy. It won’t hold its shape well and will collapse or spread when handled. Over-fermentation leads to:
- A dough that’s slack and hard to shape
- A very sour smell, almost vinegary
- Large, irregular bubbles that burst easily
- Poor structure and deflation in the oven
If your dough is over-fermented, try shortening the bulk fermentation time or adjusting the temperature. If it has gone too far, you can still bake it, but expect a flatter loaf.
Properly Fermented Dough
The sweet spot is dough that has fermented just the right amount. It will be airy, elastic, and easy to shape without being sticky or weak. Signs of properly fermented dough include:
- A smooth, slightly puffy texture
- Air bubbles evenly distributed throughout
- Holds its shape well but has some give when pressed
To get this right, watch the dough, not the clock. Dough ferments faster in warm conditions and slower in cooler ones, so always adjust based on your environment. And practice makes perfect!
No Need to Be a Slave to Your Bread
Making sourdough should fit into your life, not the other way around. While there are plenty of techniques that help develop structure and flavor, nothing is make-or-break except bulk fermentation. If you miss a few stretch and folds or can’t bake right on time, your bread will still turn out great!
- Stretch and folds. If you’re busy and can only do one or two, that’s fine. The dough will still develop strength just by fermenting. If you have time, great—but if not, don’t stress.
- Can’t bake right away? Leave it in the fridge. Once the dough has gone through bulk fermentation, it can be shaped and placed in the fridge for hours (or even a day or two) before baking. This actually improves the flavor and makes scheduling easier.
- Bulk fermentation is the key. This is the one step to pay attention to. If the dough is under-fermented, it won’t rise well. If it’s over-fermented, it can become too weak and sticky. But everything else—stretch and folds, how long it rests before shaping, even the final proofing time—is flexible.
Sourdough should work around your schedule, not the other way around. The more you bake, the more you’ll get a feel for when the dough is ready, and you won’t need to rely on a strict timeline.
Tips
- Use an active starter – It should be bubbly and active and not too acidic and runny.
- Don’t rush the process – Longer fermentation builds better flavor.
- Score confidently – A clean, deep score helps the bread expand in the oven.
- Cool completely before slicing – Cutting too early can make the crumb gummy.
Storing
Store your sourdough at room temperature in a paper bag or wrapped in a kitchen towel for up to 2 days. For longer storage, slice and freeze it in an airtight bag.
Variations
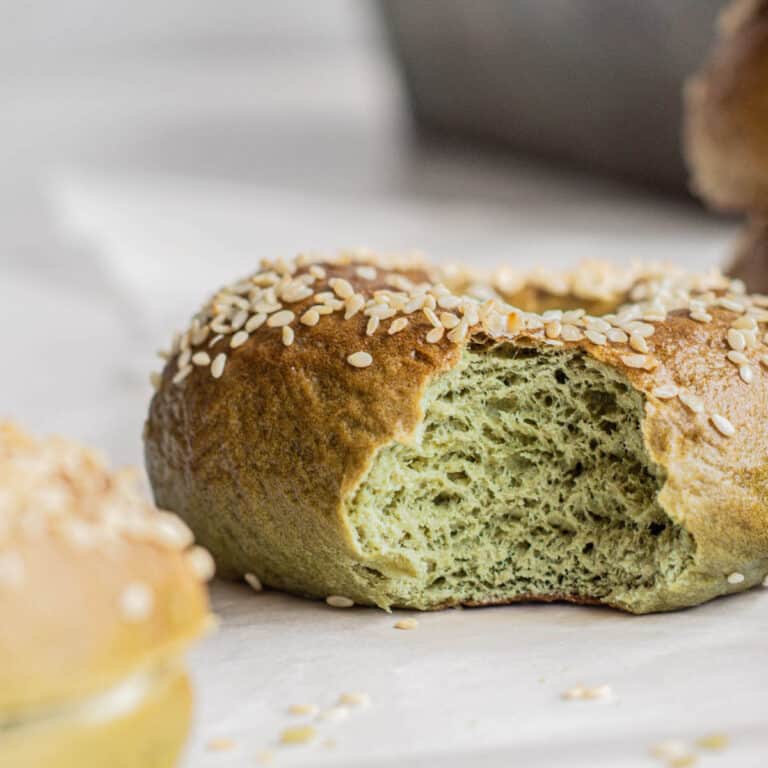
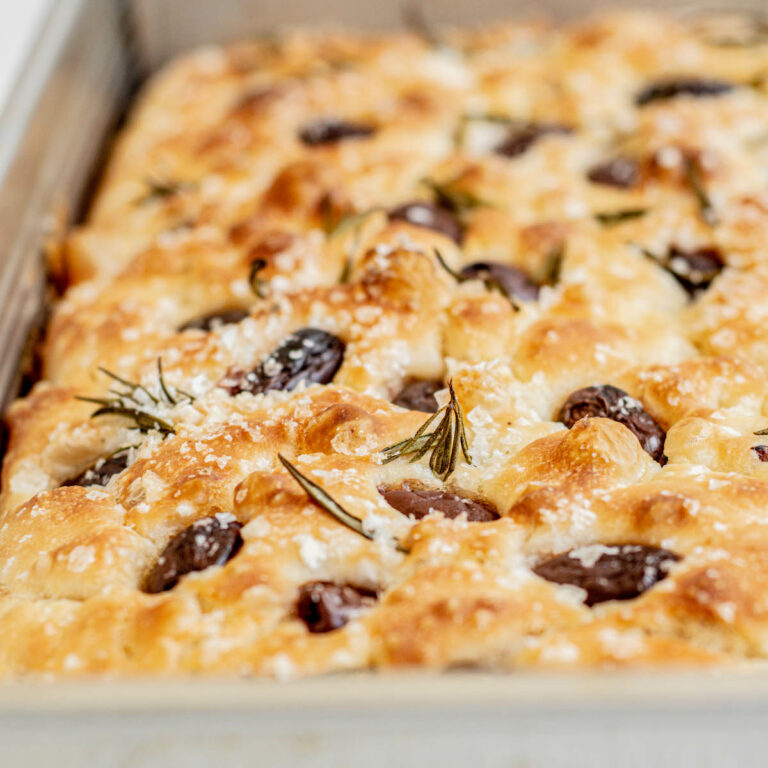
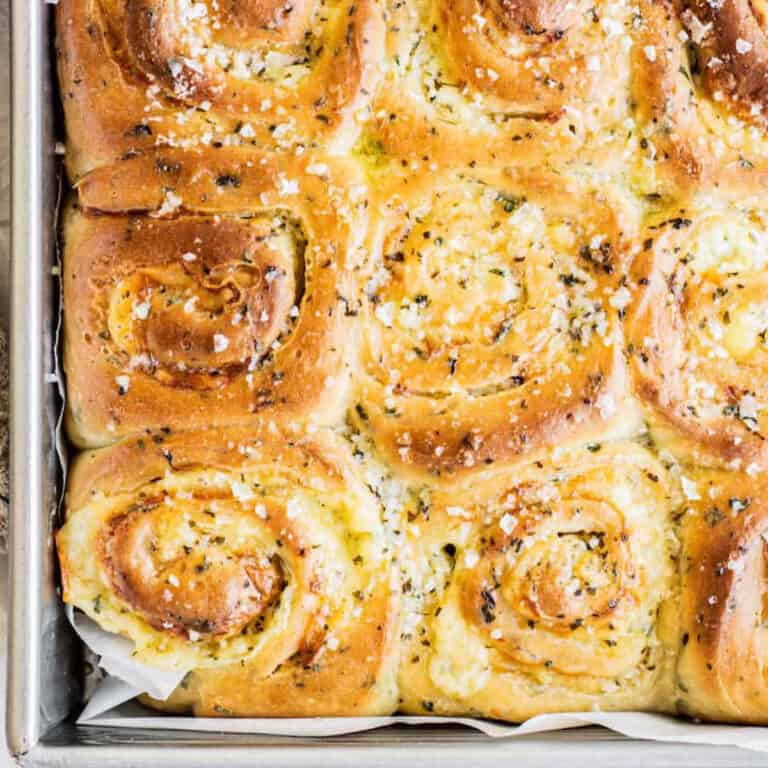
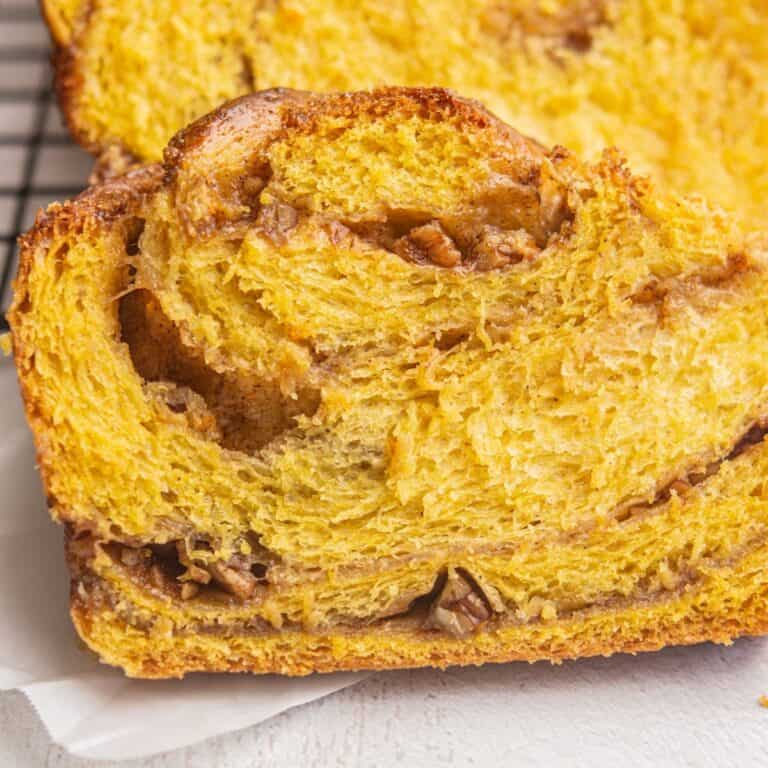
- Add-ins – Try mixing in nuts, seeds, dried fruit, or herbs for different flavors.
- Different flours – Whole wheat, rye, or spelt flour can add depth and texture.
- No Dutch oven? – Bake on a preheated baking stone or oven tray with a small pan of boiling water in the oven for steam.
More sourdough recipes
Homemade Sourdough Bread
Ingredients
Levain
- 25 g sourdough starter
- 50 g bread flour (or all-purpose flour)
- 50 g water
Dough
- 420 g bread flour (or all-purpose flour with protein of at least 11%)
- 300 g water
- All the levain (or around 100g or 1/2 cup active starter)
- 8 g salt
Instructions
- In a bowl, mix together the levain ingredients until fully combined. Transfer to a clean jar, loosely cover, and leave it in a warm spot until it doubles in size.
- Once the starter has about finished rising, combine the flour and water in a large mixing bowl. Use a fork or wooden spoon to mix it roughly, then switch to wet hands and knead until no dry flour remains. Cover the bowl and let the dough rest (autolyze) for 30 minutes.
- Once the starter is ready, add it to the dough and salt. Use wet hands to squish everything together until well incorporated. Then, perform some slaps and folds for a few minutes to begin developing the gluten. You can do this on the bench or in the bowl. To perform it, take the dough, lift it, and slap it onto the work surface, then fold it over itself. Repeat this process to build strength. It can also be done in a bowl using a scooping motion to repeatedly stretch and fold the dough.
- Over the next three hours, perform more stretches and folds every 30 minutes to build strength. You can do traditional stretches and folds or slaps and folds. See the above post for different folding techniques.
- After three hours, transfer the dough to a clean bowl and let it finish bulk fermentation for another 1-2 hours, depending on temperature. The dough should be jiggly when the bowl is shaken, rising by around 40-50%, with visible bubbles forming on the surface. At around 76°F/25°C, it takes about 1 ½ hours, but in cooler temperatures, it will take longer, and in warmer temperatures, it will be shorter. Watch the dough and not the clock.
Shaping the Dough
- Shape the dough into a bâtard or a round (boule) depending on your basket.
For a bâtard:
- Lightly flour the bench and tip out the dough.
- Pre-shape into a round and let it rest for 20 minutes.
- Flip it smooth-side down and gently stretch it into a rectangle.
- Fold the top third down and the bottom third up like a pamphlet.
- Starting from the short side, roll it up tightly into a log.
- Pull the dough towards you on the bench to create surface tension. Place it seam-side up into a floured, lined banneton.
- Cover the dough with a kitchen towel and cold-proof in the refrigerator for 8-24 hours.
Baking
- When ready to bake, preheat the oven and a Dutch oven to 450°F (230°C) for at least 30 minutes.
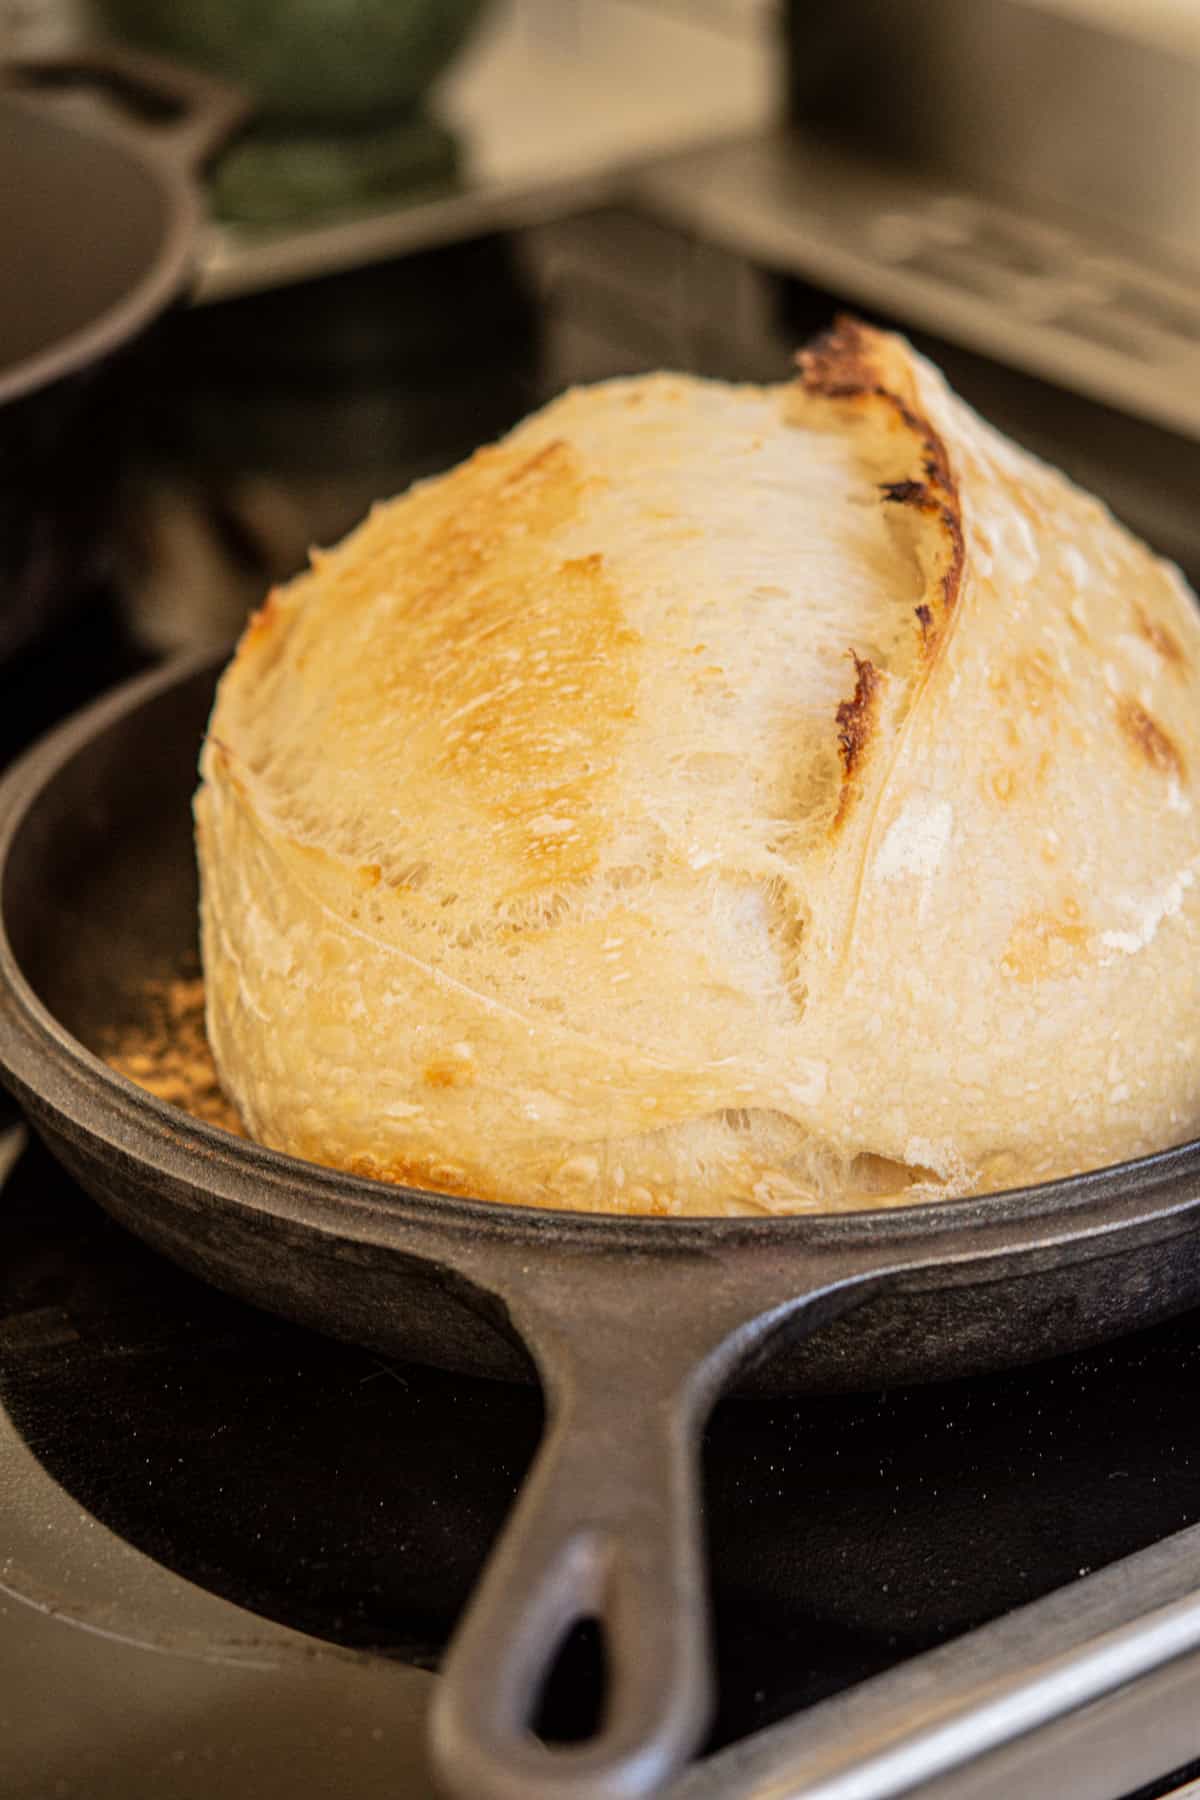
- Remove the hot Dutch oven and generously flour the bottom. Take the dough from the fridge and carefully flip it out of the basket into the Dutch oven. If using a large pot instead, you can tip the dough onto parchment paper first. This makes it easier to lower into the pot.
- Score the dough using a razor blade or sharp knife. Cover with the lid and bake for 20 minutes. Then, remove the lid and bake uncovered for another 20 minutes, or adjust based on your oven. Some ovens run hotter and may need less time, while others need a few extra minutes.
- Once baked, let the bread cool completely for at least two hours before slicing. This allows the crumb to set properly and prevents it from turning gummy.
Notes
Tips
- Use an active starter – It should be bubbly and active and not too acidic and runny.
- Don’t rush the process – Longer fermentation builds better flavor.
- Score confidently – A clean, deep score helps the bread expand in the oven.
- Cool completely before slicing – Cutting too early can make the crumb gummy.


Do you have a wholewheat flour recipe that you could share, preferably 100% wholewheat, please?
Hi Amanda!
I don’t currently have a 100% whole wheat sourdough loaf on the site yet, but it’s definitely on my list to develop. Whole wheat behaves quite differently from white flour, so it usually needs more water. Whole wheat flour absorbs more water than white flour, so you’ll usually need to increase hydration. It also ferments a bit faster, so keep an eye on the dough during bulk fermentation as it can overproof more easily. In the meantime, you can adapt my recipe by replacing 50-75% of the flour with whole wheat and increasing the water by about 5-10%. That usually gives a really nice balance of flavor and texture.
If you’re wanting to try 100% whole wheat, a good starting point would be around 80-85% hydration with strong whole wheat flour. 🙂