
Feeding Sourdough Starter – A Complete Guide
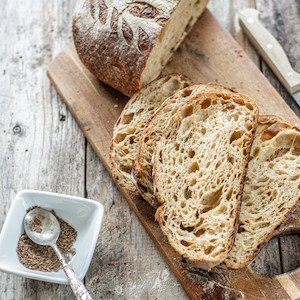
This sourdough starter feeding guide shows how to create and maintain a sourdough starter to make successful sourdough recipes.
Understanding what sourdough starter is can really help because it’s a living ingredient! A sourdough starter is a mix of wild yeast and bacteria that feed off flour and water. When you provide the right environment and regular food, these organisms grow and thrive. When your starter is mature and active, the yeast is what makes your bread rise by releasing carbon dioxide. The bacteria also produce carbon dioxide (but less of it) and are responsible for the tangy flavor through the production of lactic and acetic acids.
It’s important to build up a strong yeast colony. This takes time but is key to great sourdough
Ingredients
To create a new starter you need:
- flour + water.
Use unbleached all-purpose flour or bread flour for this process and save the nicer flour for the actual bread baking. Rye flour can be used in starter creation as this can make the starter appear active faster. However, this is often due to extra bacterial action. This can look bubbly and active but doesn’t necessarily mean your starter is ready to go.
The bacteria grow much faster than the yeast. Because the bacteria also produce a little carbon dioxide, this can create bubbles in the starter very early on. However, these early bubbles do not indicate your starter is ready to bake.
I personally use tap water in my starter because it works in my area. Use filtered water or bottled water if you think your water may hinder the starter process. (For example, if there are large amounts of chlorine in your water)
Ideal environment
Yeast likes warmth! Keep your starter between 21°C and 26°C (70°F–80°F). If it’s too cold, your starter may stall. Too hot, and it may become overly acidic or dormant.
Sourdough starter daily feeding ratio
This starter is made using a 1:1:1 ratio by weight (starter:flour:water), creating a 100% hydration starter. This means equal parts flour and water, measured in weight, not volume, since water weighs more than flour, volume measurements can throw things off and make your starter too runny.
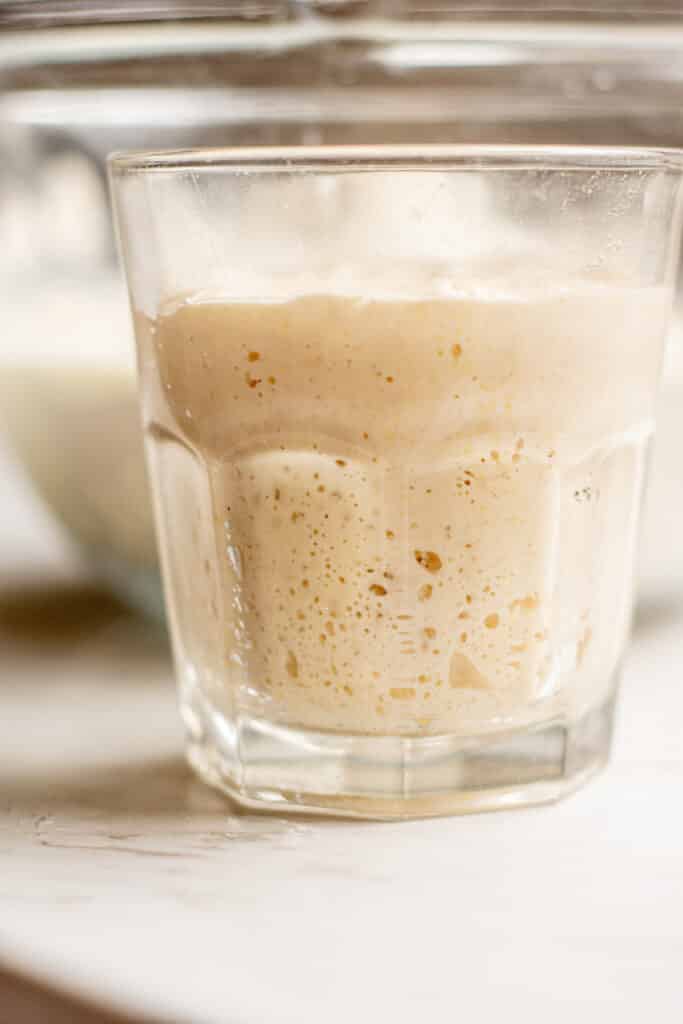
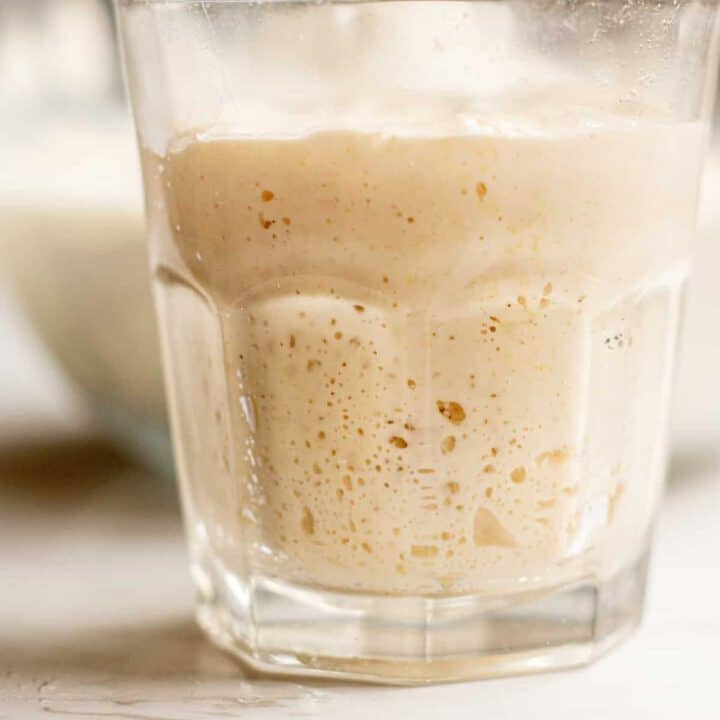
When first fed, the consistency should be like thick pancake batter. As it ferments, it becomes airy, then eventually runny once it’s passed its peak and the yeast runs out of food.
Feeding ratio examples:
- 1:1:1 – 40g starter, 40g flour, 40g water
- 1:2:2 – 20g starter, 40g flour, 40g water
Both are still 100% hydration (equal parts flour and water), but the smaller amount of starter in 1:2:2 means the rise will take longer. This is helpful for controlling timing and acidity as your starter matures. You can continue scaling this up to 1:3:3 or 1:4:4. The more fresh flour you feed relative to starter, the slower the rise.
Eventually, once your starter is well-established, you can play with hydration levels too. Reducing the water creates a stiffer starter, which ferments more slowly and holds more strength. It’s great for enriched doughs like sourdough brioche. If you’re in a warm climate and your starter is racing through feedings or turning runny quickly, you might find better results with a stiffer starter too.
Wait until your starter is consistently doubling in a predictable timeframe before experimenting with these variations.
Try the Sourdough Starter Feeding Calculator
If you’re not sure how much to feed your starter, this calculator will do the math for you. Just enter your current starter amount and feeding ratio (e.g., 1:1:1 or 1:2:2), and it’ll show you how much flour and water to add.
Sourdough starter consistency
When a sourdough starter is first fed at 100% hydration, the texture is like a thick cake batter. As it rises it becomes light and airy. Once it has passed its peak and collapsed the sourdough starter will be runny. This is due to the acid and alcohol that have accumulated once the yeast runs out of food.
Sourdough starter and feeding schedule
Feeding schedule
A wee tip: Always transfer your freshly fed starter into a clean glass jar. Old, dried-on starter can be a such a hassle to clean! Keeping your jar clean helps you monitor your starter’s activity clearly and makes cleanup much easier.
Day 1 & 2:
- Mix equal parts flour and water (e.g., 40g each).
- On Day 2, add the same amount again. Don’t discard yet.
Day 3 onward:
- Start daily 1:1:1 feedings every 24 hours.
- Discard all but a small amount and feed with equal weights of flour and water.
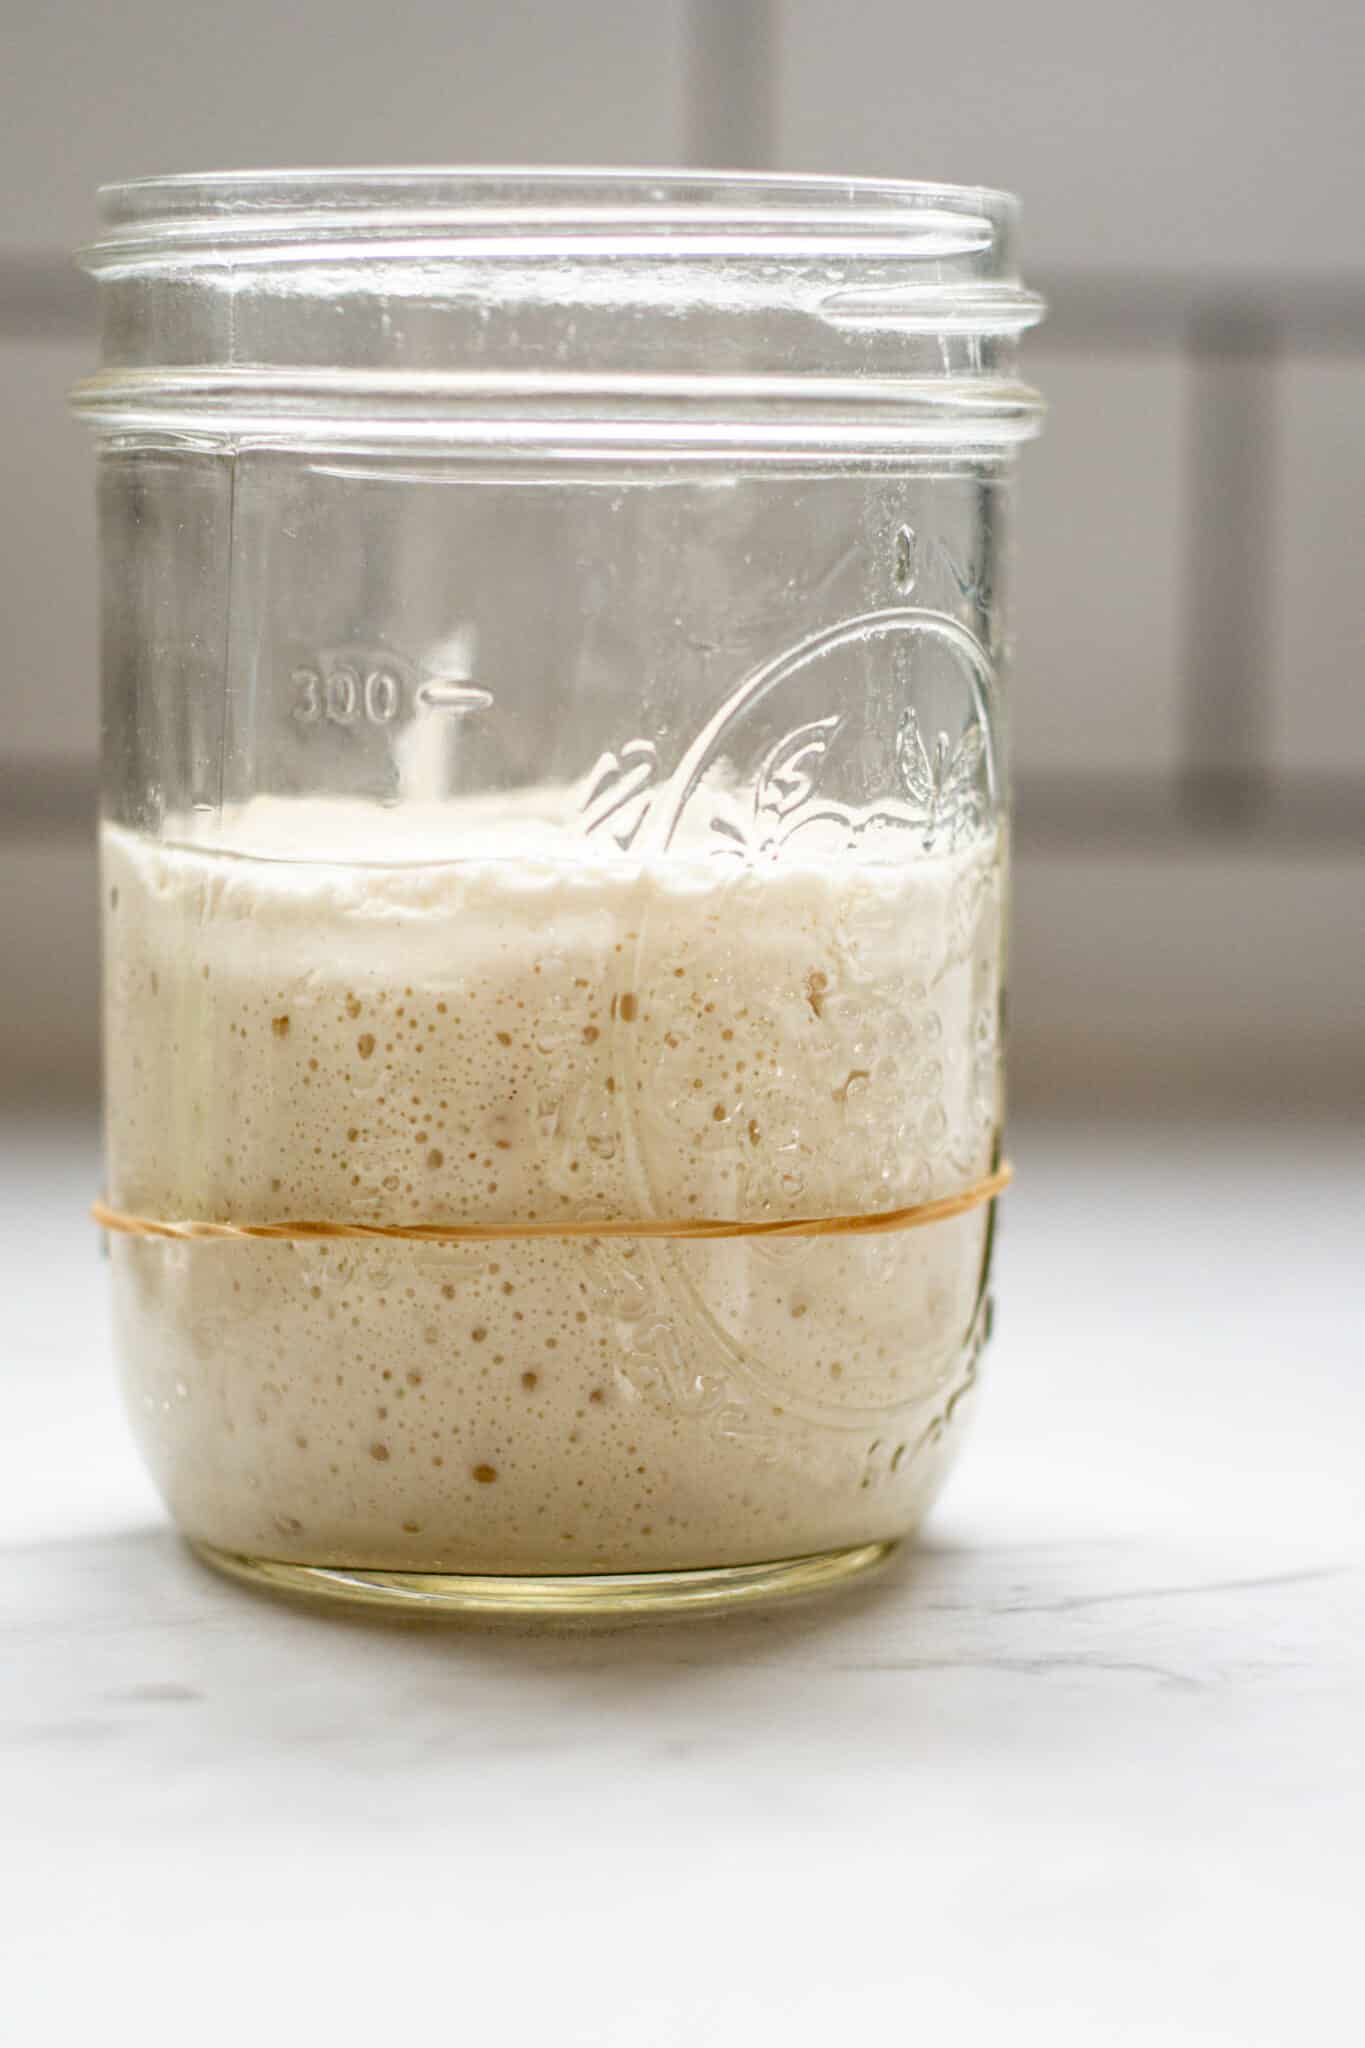
- Track the rise using a rubber band on the jar.
Days 4 & 5:
- You might start seeing bubbles and a tangy smell, but don’t worry if not.
- The starter may be runny at feeding time. This is normal and caused by acid from the bacteria.
- If your starter is separating or forming liquid (hooch) on the top or bottom, it could be too warm. Try increasing the feedings to every 12 hours.
Days 6 & 7:
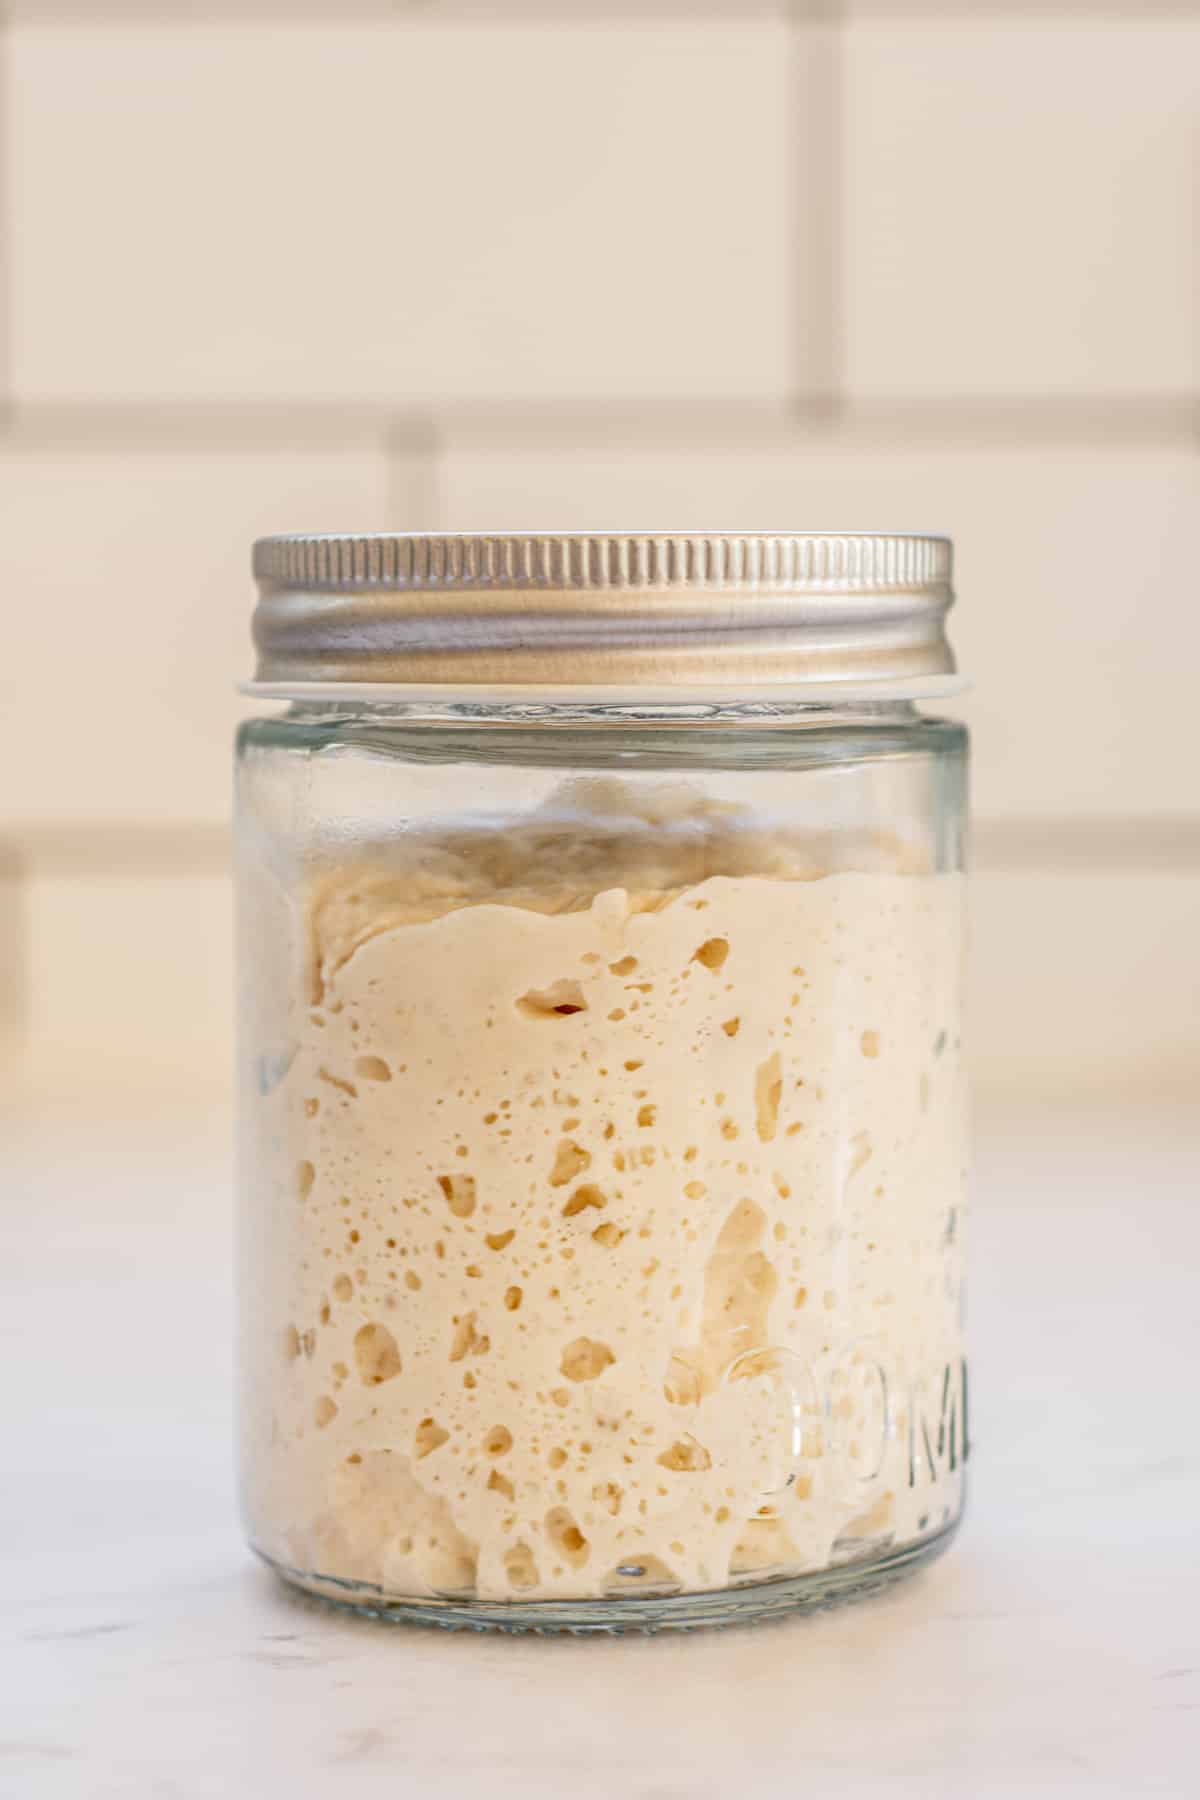
- If it doubles in 6–8 hours after a 1:1:1 feed, try switching to 12-hour feedings.
- If it doubles in 4–6 hours on 12-hour feedings, increase the ratio to 1:2:2.
- If it doubles in 6 hours or less with the 1:2:2 ratio in a warm spot, your starter is ready to bake with!
Why discard?
Discarding helps manage starter size and keeps your yeast well-fed. If you keep feeding the full amount without discarding, you’ll go through huge amounts of flour really fast. Save your discard in the fridge to use in sourdough discard recipes.
Maintaining your starter
- Keep it active with regular feedings (1–2 times daily if at room temperature, or at a higher feeding ratio to slow down the rise).
- Use it at its peak (after doubling but before collapsing).
- Too much acid buildup can ruin gluten and make dough hard to work with.
Storing your starter
In the fridge:
- Feed it before storing (1:1:1 if using soon, or 1:2:2 for longer storage).
- It can last ages. In my experience, I’ve kept mine in the fridge for weeks with no issue. There’s often a lot of grey hooch (liquid) buildup on top which I just pour it off and feed the starter twice before using it to get it bubbly and active again. This will reduce the acid that will have built up after refrigerating.
Lid on or off?
- At room temp: Use a loose lid or cloth so gas can escape.
- In the fridge: A sealed lid is fine.
Starter not rising? Check out these common issues with sourdough starter post.
Happy baking!
Sourdough Recipes to try
- Easy sourdough bagels
- Sourdough cinnamon rolls
- Ciabatta sourdough sandwich buns
- Sourdough banana bread
- Sourdough Lemon Poppy Seed Muffins
Sourdough Starter Recipe
How to make a sourdough starter, step-by-step.
Ingredients
- Unbleached all-purpose flour
- Filtered water
Instructions
- Day 1: combine 40 grams of flour and 40 grams of water in a jar and stir very well. Leave in a warm place, out of direct sunlight, covered with a loose lid or cloth.
- Day 2- Feed your starter 40 grams of flour and 40 grams of water. This means, adding in a fresh 40g of flour and 40g of water and mixing it really well with yesterday's mix.
- Day 3: Pour 40g of the starter into a fresh jar and feed it 40 grams of flour and 40 grams of water. (A ratio of 1:1:1.) Discard the rest.
- Day 4: Pour 40g of the starter into a fresh jar and feed it 40 grams of flour and 40 grams of water. Discard the rest.By days 3 and 4, your starter might be bubbling and have a slightly sour smell.
- Day 5-10: each day pour 40g of the starter into a fresh jar and feed it 40 grams flour and 40 grams water. Discard the rest.
- If your starter is doubling easily by day 6 or 7, within 6 hours of feeding, you can start feeding it 1:1:1 twice daily.
- By day 10 it might be ready to use, though it could be earlier. Test to see if your starter Is ready by feeding it at a 1:2:2 ratio and seeing if it doubles within 6 hours. For example, 30g starter, 60g flour, and 60g water. If it doubles within 6 hours, when kept In a warm spot it's ready to use.
Nutrition Information:
Yield: 10 Serving Size: 1Amount Per Serving: Calories: 46Total Fat: 0gSaturated Fat: 0gTrans Fat: 0gUnsaturated Fat: 0gCholesterol: 0mgSodium: 1mgCarbohydrates: 10gFiber: 0gSugar: 0gProtein: 1g
This is an informational estimate only. I am not a certified Dietitian or Nutritionist

Hi there, just wondering if you’ve ever created a gf sourdough. I would be very interested in your results.
I haven’t sorry!
Help.. I thought the 1.2.2 ration was 20g starter and 40g of flour and water? In day 10 you suggest a 1.2.2 to test with that example of 30g starter and 60g flour and water. I am confused on what the 1.2.2 should be. Thanks!
Heya, 1:2:2 means 1 part, 2 parts 2 parts. So, 30g starter and 60g flour and 60g water is at a ratio of 1:2:2 (the 30g is 1 part, and the 60g is doubled to make 2 parts.). This is just like 20g starter, 40g flour, and 40g water. They’re both the same ratio, just different total amounts. Hope that makes sense 🙂
Hi there! My starter looks great and I’m pretty sure it’s ready to bake with. Started the 1:2:2 ratio a couple of days ago and it more than doubled in 12 hrs. My question is, once I start using it and refrigerate the rest, you say to feed it first. Does that mean I still discard and use the same 1:2:2 ratio? Or am I just adding flour and water?? I don’t want to ruin the starter. It looks so good and bubbly!
Hey! I usually discard and feed it 1:1:1 or 1:2:2 before refrigerating :). Usually 1:2:2 for a more established starter or if I plan to leave it in my fridge for a while. It won’t look like it rises much in the fridge, so don’t be alarmed if it doesn’t look bubbly when you take it out 🙂
Good morning! So I made a loaf of bread about 2 weeks ago and it came out great! My starter has been in the fridge since because I haven’t had time to bake. It looks like it may be getting runny. Should I just add flour and water to what’s already in the jar or should I discard, feed and replace it to the fridge?
That’s normal after being in the fridge, and it can stay a long time in the fridge even when runny. You can discard some and feed it if you like though! If mine has been in the fridge for ages and it’s super runny I’ll usually give it a boost feed at room temp at 1:2:2 the day before baking with it (then when baking with it I’ll feed it again)
So is it better to use starter that’s been fed at 1:1:1 or 1:2:2? I’m guessing it doesn’t matter? Why the different feeds then?? I’ve read about 1:2:3, 1:4:4, 1:5:5!!! I do not know why all the diff ratios…🤔. Thx!!
Hey, it can all depend on your starter and environment. 1:1:1 starter (starter:water:flour) will rise the quickest because there is the least amount of new food added for the yeast and bacteria. A 1:2:2 ration(for example 20g starter:40g water: 40g flour) will rise a little slower; there is double the food added to feed the initial seed starter.
A 1:3:3 or 1:4:4 is even slower.
A 1:2:3 is a bit different because in this case, it’s 1 part starter (e.g., 20g), 2 parts water (e.g., 40g), and 3 parts flour (e.g., 60g). This will make more of a dough-like starter, and the lower amount of water will slow fermentation down. This is great if you’re in a really warm area because it can help avoid your starter becoming too acidic.
So yeah there’s lots of different ratios but it’s all really about your own environment and what works best for you! Do you want to bake soon? Feed it at a lower ratio. Do you want to bake the following morning? Feed at a higher ratio. Starter getting too acidic? Add more flour less water. stuff like that 🙂