

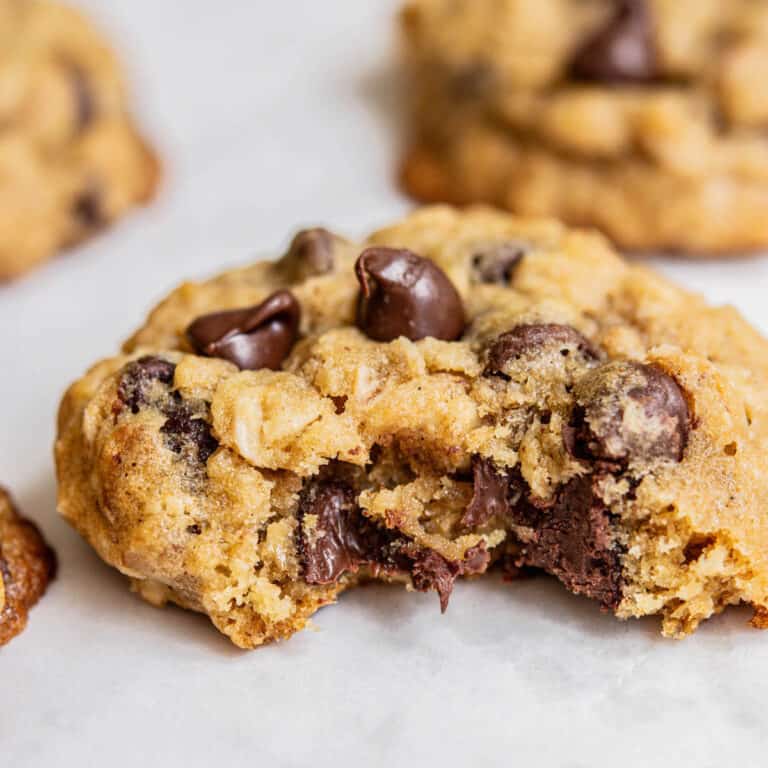
Fluffy Sourdough Cinnamon Rolls
These fluffy sourdough cinnamon rolls are topped with a delicious cream cheese icing. The slightly tangy sourdough flavor is subtle but noticeable in a great way.

These are the best sourdough cinnamon rolls, full of flavor, and can be made by hand or in a stand mixer.
Bursting with sourdough flavor, this sourdough cinnamon rolls recipe serves as the perfect weekend breakfast. They’re such a great way to use sourdough starter!
The sourdough starter
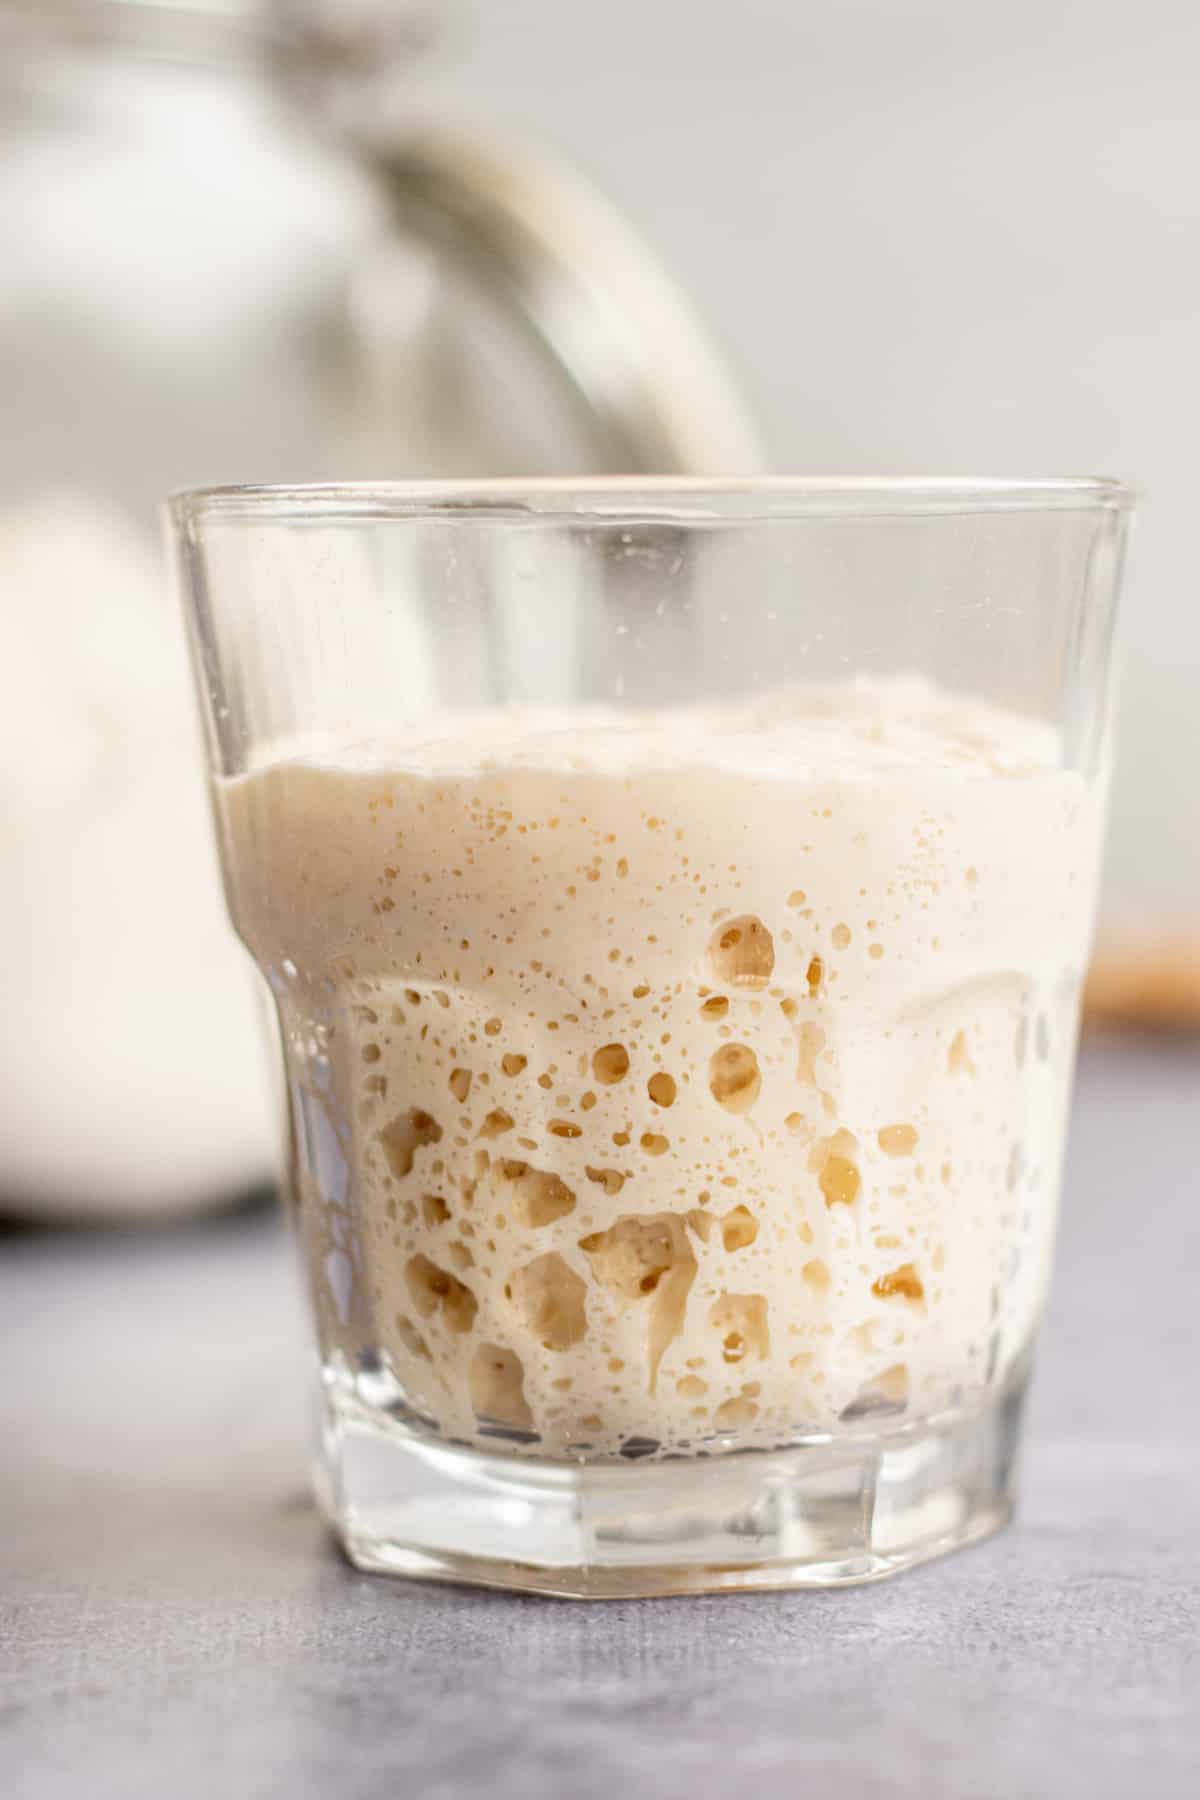
You’ll need an active sourdough starter for this recipe, not sourdough discard. The starter will be fed as a stiff starter.
Stiffer starters are slower to rise than those with higher hydration. They undertake a slow but steady growth, with less risk of peaking too early.
The sourdough dough needs extra time to rise, so the wild yeast can get to work. Adding all the extra fat to the dough can slow things down so a stiff active starter helps bring some strength to the rise.
The starter is fed (in weight) overnight. 1 part starter, 2 parts flour, and 1 part water. It makes a stiff dough ball. In the morning it will have more than doubled and will be ready to use.
If you haven’t got your own sourdough starter yet, learn how to create a sourdough starter.
Equipment
For the easiest results, use a stand mixer fitted with a dough hook. The dough is relatively sticky especially when the butter is worked in. This extra fat in the dough can make gluten development quite slow. That being said, it’s definitely possible to work these by hand. Just be prepared to use a little elbow grease!
You’ll also need a 9×13-inch baking pan or a 12-inch cast-iron skillet to bake the homemade cinnamon rolls in.
Ingredients
The ingredient amounts are listed in the printable recipe card at the bottom of this post. Here is just a rundown of what you will need with a little extra information.
The buns and cinnamon filling
- All-purpose flour. This recipe works well with a strong all-purpose flour with around 11-12% protein. You can also use bread flour.
- Sourdough starter
- Granulated sugar
- Large eggs
- Milk
- Unsalted butter. You can use salted if that’s all you’ve got, just reduce the amount of salt a little in the rest of the recipe.
- Salt
- Cinnamon
- Brown sugar
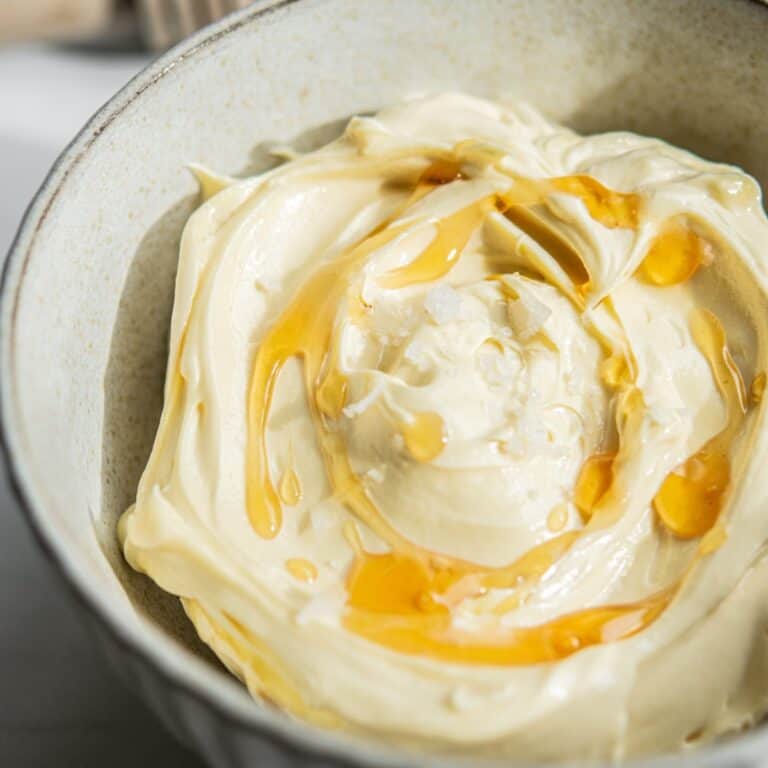
The frosting
- Cream cheese
- Powdered sugar
- Vanilla extract or paste
- Milk
Baker’s schedule
Here is a rough outline of the baker’s schedule so you can get an idea of the timings.
The evening before
- Feed the starter
Day 1
- 9 am – Mix the dough
- 9:30 am – Let it rise in a warm spot until bulked out by half (approx 4 hours depending on temperature)
- 1:30 pm – 8:30 pm – Refrigerate the dough
- 8:30 pm – Shape the sourdough cinnamon rolls and let them have their second rise overnight at room temperature
Day 2
- 9 am – The next morning bake the sourdough cinnamon rolls and frost them
Alternate timings
The above schedule is for overnight sourdough cinnamon rolls, where the rolls will proof and rise overnight. If you would rather proof them during the day and bake them in the evening, you can change the timings.
After mixing the dough on day 1 and giving it the initial dough rise, it can be placed in the refrigerator for up to 24 hours before shaping. This can give more flexibility in the timings but do bear in mind that the longer the fridge proof, the more the sourdough tang will come through.
If not left to rise overnight as in the example above, the shaped sourdough rolls will take around 8 hours to rise the next day in a warm spot.
How to make sourdough cinnamon rolls
The evening before
Mix together 30g starter with 60g flour and 30g water. Knead it for a minute or two into a stiff dough ball.
Place this into a lightly oiled jar. Brush the top of the ball dough with a little water (so it doesn’t dry out too much overnight). Loosely cover with a lid and leave it to rise for 8-12 hours until more than doubled.
The following day
Here’s what to do if using a stand mixer.
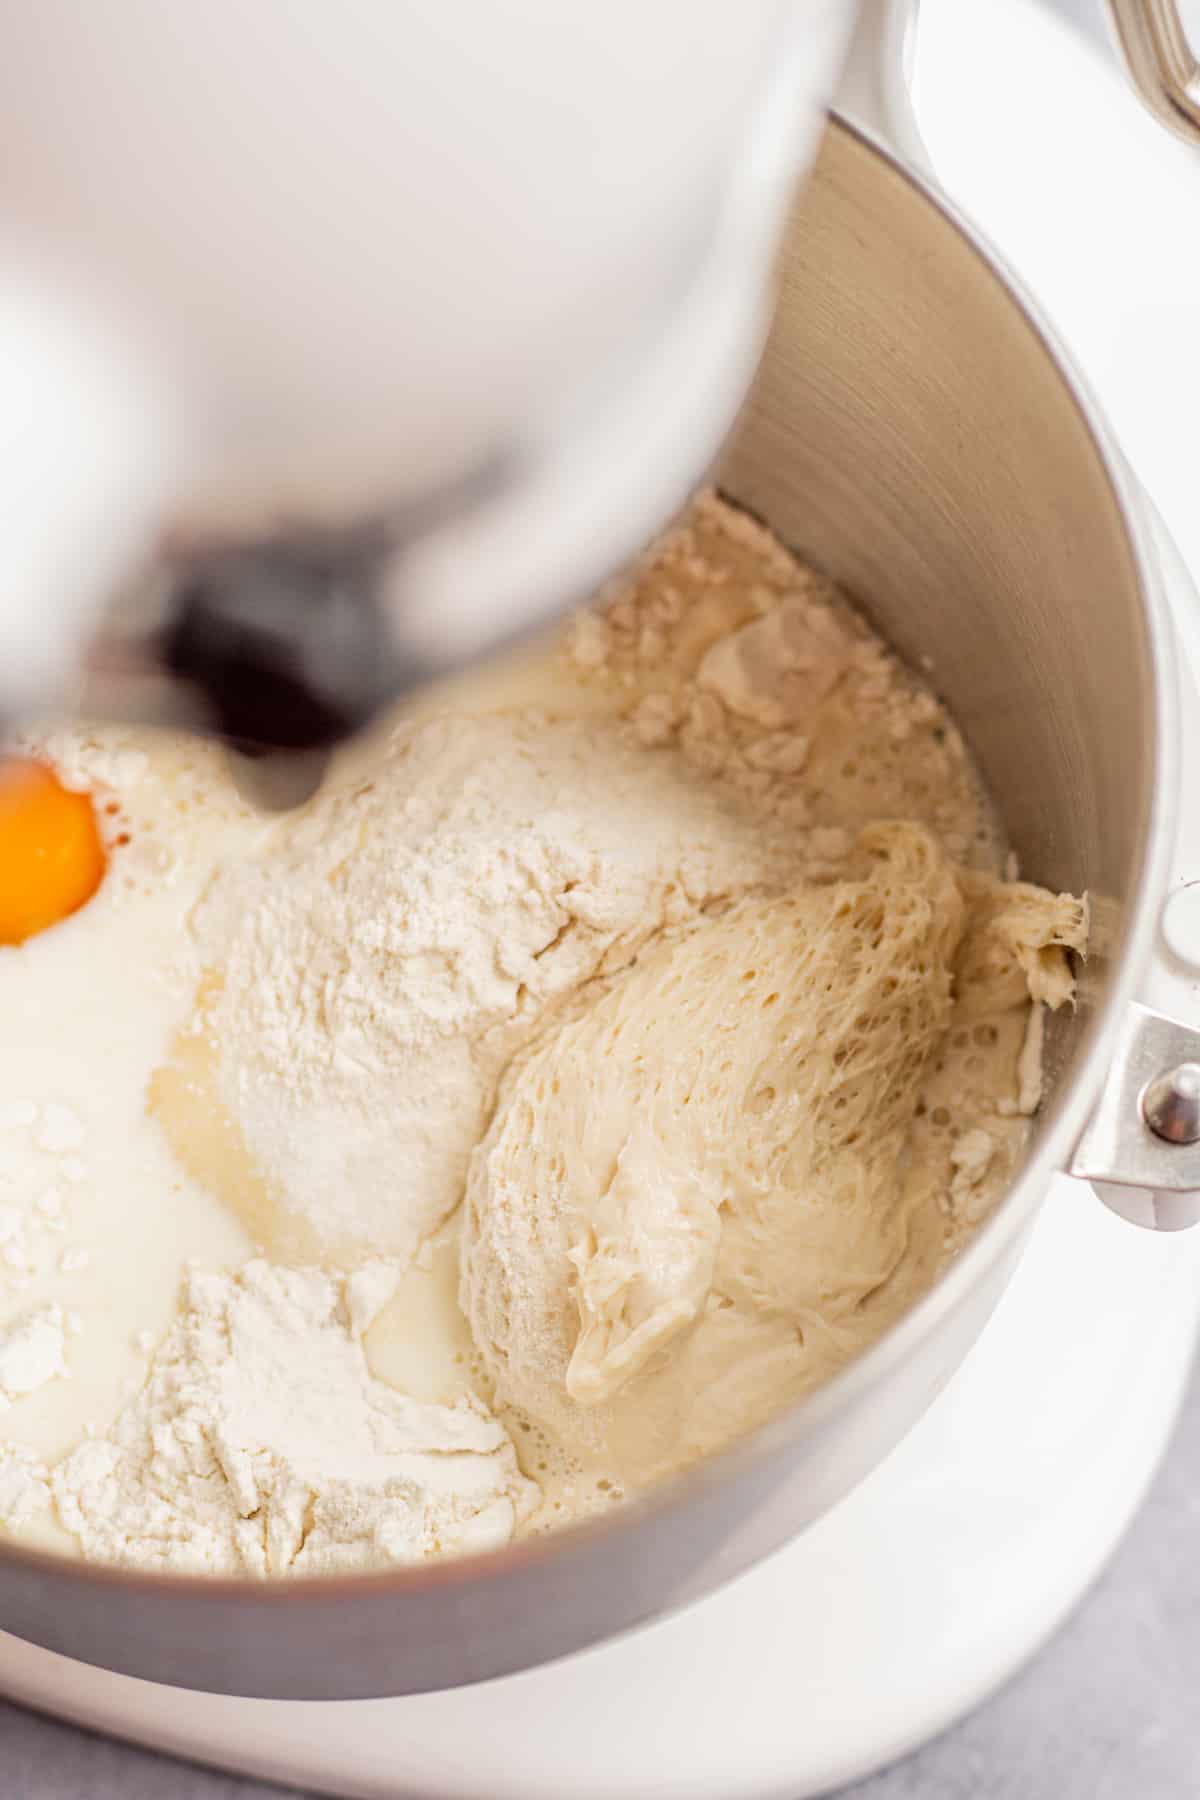
Add the flour, sugar, salt, eggs, milk, and all the stiff starter in the bowl of a stand mixer fitted with a dough hook attachment.
Turn the mixer on low and combine until it forms a thick but slightly sticky dough.
Mix this dough on medium-low speed for around 5 minutes to begin developing the gluten.
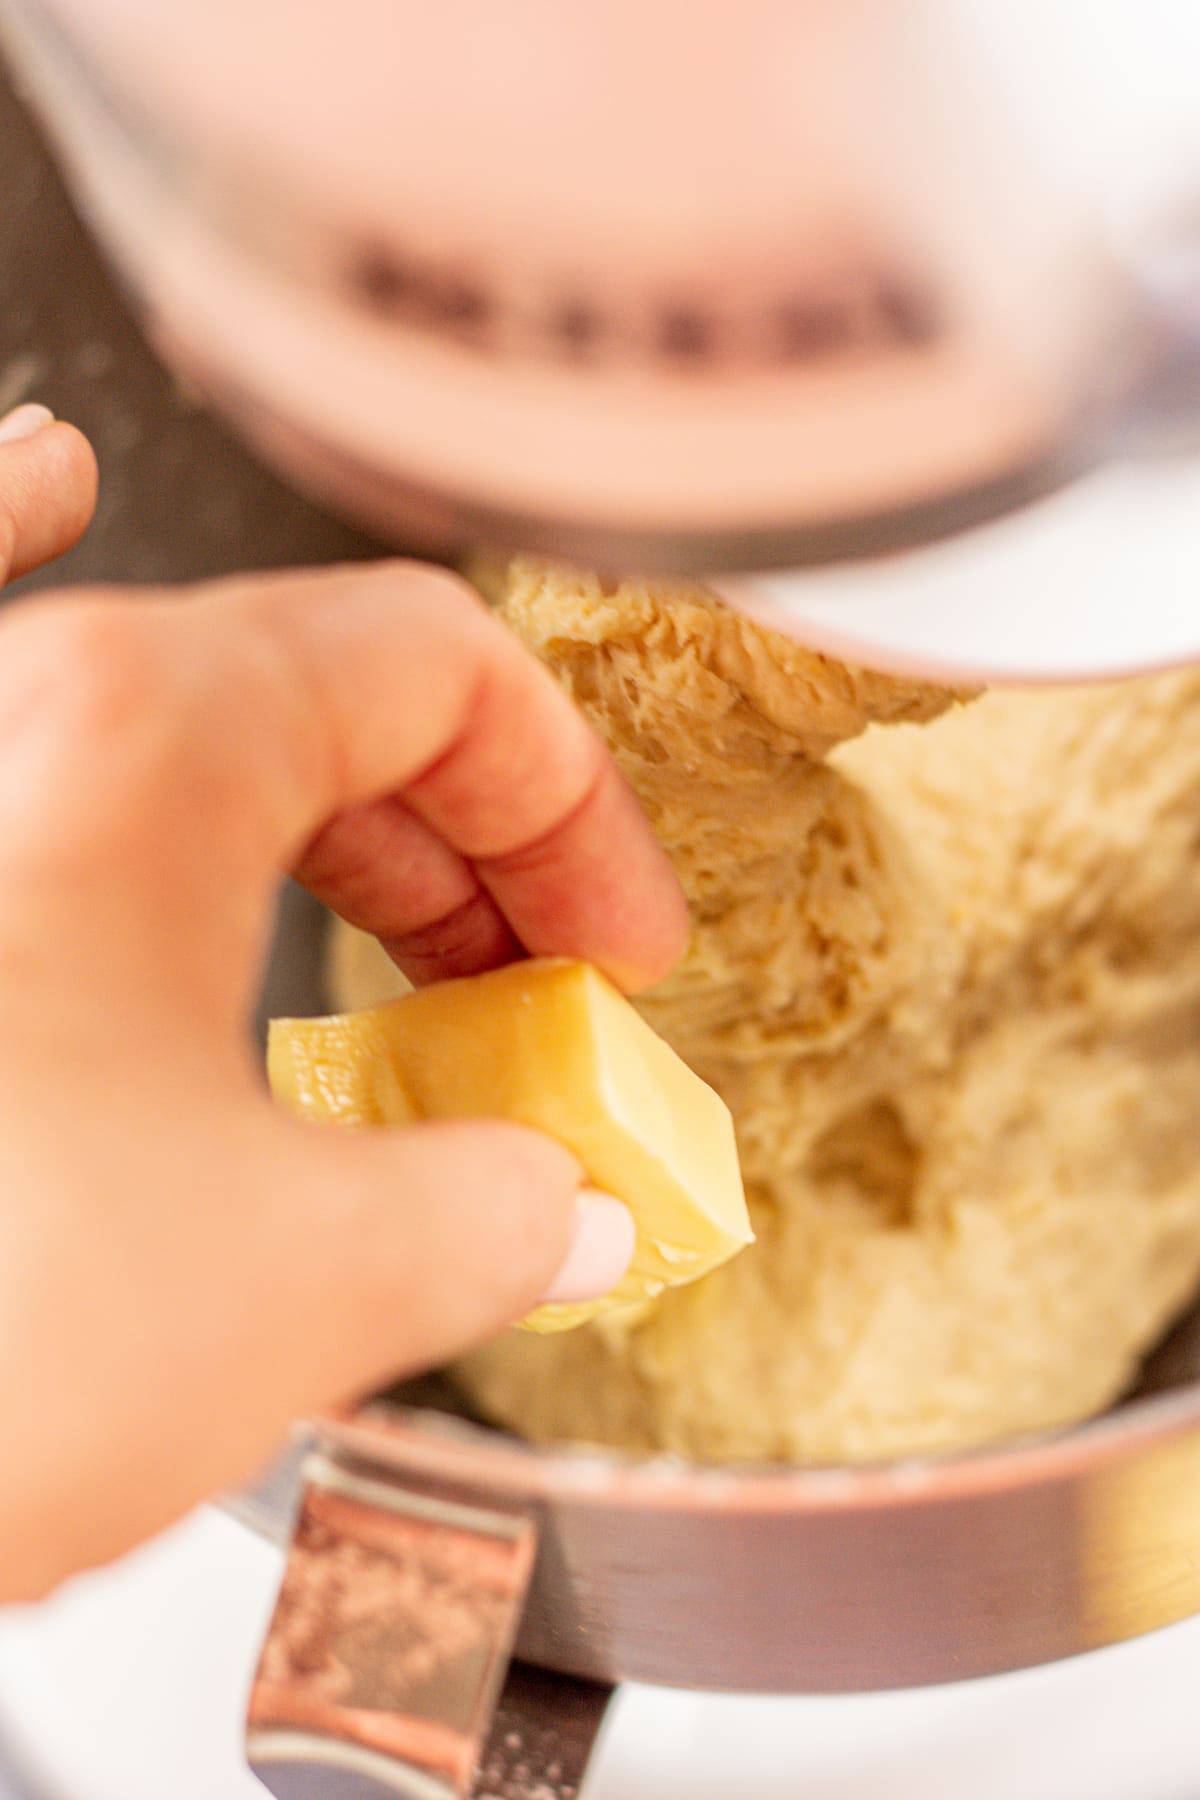
To the bowl of your stand mixer, add the softened butter, a little bit at a time. Incorporate each cube before the next addition.
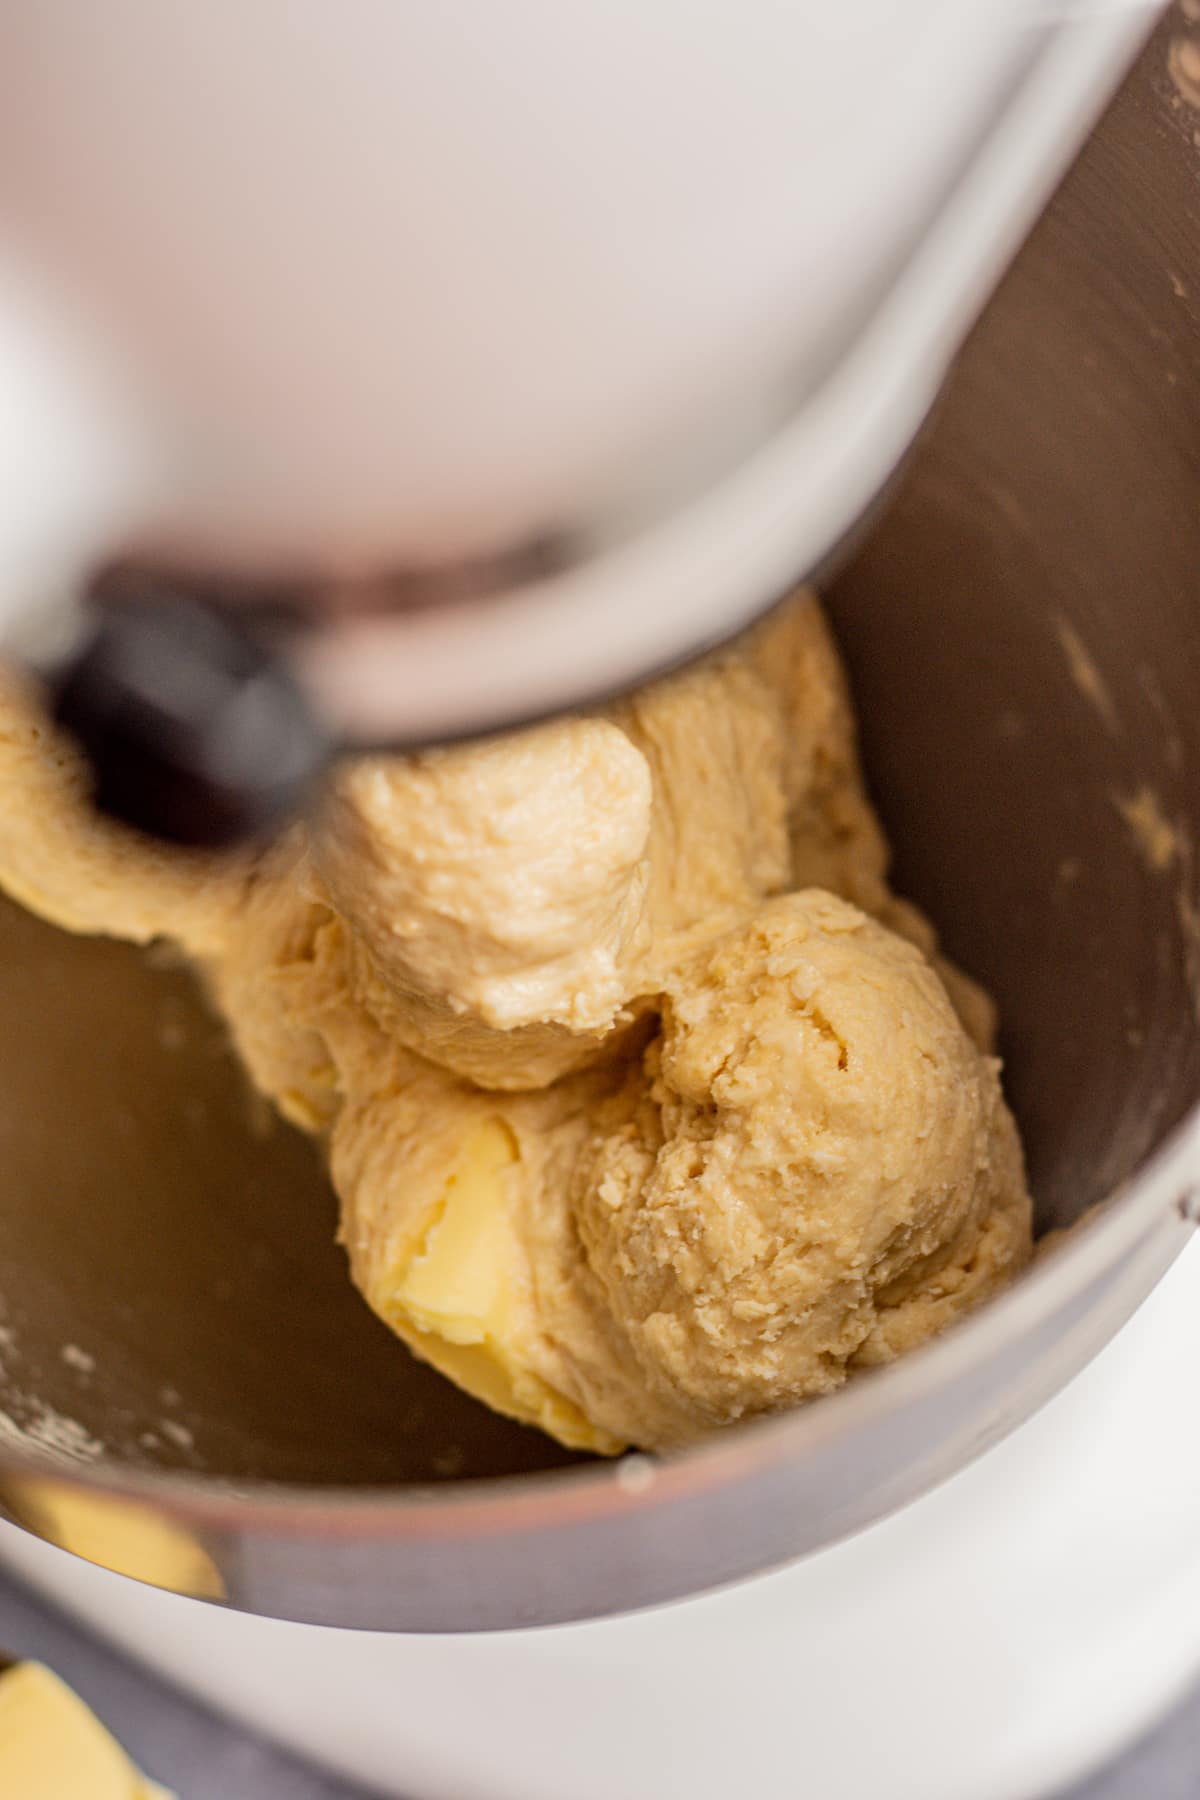
Turn the mixer on medium speed and keep it mixing for 12- 15 minutes.
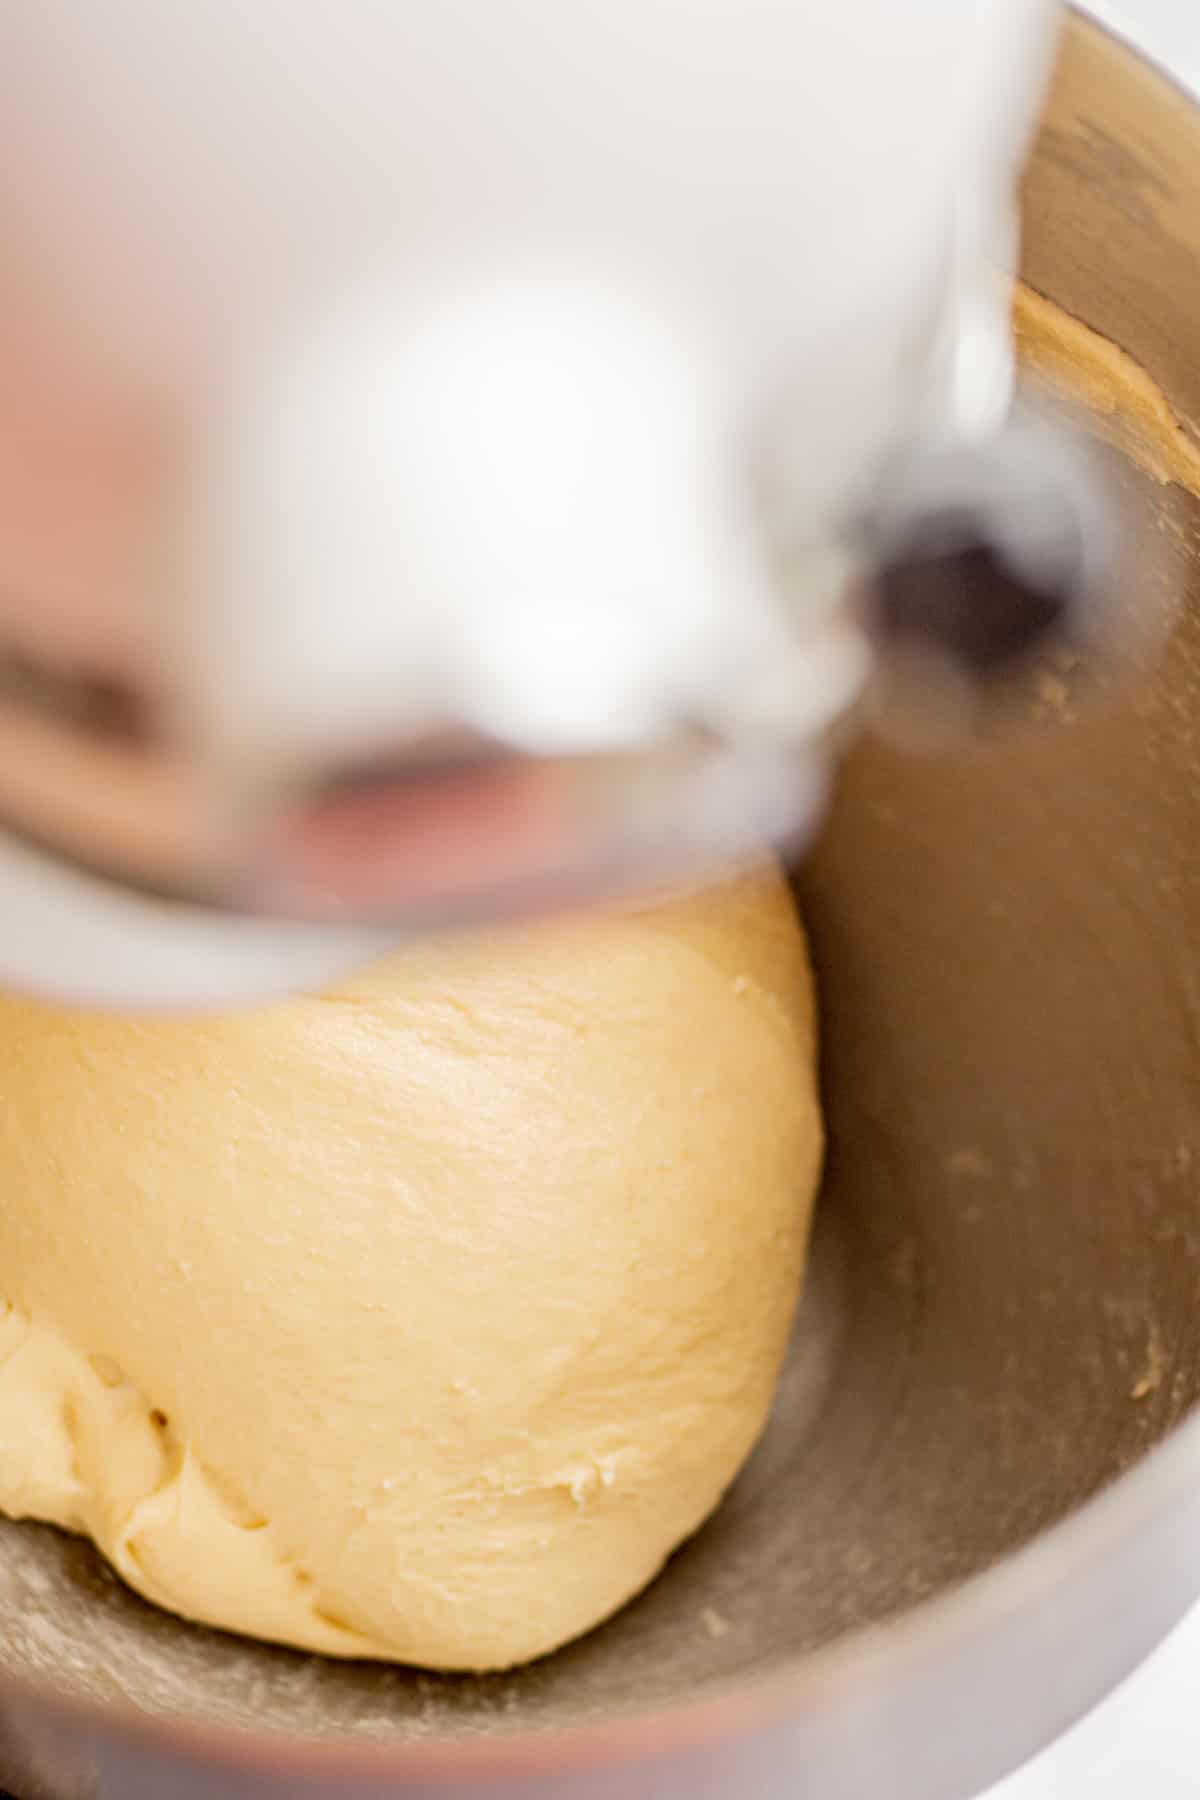
Keep mixing until the sticky and soft dough strengthens and comes together. It will pull away cleanly from the sides of the bowl.
Once finished mixing, leave the dough to rest for a few minutes, then grab a piece and see if you can stretch it out really thin, so it’s almost see-through, without it tearing. This is called the ‘window pane’ effect and shows proper gluten development.
Mixing by hand
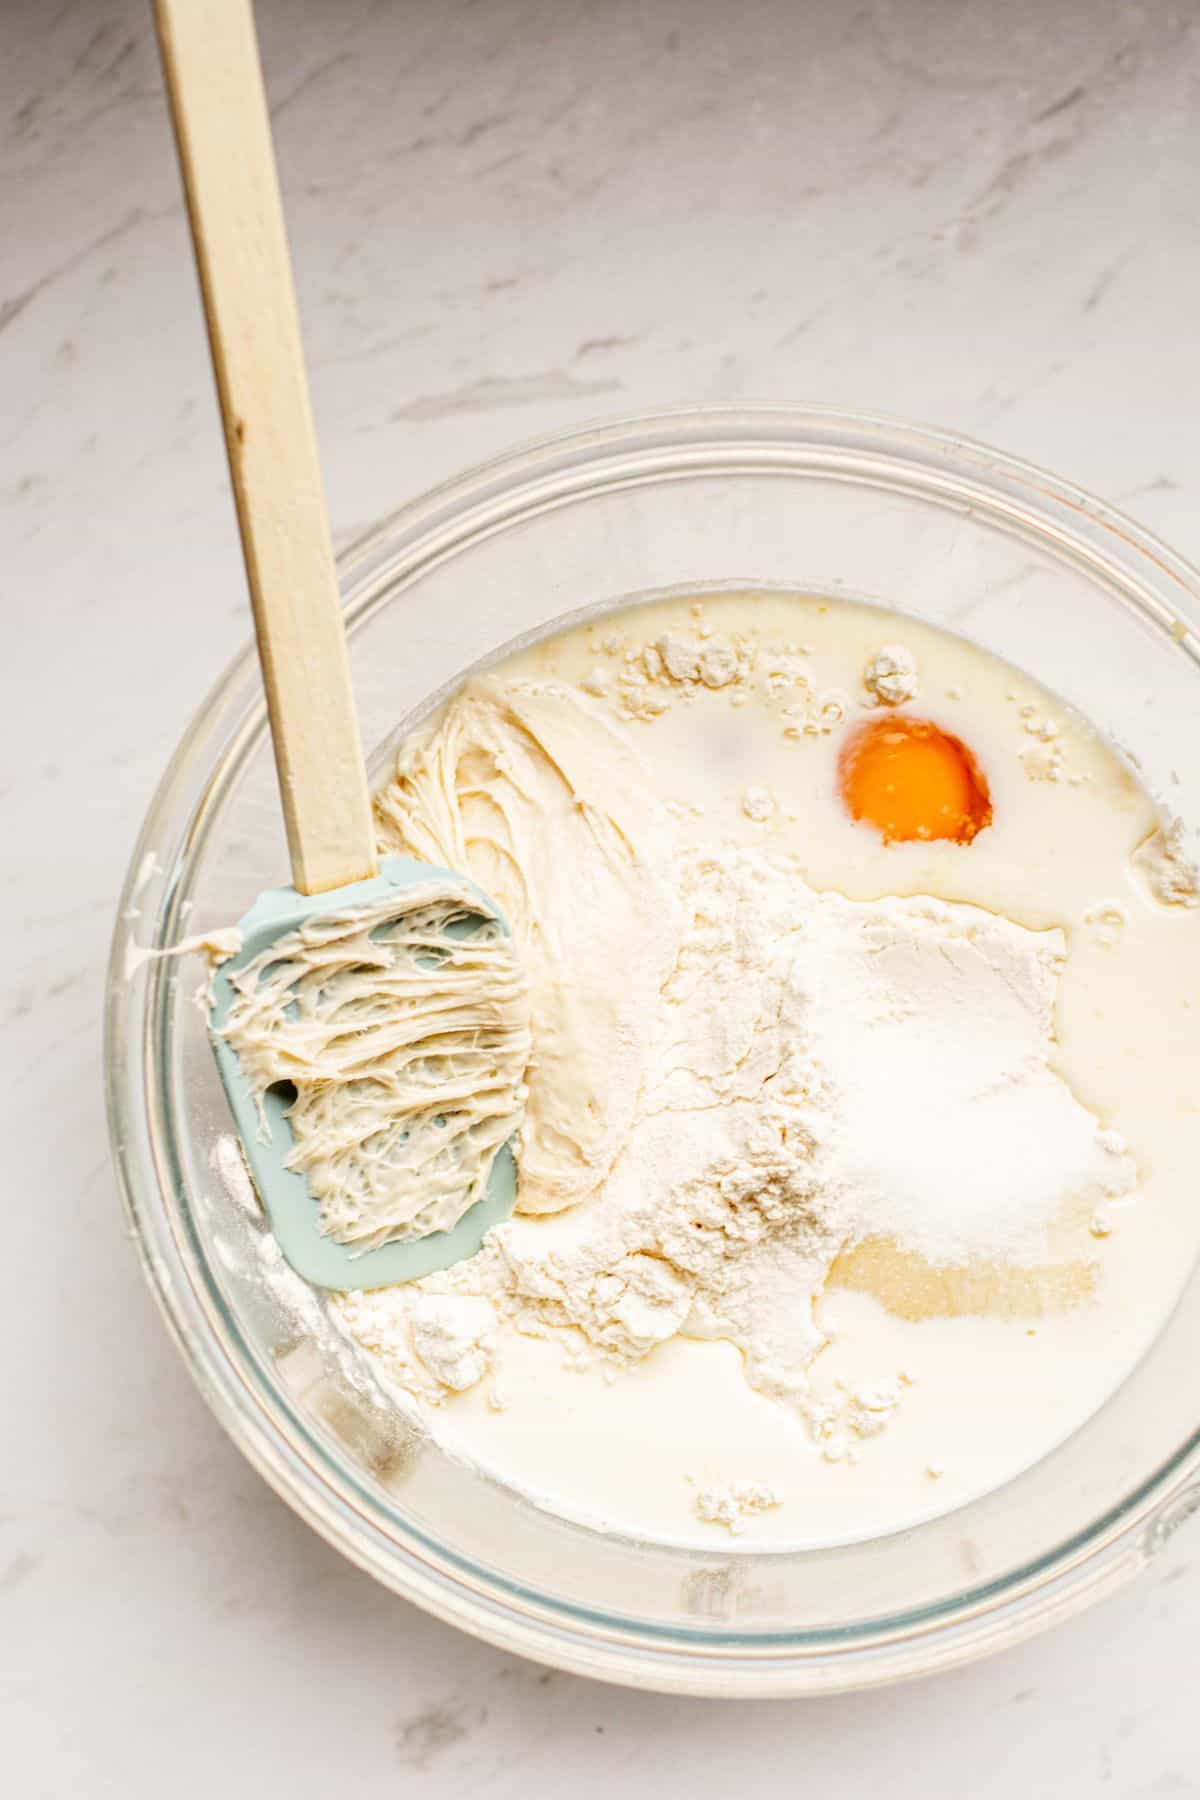
In a large bowl, add the flour, sugar, salt, eggs, milk, and the ripe sourdough starter.
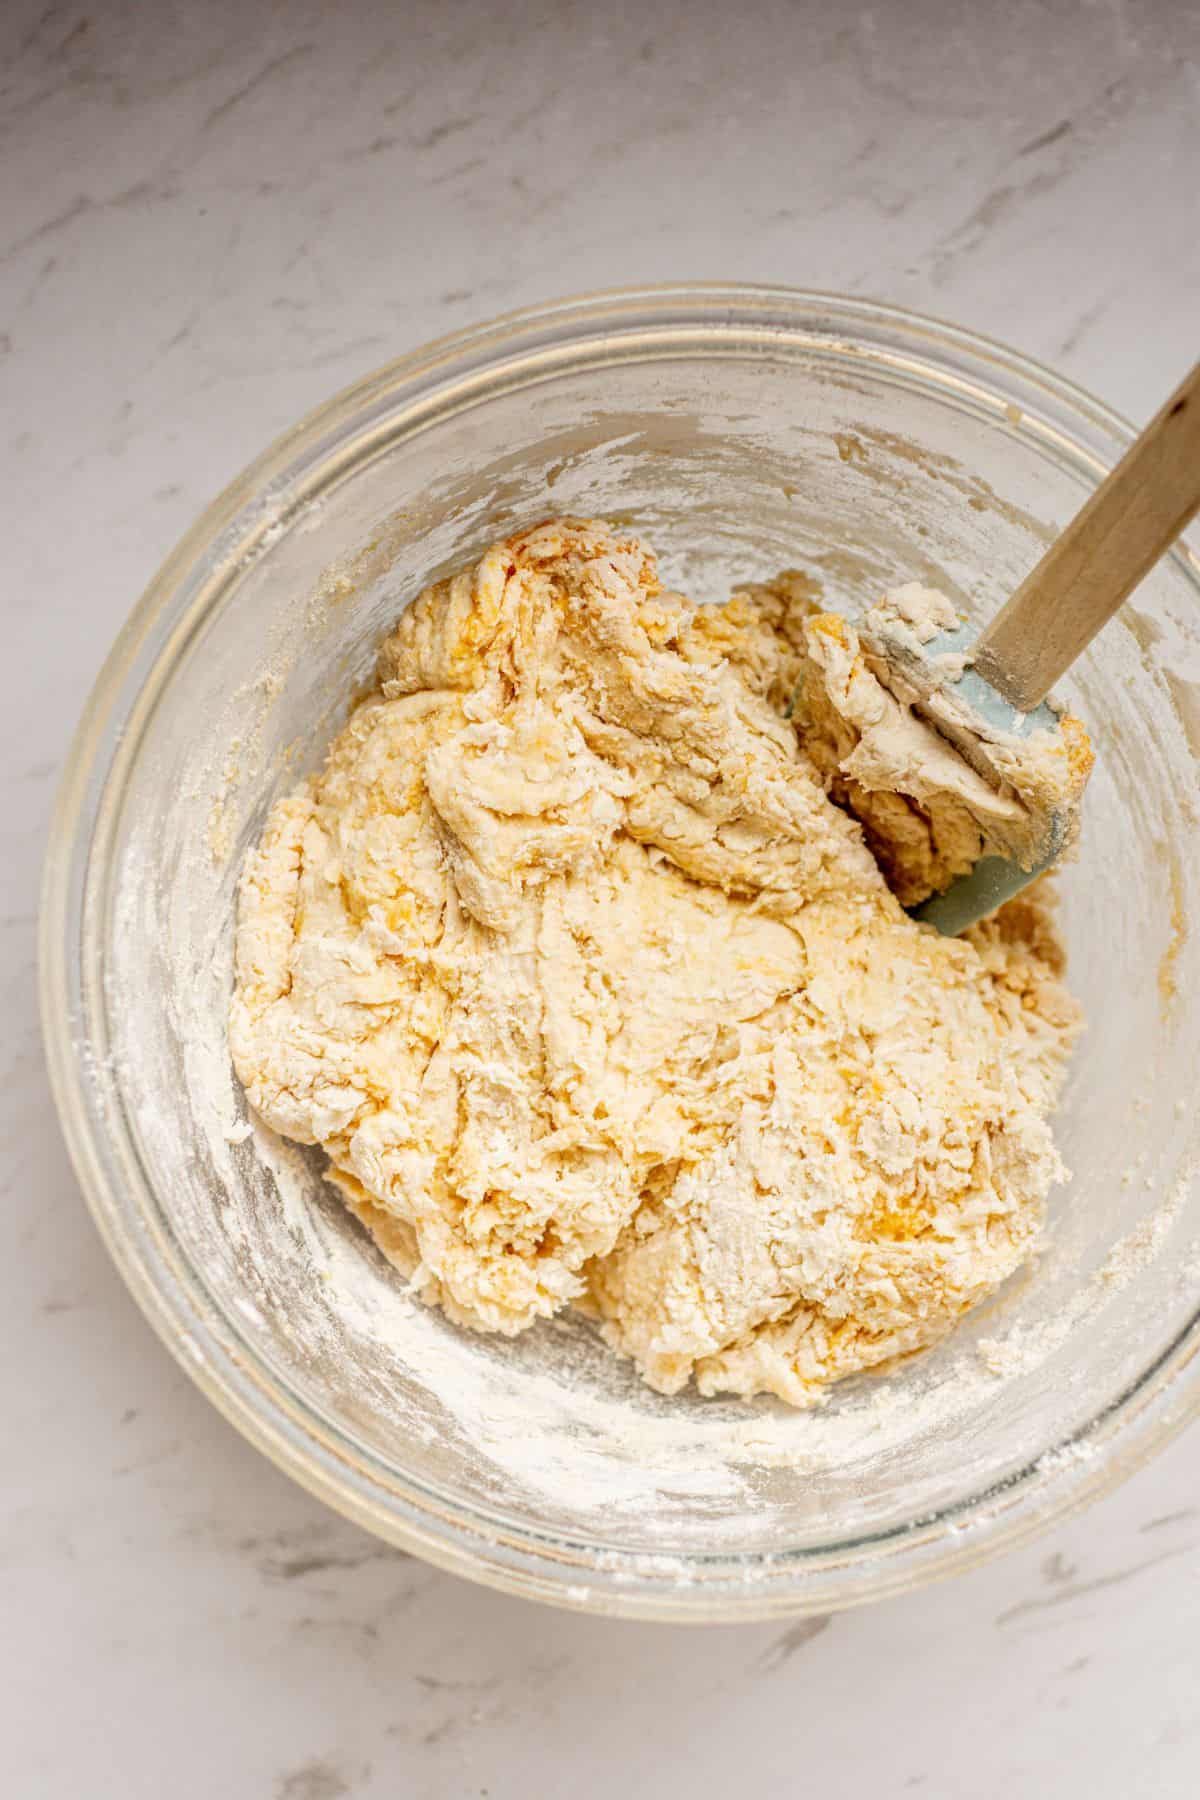
Use a spatula or wooden spoon to mix it into a shaggy dough. Tip the dough onto a floured work surface and knead it for 5 minutes to begin developing the gluten.
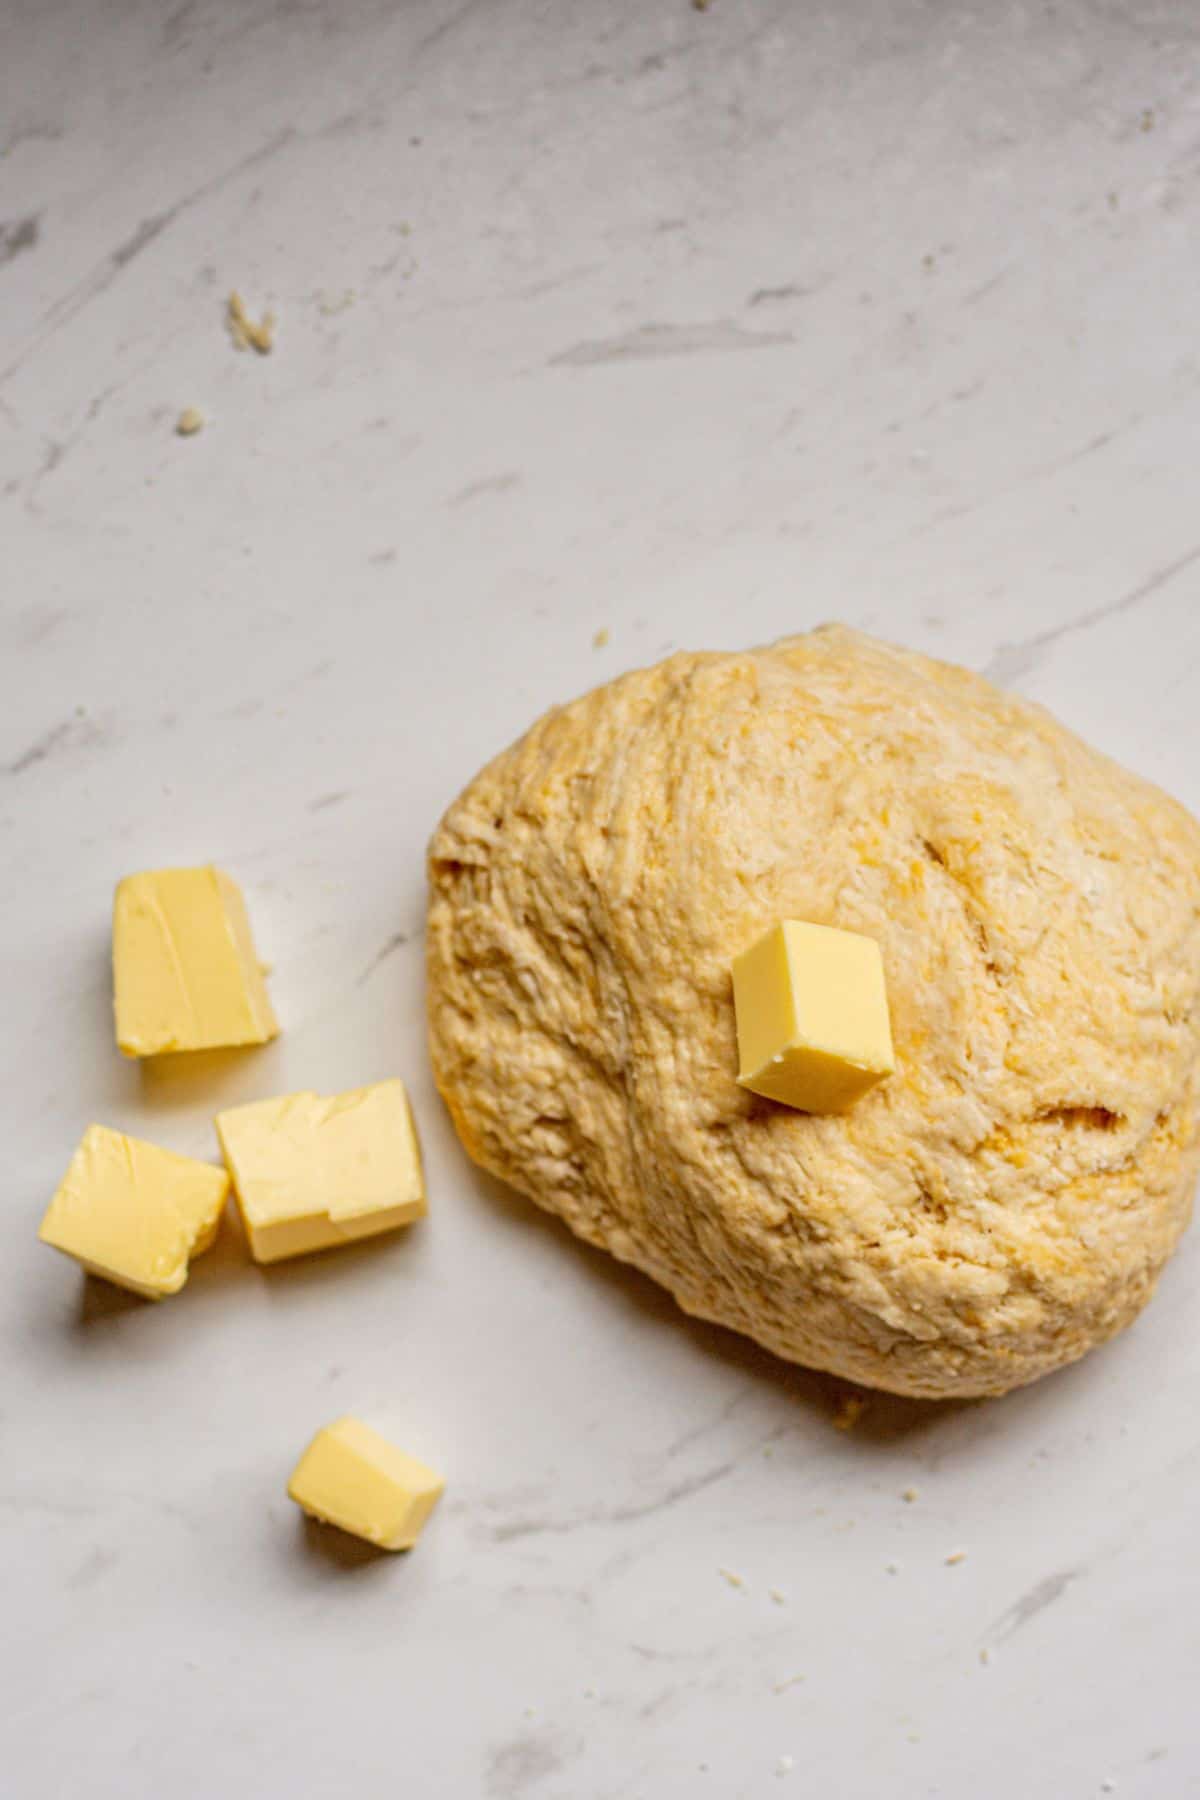
Begin to knead in the butter, a few cubes at a time. The butter is going to make the dough very sticky.
Slap and fold the dough on the bench to create strength. Slap it down, and fold it over.
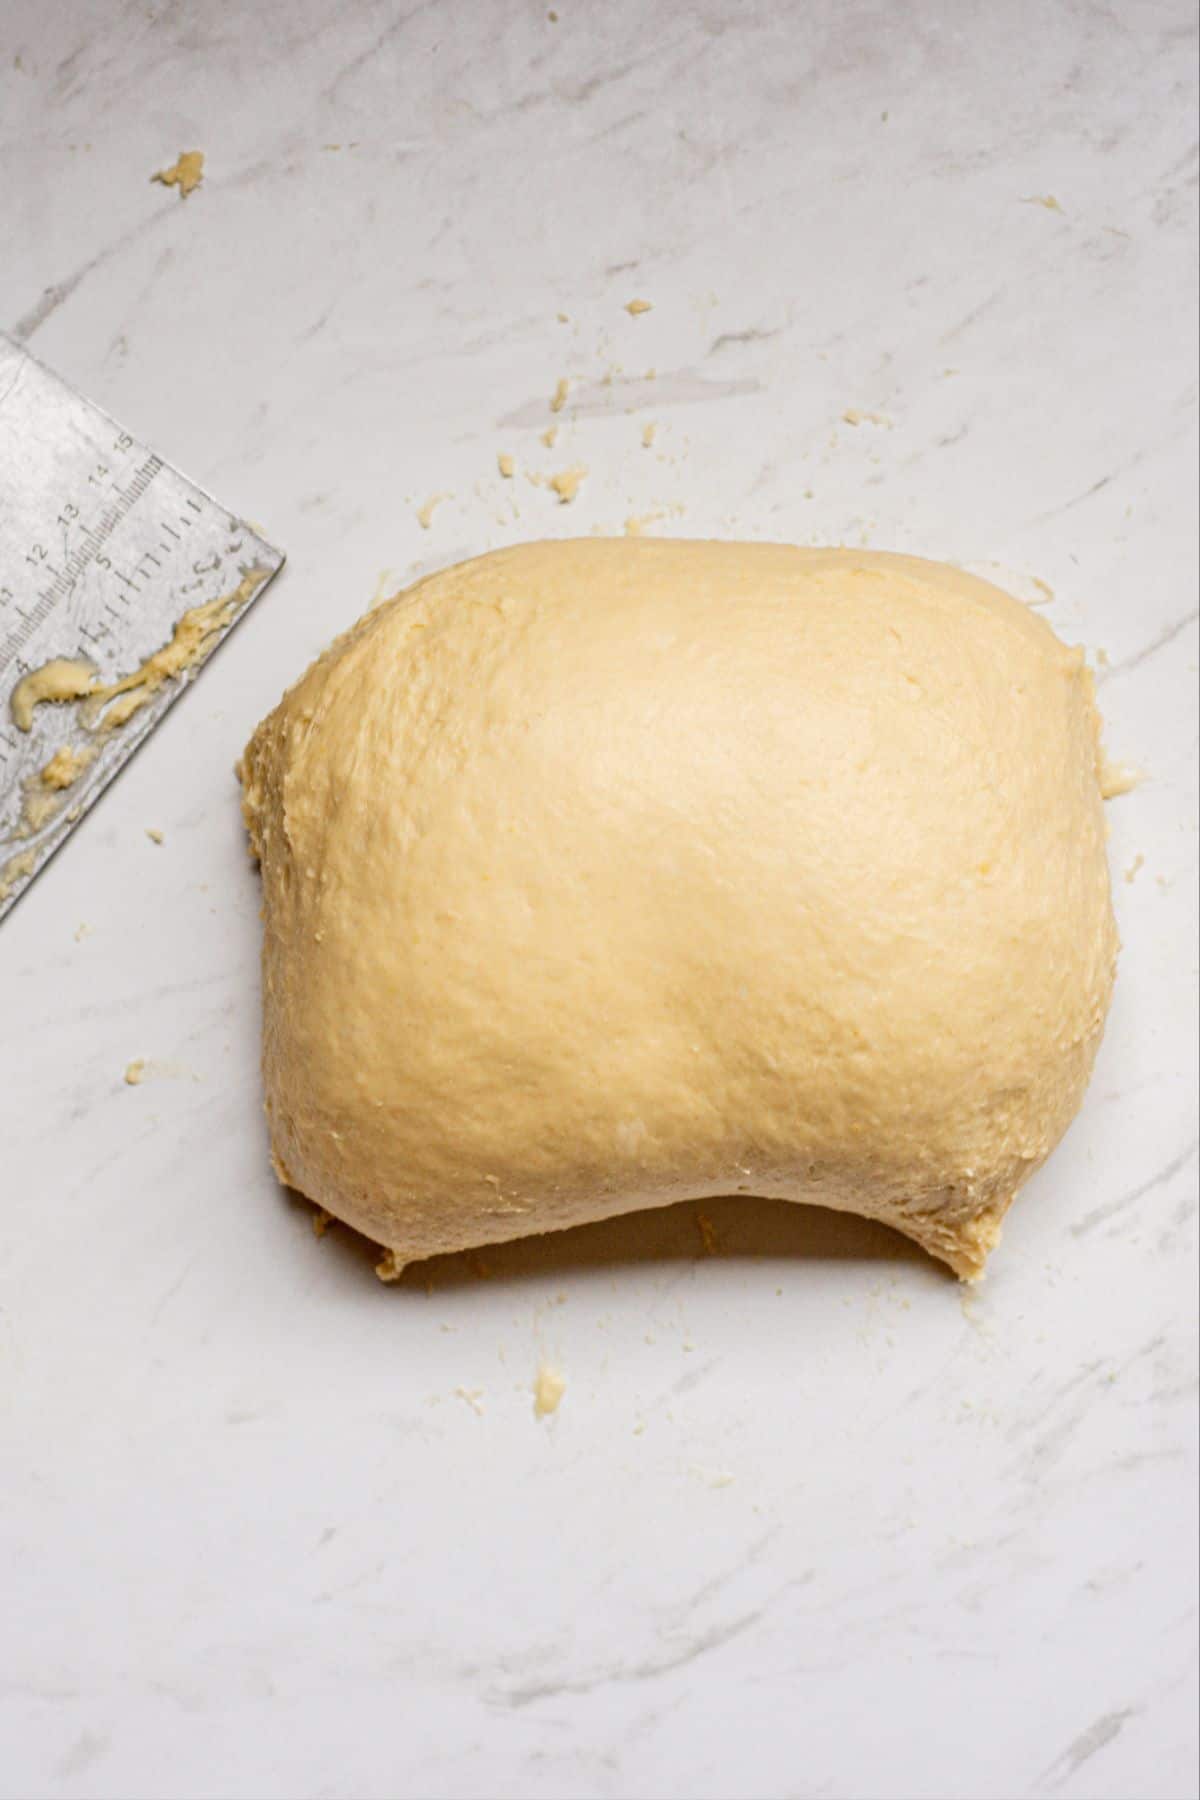
Once all the butter has been incorporated, slap and fold for a minute or so more, then leave the dough to rest for 5-10 minutes then come back to it.
Keep slapping and folding for 10 minutes or more until you feel and see the dough become strong and glossy.
Use a bench scraper to gather up any loose pieces of dough. If at any point you need another break, take it! It’s easier coming back to it with clean hands, and the gluten in the dough does well with rest.
Bulk ferment
Once the dough is kneaded, shape it into a smooth ball and place it into a lightly oiled bowl. Cover with a damp tea towel, plastic wrap, or lid. Place the dough in a warm place, ideally around 25°C / 76°F, and let it rise.
It won’t double but should bulk out by at least 50%. This will take around 4-6 hours, but the rise time will change depending on temperature. You can create a warm and humid proofing spot by placing a large mug of boiled water in a turned-off oven and putting the dough in there. Replace the water with freshly boiled water if it cools down.
Once risen, place the dough in the fridge until you’re ready to shape it in the evening. Alternatively, the dough can stay in the fridge overnight, and shaping can be done in the morning. In this case, cover tightly with an airtight lid or plastic wrap to stop the dough from drying out.
Shaping
Remove the cold dough from the fridge and let it sit at room temperature for 10 minutes.
Pull it from the bowl onto a floured surface.
Use a rolling pin to roll the dough out into a 12×18 inch (30x45cm) long rectangle.
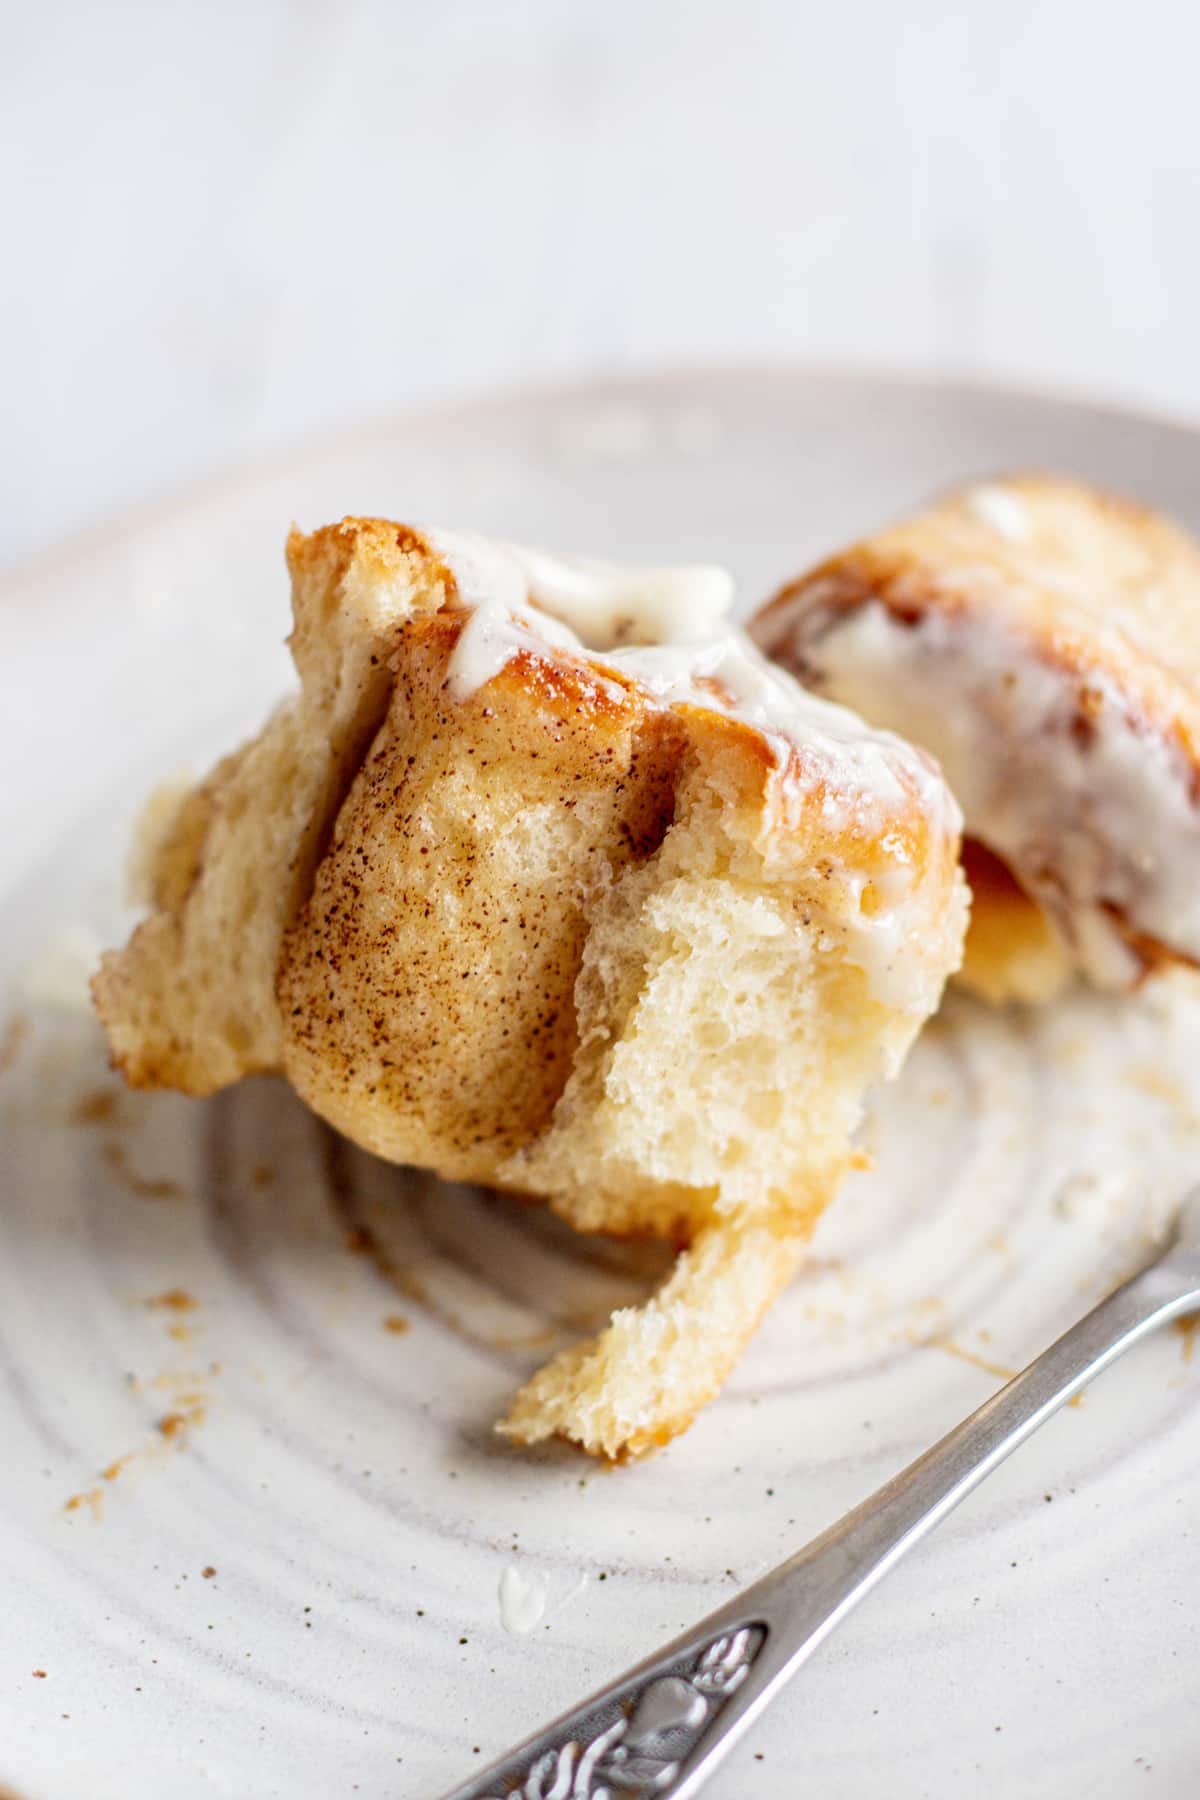
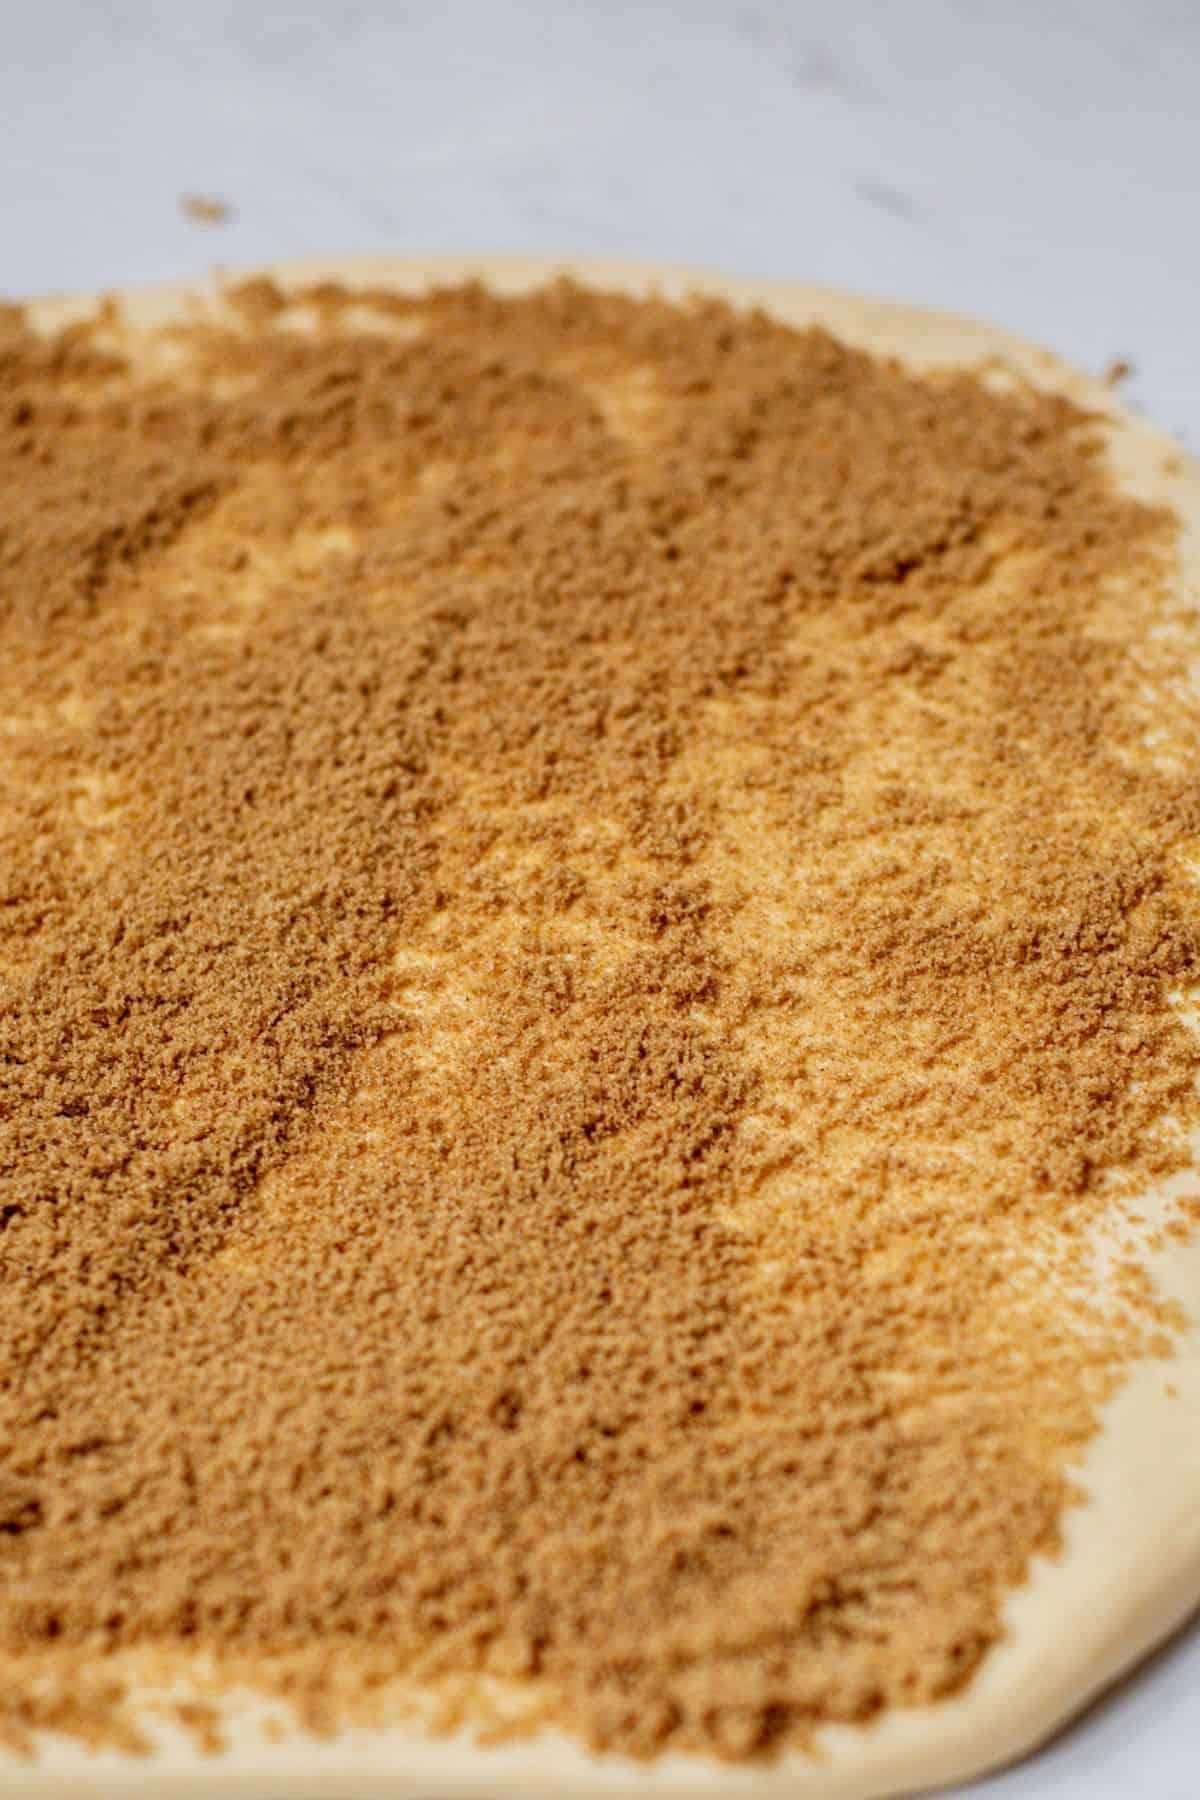
Spread melted butter over the dough and sprinkle cinnamon sugar over the butter.
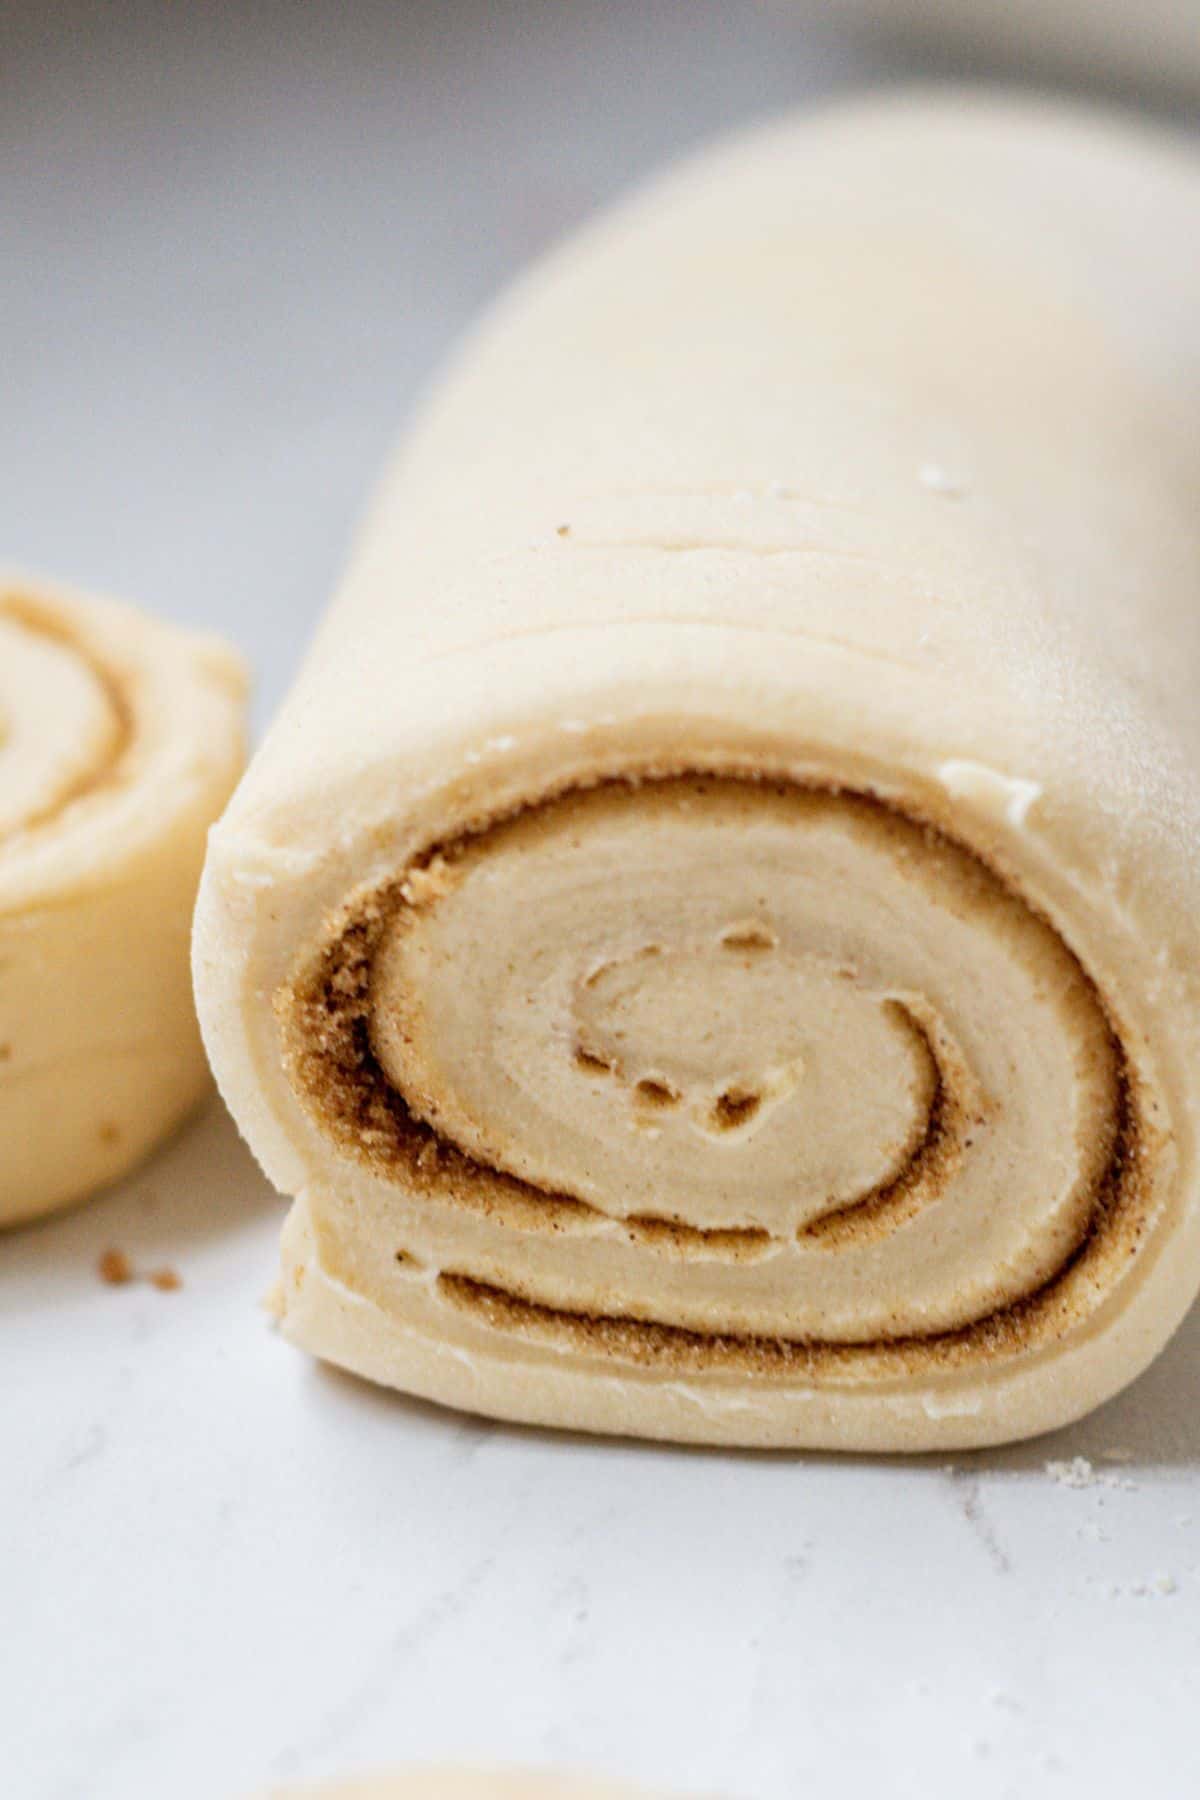
Tightly roll up the dough from the long side to form a 45cm/18-inch long roll.
Slice the log into 12 equal pieces using unflavored dental floss or a serrated knife.
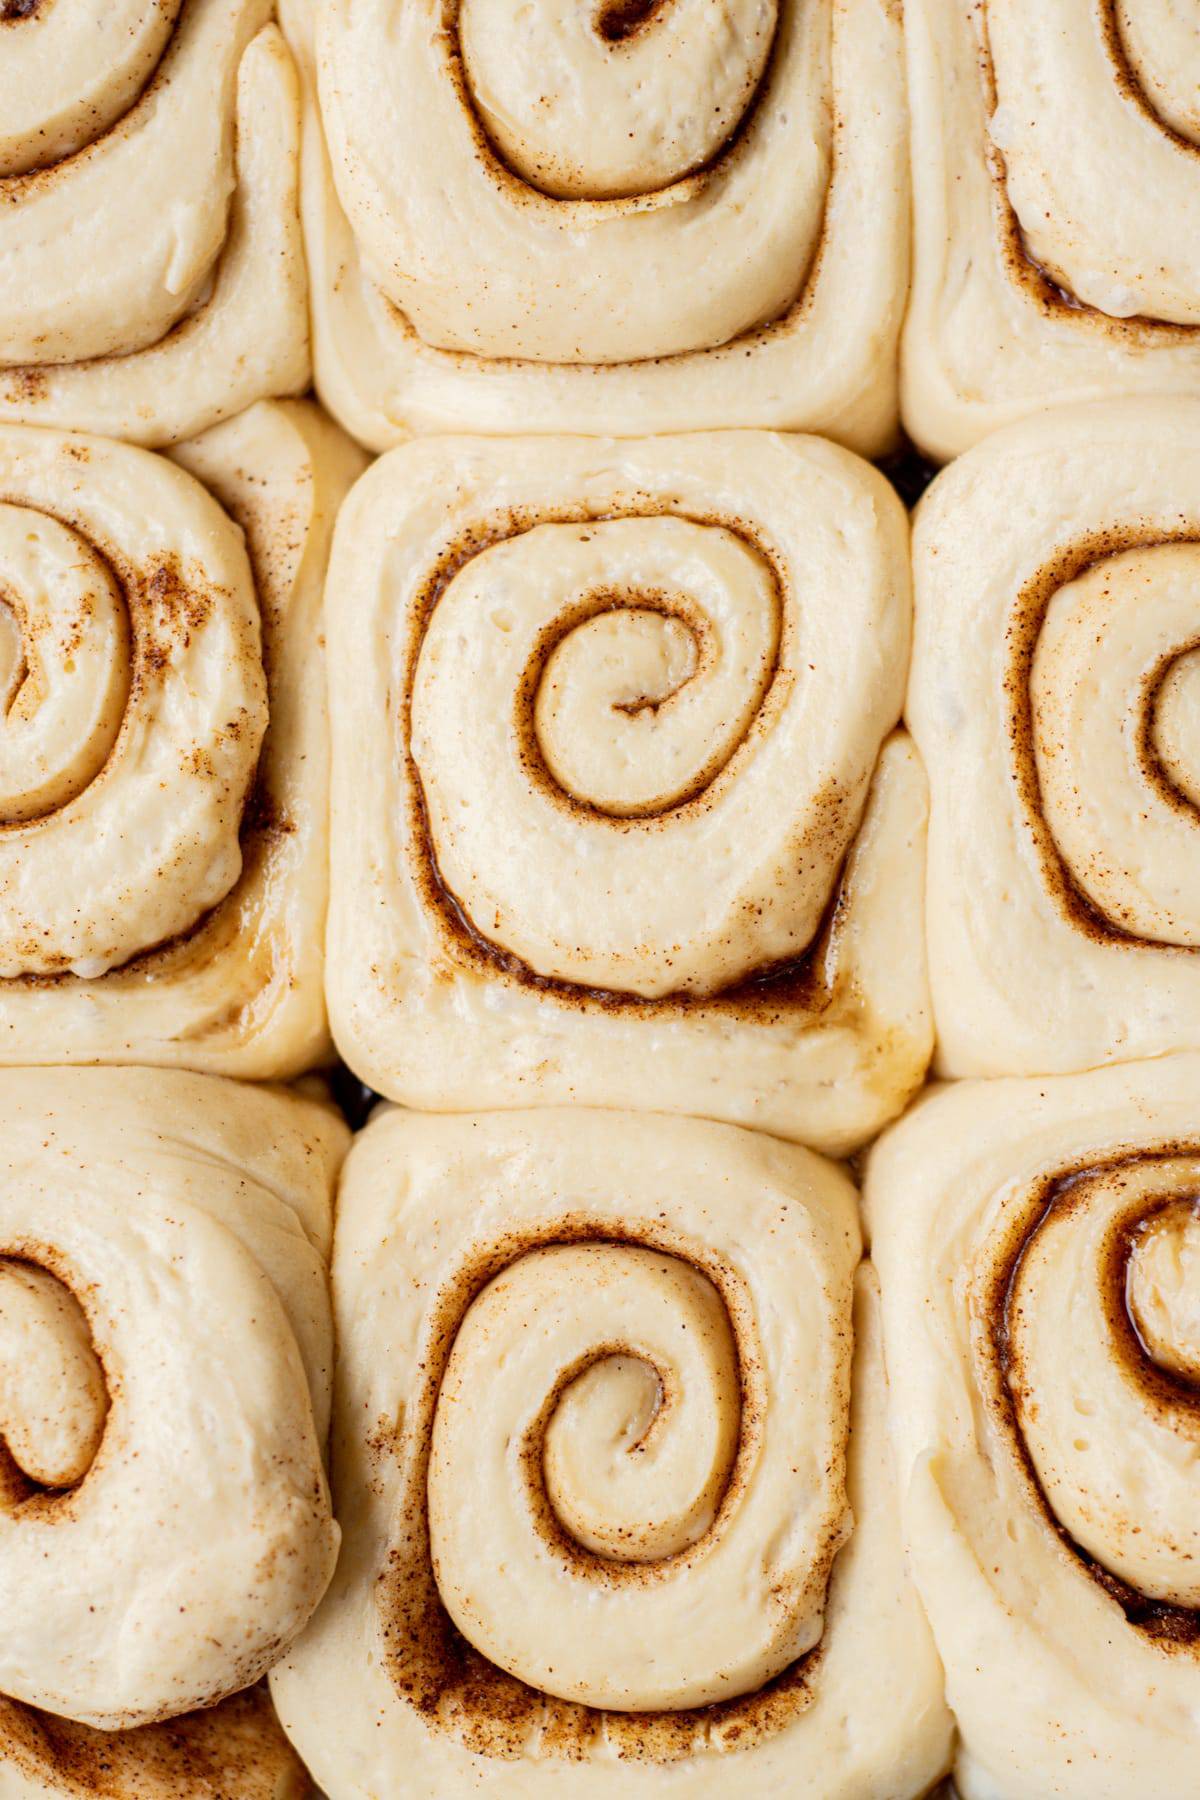
Grease a 9×13 inch baking dish and place the rolls in it.
Cover them with some compostable plastic wrap or beeswax wrap to stop the top of the dough from drying out. Let the unbaked rolls have their final rise overnight until double in size.
The next morning
In the morning they can be baked. If you’re not baking them right away, place the proofed rolls in the fridge to slow any further rise but don’t hold off from baking too long or they may over-proof and deflate.
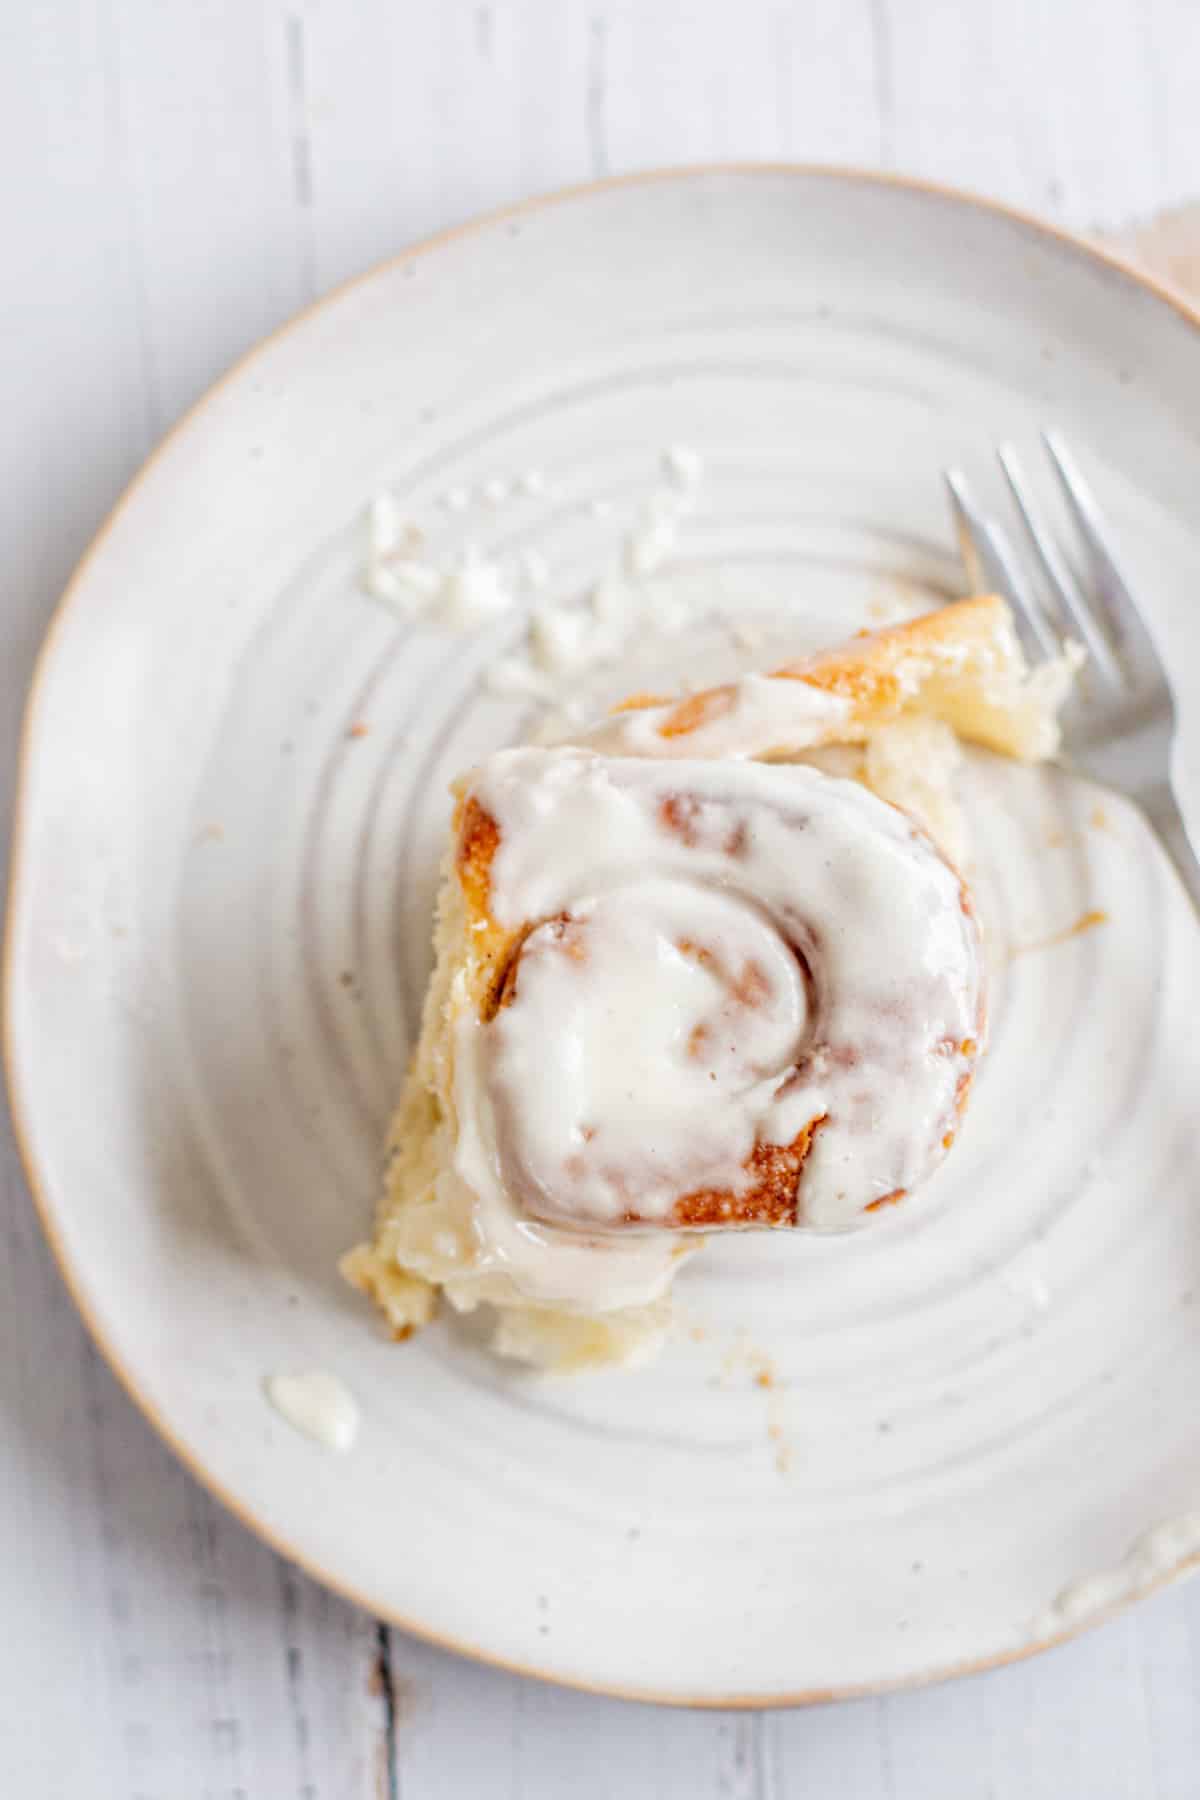
Frosting
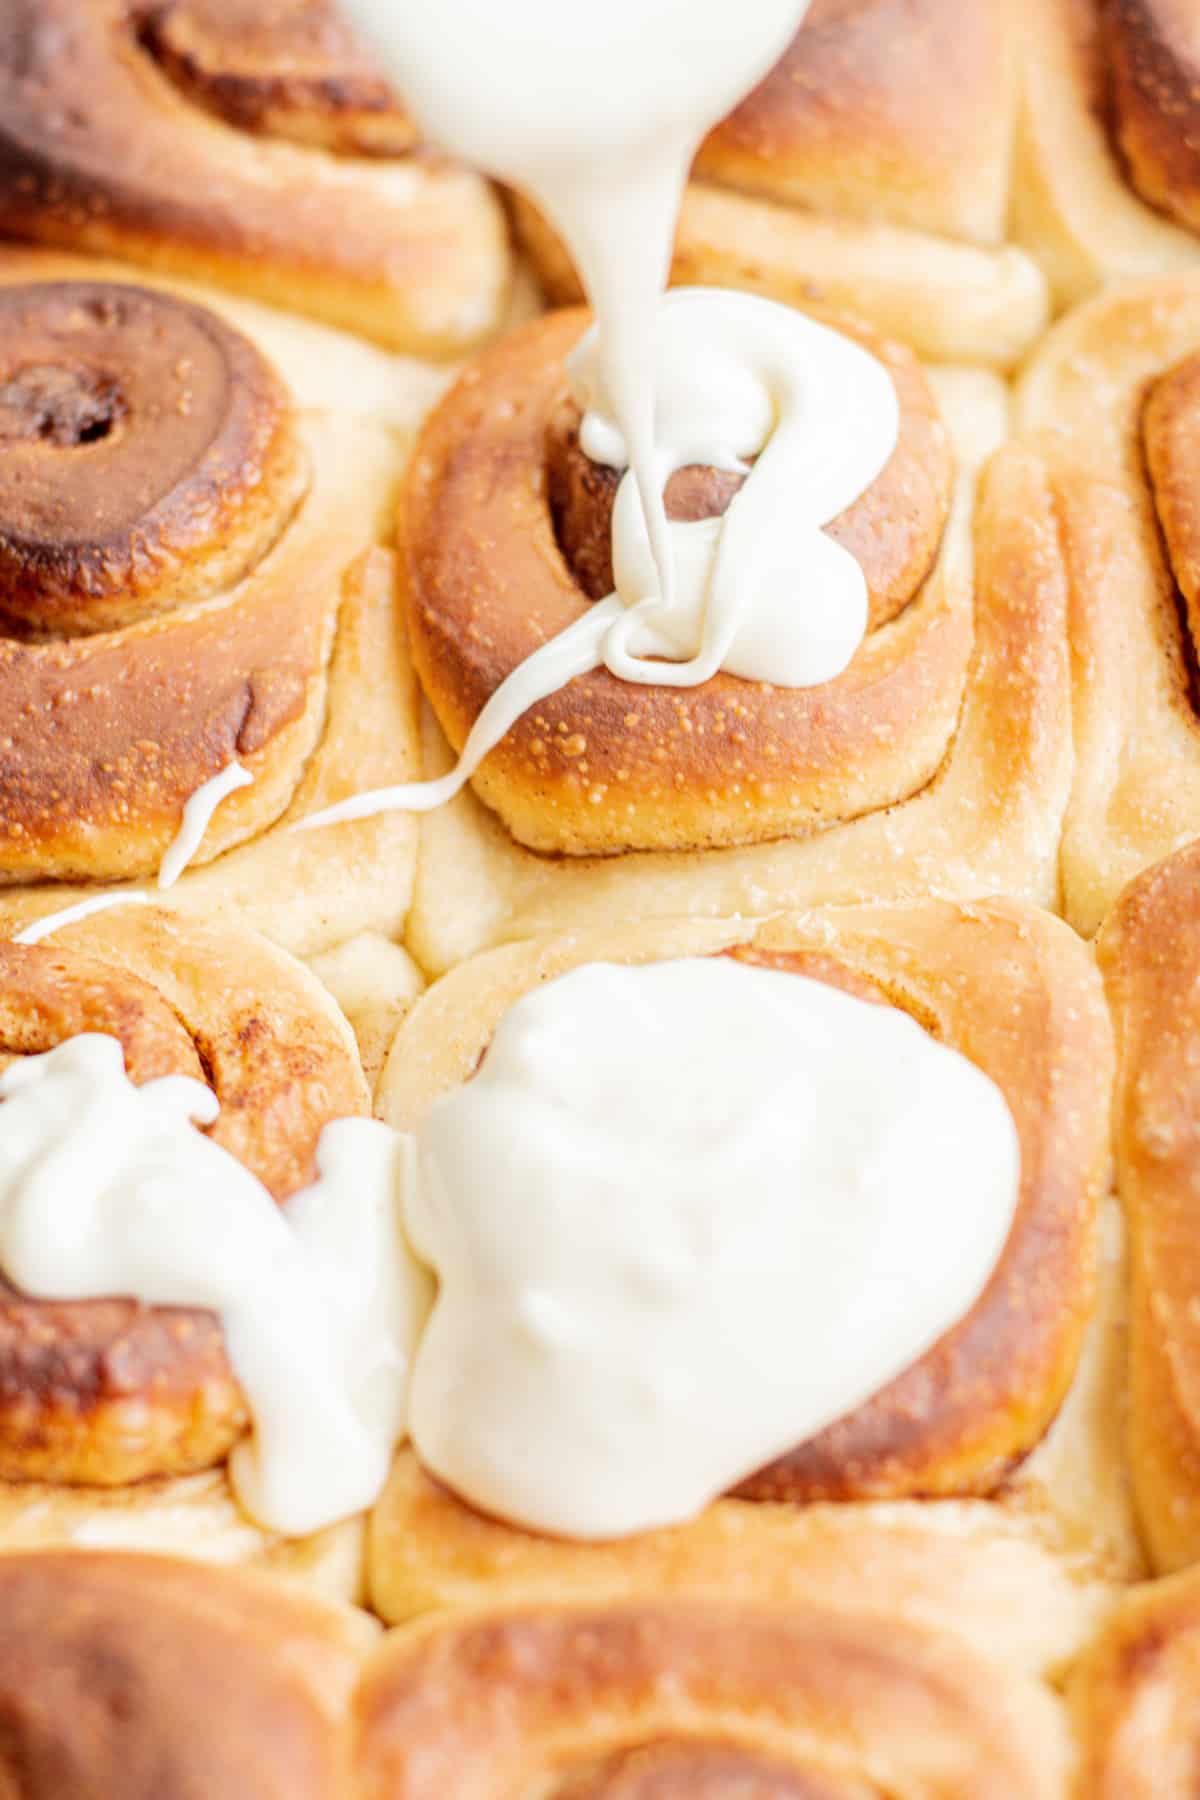
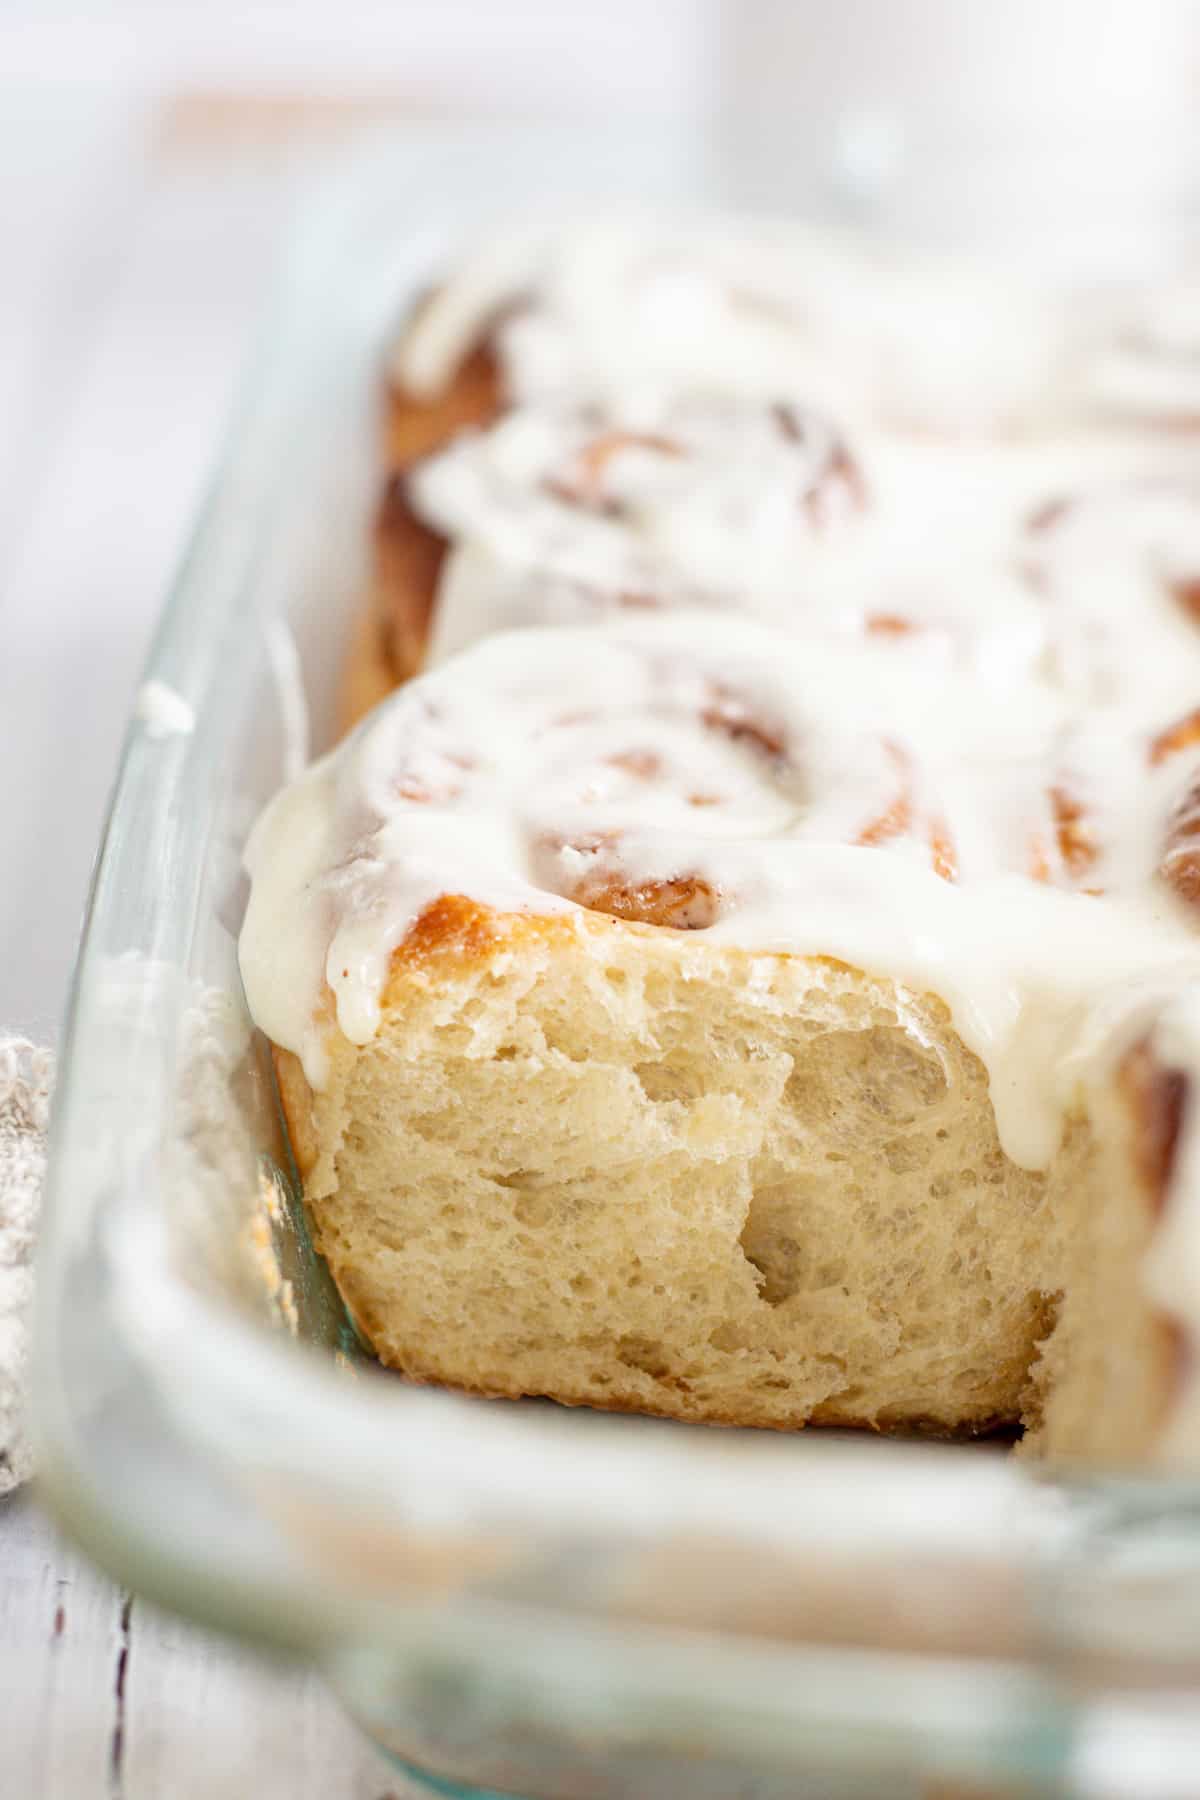
In a small bowl beat the cream cheese in a mixer until smooth and creamy. Add the powdered sugar, vanilla, and milk. Beat it together until creamy. Spread the frosting over the still-warm rolls with an offset spatula.
Serving and storing
Serving: the cinnamon rolls while still warm. On the following days, they can be reheated gently in the microwave.
Storing: Leftover cinnamon rolls can be stored in an airtight container at room temperature for up to 3 days or in the refrigerator for up to 5 days.
Freezing: The rolls can also be frozen for up to 3 months. Thaw the rolls overnight in the refrigerator and warm them in the microwave before serving.
FAQS
Sourdough cinnamon rolls require a longer rise time than those made with commercial yeast. The first rise, after mixing and kneading, could be 4-5 hours or overnight, depending on the temperature of your kitchen. The second rise, after forming the rolls, may take an additional 4-8 hours (or overnight.)
Yes, you can prepare the dough and let it first rise in the refrigerator overnight. This slow fermentation can contribute to the flavor development. After this cold rise, you can shape your rolls and let them go through the second rise at room temperature before baking.
Several factors could contribute to this issue: your sourdough starter might not have been active enough, the room temperature might have been too cold for the yeast to activate, or the dough might not have been allowed to rise for sufficient time.
Ensuring your sourdough starter is very active is key. Additionally, allowing for sufficient rising time will contribute to a fluffier cinnamon roll.
Related recipes
For more cinnamon roll recipes or sourdough recipes, check out these!
- Sourdough pancakes
- Eggless cinnamon rolls
- Brioche cinnamon rolls
- Almond sweet rolls
- Lemon poppy seed rolls
- Chocolate chip sourdough banana bread

Fluffy Sourdough Cinnamon Rolls
Fluffy sourdough cinnamon rolls, leavened with sourdough starter. They're topped with a tangy cream cheese frosting.
Ingredients
Stiff starter
- 30g starter
- 60g all-purpose flour
- 30g water
Dough
- 500g strong all-purpose flour with around 11% protein
- 50g granulated sugar
- 2 large eggs
- 200g milk
- All the stiff starter
- 8g salt
- 100g unsalted butter, softened to room temperature, cut into cubes
Cinnamon filling
- 2 Tbsp unsalted butter, melted
- 100g soft brown sugar
- 2 1/2 teaspoons ground cinnamon
Frosting
- 60g cream cheese, at room temperature
- 150g powdered sugar
- 1-2 tablespoon milk, at room temperature
- ½ teaspoon vanilla extract or paste
Instructions
The evening before
- Mix 30g starter with 60g flour and 30g water. Knead it for a minute or two into a stiff dough ball.
- Place this into a lightly oiled jar. Brush the top of the ball dough with a bit of water (so it doesn't dry out too much overnight). Loosely cover it with a lid and leave it to rise for 8-12 hours until more than doubled.
The next day
- Add the flour, sugar, salt, eggs, milk, and all the stiff starter in the bowl of a stand mixer fitted with a dough hook attachment.
- Turn the mixer on low and combine until it forms a thick but slightly sticky dough. Mix this dough on medium-low speed for around 5 minutes to begin developing the gluten.
- Add the softened butter to the bowl of your stand mixer, a little bit at a time. Incorporate each cube before the next addition.
- Turn the mixer on medium speed and keep it mixing for around 15 minutes until the sticky and soft dough strengthens and comes together and pulls away cleanly from the sides of the bowl.
- Once finished mixing, leave the dough to rest for a few minutes, then grab a piece and see if you can stretch it out thin, so it’s almost see-through, without it tearing. This is called the 'window pane' effect and shows proper gluten development.
- See the full post above for instructions on mixing the dough by hand.
- Once the dough is kneaded, shape it into a smooth ball and place it into a lightly oiled bowl. Cover with a damp tea towel, compostable plastic wrap, or lid. Place the dough in a warm spot, ideally around 25°C / 76°F, and let it rise.
- It won’t double but should bulk out by at least 50%. This will take around 4-6 hours, but the rise time will change depending on the temperature. You can create a warm and humid proofing spot by placing a large mug of boiled water in a turned-off oven and putting the dough in there. Replace the water with freshly boiled water if it cools down.
- Once risen, place the dough in the fridge for a minimum of 4 hours, or up to 24 hours. Cover tightly with an airtight lid or plastic wrap to stop the dough from drying out.
Shaping
- Remove the cold dough from the fridge and pull it from the bowl onto a floured surface. Use a rolling pin to roll the dough into a 12x18 inch (30x45cm) long rectangle.
- Spread melted butter over the dough and sprinkle cinnamon sugar over the butter.
- Tightly roll the dough from the long side to form a 45cm/18-inch roll. Slice the log into 12 equal pieces using unflavored dental floss or a serrated knife.
- Grease or line a 9x13-inch baking dish and place the rolls in it.
- Cover the rolls with plastic wrap to stop the top of the dough from drying out. Let the unbaked rolls have their final rise until they double in size. This can take around 5-8 hours in a warm spot.
- The rolls can also be shaped late in the evening, to rise overnight for 8-10 hours if your kitchen isn't too warm.
Baking
- Preheat the oven to 375°F (190°C).
- Bake the buns for around 30 minutes until puffed up and golden brown. If they are browning too quickly, loosely cover them with aluminum foil.
Frosting
- In a small bowl, beat the cream cheese with an electric beater until smooth and creamy. Add the powdered sugar, vanilla, and enough milk to make a thick and spreadable frosting.
- Spread the frosting over the still-warm rolls with an offset spatula.
Recommended Products
As an Amazon Associate and member of other affiliate programs, I earn from qualifying purchases.
Nutrition Information:
Yield: 12 Serving Size: 1Amount Per Serving: Calories: 394Total Fat: 12gSaturated Fat: 7gTrans Fat: 0gUnsaturated Fat: 4gCholesterol: 61mgSodium: 304mgCarbohydrates: 62gFiber: 2gSugar: 26gProtein: 9g
This is an informational estimate only. I am not a certified Dietitian or Nutritionist
Hi, I’ve made these cinnamon rolls and they are AMAZING! Thank you so much for your awesome recipes! My grandson asked for sourdough chocolate rolls for his birthday. Do you think using this recipe with the chocolate filling from your yeasted chocolate rolls (without the cinnamon mix, of course) would work? I would appreciate any suggestions. I just don’t want to make them for him and the flavors be off. Also, is the cocoa in the chocolate recipe Dutch process cocoa or regular cocoa, or is there even a difference? Thank you in advance for your help.
Hey I’m so happy you enjoyed them!! And yes these would work with the chocolate too :). Ive made it with natural and Dutch processed and saw no difference.
Thank you very much. I started my stiff starter last night. I can’t wait to try this variation.
I absolutely love this recipe! I make it by hand and this is the only one I’ve found that’s worth all the work. Thank you so much! Now I am going to try some of your other sourdough recipes. I have no doubt they will be just as perfect! Thank you!
These cinnamon rolls are absolutely wonderful! I’ve been struggling with making my cinnamon rolls fluffy and this recipe makes the fluffiest rolls. I made them by hand because I like gauging the texture of the dough by touch. Thank you so much for your recipe!
Yay Lillian I’m so happy to read you loved them!
This recipe takes some time, but it was worth the effort. I’ve made them several times and everyone has loved them.
That’s awesome to hear, I’m so happy you loved them!
Lovely recipe 😊 Especially using a sweet stiff starter and additional butter in filling 👌
I am planning to add pumpkin puree to the dogh. Should I cut on milk, egg and/or butter?
Thank you! <3
So happy you enjoyed it!! If you want to add pumpkin puree, you could cut some of the milk and/or an egg in the dough. I have a pumpkin cinnamon roll dough on the blog (not sourdough though) that could be used as a base. https://bakingwithbutter.com/pumpkin-cinnamon-rolls/
I made these for Christmas morning…loved the taste, but mine didn’t come out as fluffy as yours. Could I have overworked the dough? (I did the hand-knead method)
Heya, if they weren’t as fluffy that could be more due to underproofing them, or even overproofing them. Did they double in size?
I’m making these today but can I use regular starter instead of stiff? How much would that be? Would this recipe work? TIA
Hey! Yes, you can use regular starter instead. Use about 130 g active sourdough starter.
Because a regular starter has more water than a stiff one, the dough will be a little wetter. You can add 1 tablespoon of extra flour if needed, or just mix and knead a bit longer until the dough is strong and elastic. The extra moisture actually makes the rolls even softer. 🙂